


Backyard Birds & Tethered Shooting
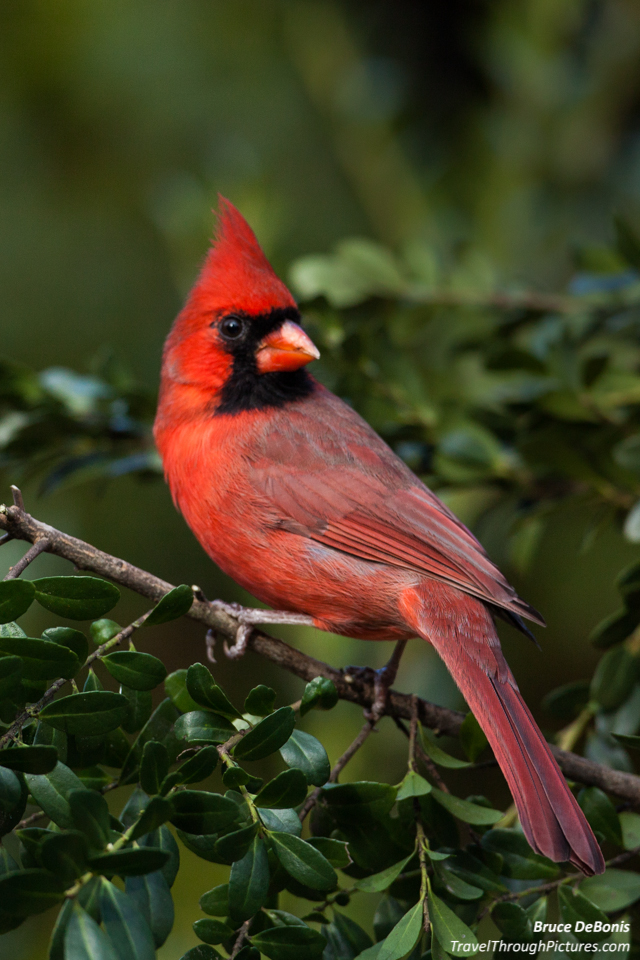
Did you know that your own yard can be a wildlife photo studio? You betcha it can and Pilsner Urquells are close at hand. You need beer near for inspiration and to kill the boredom when the little rats, er um, birds don’t show up.
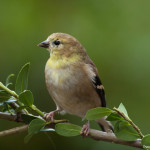
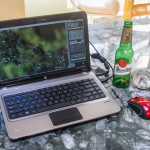
I shoot birds at my feeder often, and sometimes even use a camera. Sometimes I use a big lens and stand very very still for what seems like hours, or I take the easy route and shoot from the comfort of my kitchen, beer in hand, while controlling the camera with my lap top computer. This is called tethered shooting, and I thought I would show you what I see from my computer when I shoot.
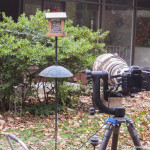
You do not need a big lens like I used for these shots. The wonderful thing about tethered shooting is you can put your camera as close to the birds as it needs to be because you are not there. It may take about 1/2 hour for the birds to get used to the presence of your camera, but they will. If the clicking scares them, just wrap your camera in a towel to muffle the clicks. All you need is a tripod, any camera and lens, computer, long USB cable, the software that came with your camera, and beer. That’s it!!!
Here are a few more of my other blog pieces on backyard shooting:
- More birds at my feeder no tether
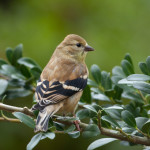
- Goldfinches with computer tether
- Hummingbirds in natural light
- Hummingbirds with flash
Tethered Shooting – Connecting your Camera to Your PC
 Canon gives away the software to do this for free. What a deal! If you own the camera, you already own the software to do this cool type of picture taking. Nikon has similar software. Canon calls theirs the EOS Utility and it just works… and works great! It is fairly intuitive and you don’t have to bother with the manual. Here are the steps to getting this up and running:
- Set your camera up on a tripod, compose the picture. (Here for more on tether focus and setup)
- Set your camera up to M for manual (but you can use whatever mode you require).
- Fire up your computer in your Kitchen, or wherever you want to. I chose my kitchen as my refrigerator was right behind me filled with beer (and I had a line-of-site to the feeder).
- Fire up the EOS utility on your computer, and plug in a long USB cable (more on this below)
- Go back outside, plug the other end of the cable into your camera’s mini-USB port, and power the camera ON
- Run back in the house, crack a beer, select Camera Settings/Remote Shooting, slug down some beer, and start shooting.
Is it that simple? Yes. From the control panel on your PC, you can control pretty much everything on your camera. In addition to shooting, you can get into Live View and adjust focus, program timer shots (the utility has a built-in interval meter), download and update the camera with new lens profiles direct from Canon, and so much more.
Fire off a shot, the file comes down immediately to your PC (takes about a second or two) and appears in a viewer. If you need to rapid fire, the camera will go ahead and shoot and the files will be buffered and fed down as your PC can consume them.
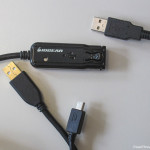
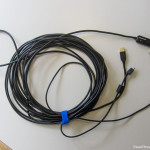
For the long USB cord, I was using a series of 6’ USB extension cords, but I could only get about 18’ before the computer would stop talking to the camera. Then I found this IOGEAR USB 2.0 Booster Extension cable of about 30’ long. It has a built-in amplifier that is powered by your computer’s USB power pins. It just works.


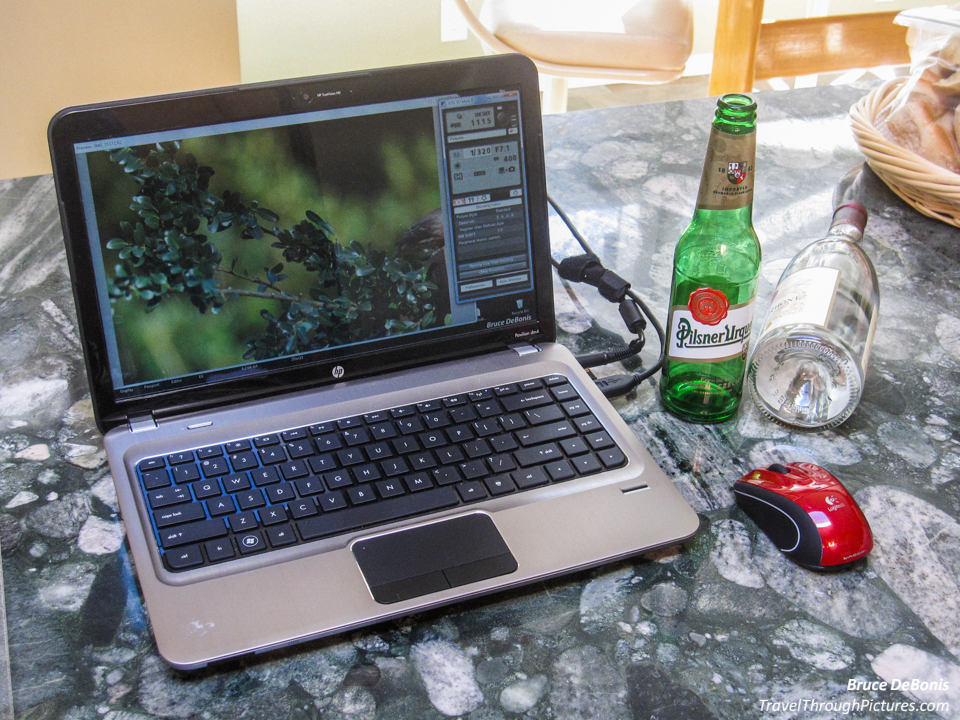
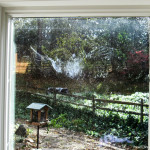
This is a screen capture, a snip of exactly what I see on my computer screen, when I shoot with Canon’s EOS Utility for tethering:

SPLAT!
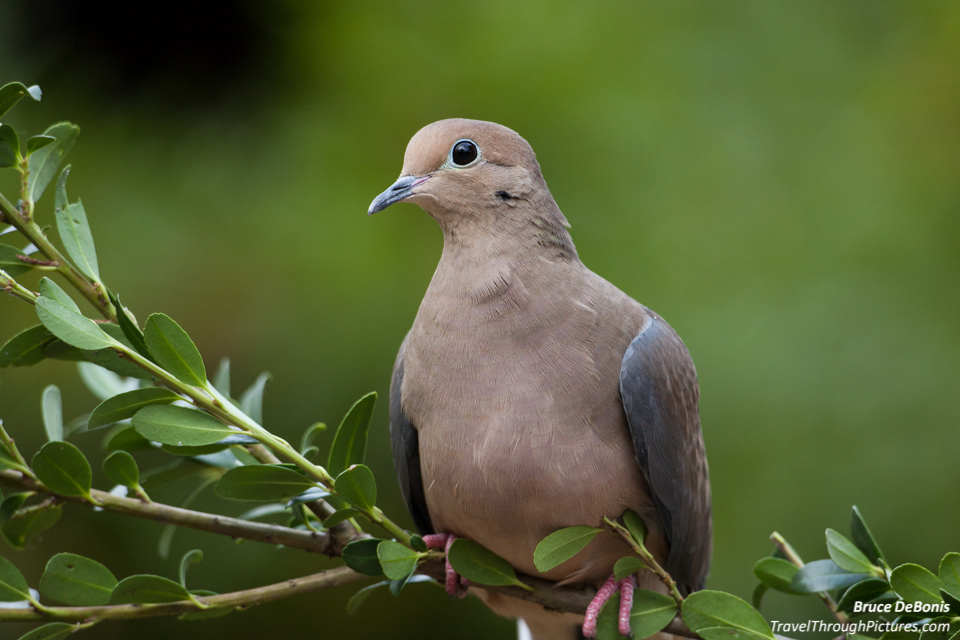
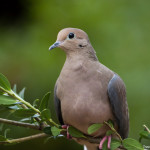
Oh, and here is what happens when a Mourning Dove got into one of my Pilsner Urquells. A big picture of this one is in the photo carousel above.

The Equipment:
- Canon 5D MkII
- Canon 500mm L f/4.0 IS
- Wimberley II gimbal head
- Canon EOS Utility for remote, tethered shooting
- IOGEAR USB 2.0 Booster Extension Cable
- Color Checker Passport (or just a cheap gray card)
- Pilsner Urquell and plenty of it

