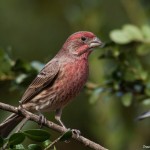
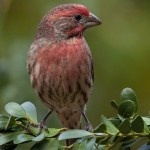
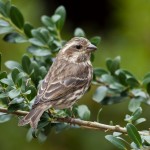
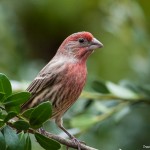
Backyard Birds
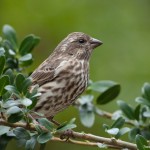
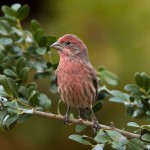
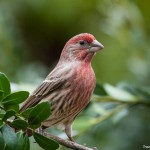
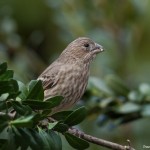
Dig these shots of your everyday backyard birds. Did I trudge hours through jagger bushes and bramble only to wait for hours on end for a lucky moment? Heck no, I have more sense than that (well for these few days anyway). I cheated.
I am fortunate to get a great amount of birds at my feeders so naturally taking pictures is a must. If you already tried this you probably discovered a few things:
- Your presence scares away all but the most courageous (or stupid) birds such at Titmice and Chickadees; and,
- Pictures of the feeder somehow are just not cool.
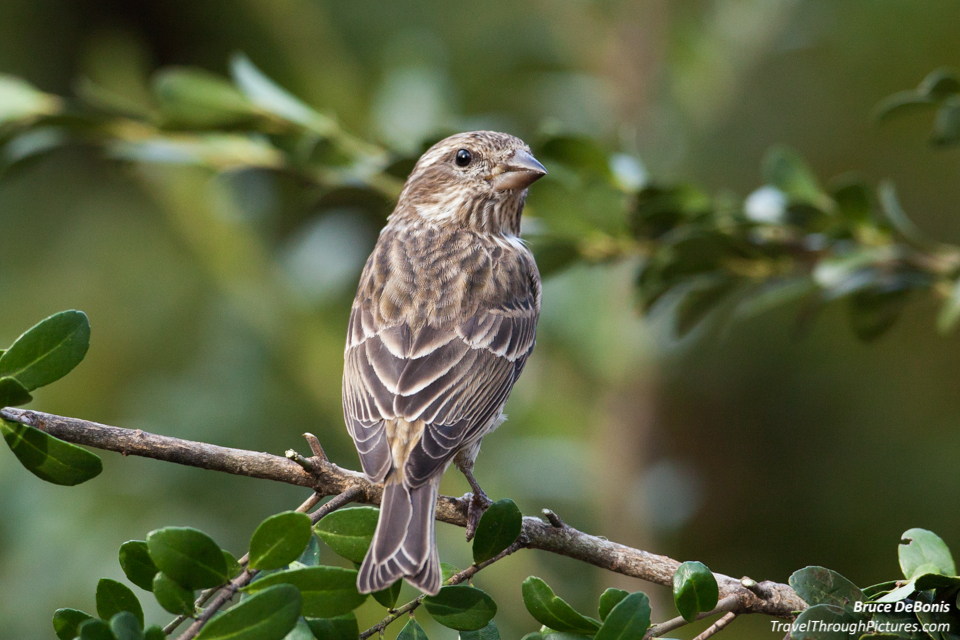
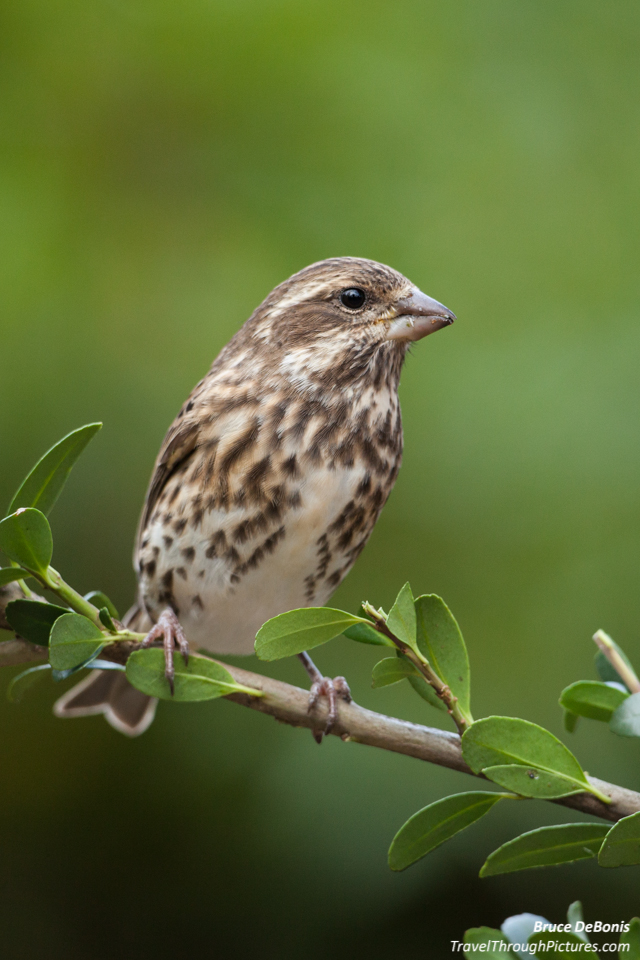
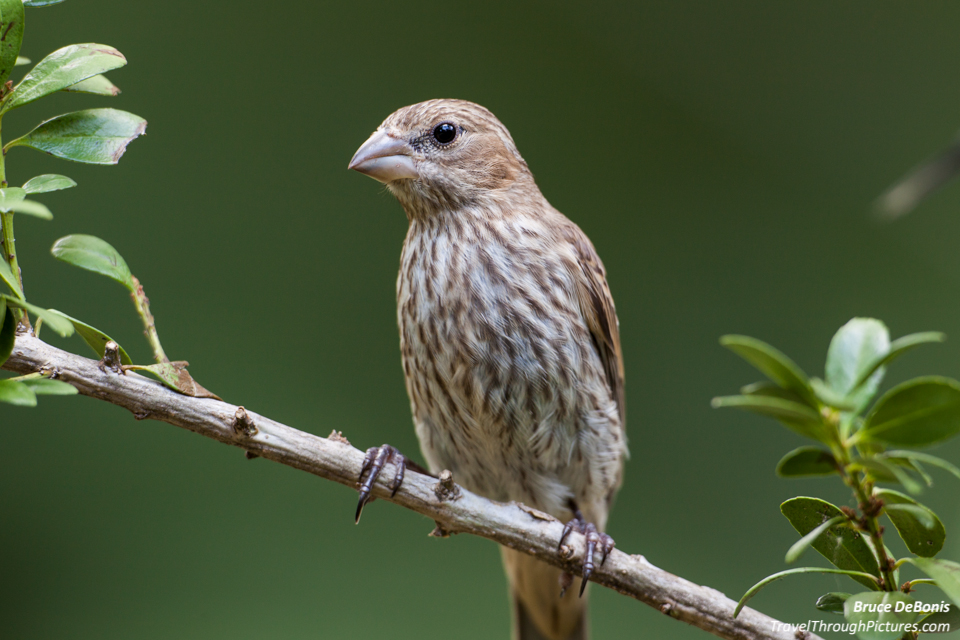
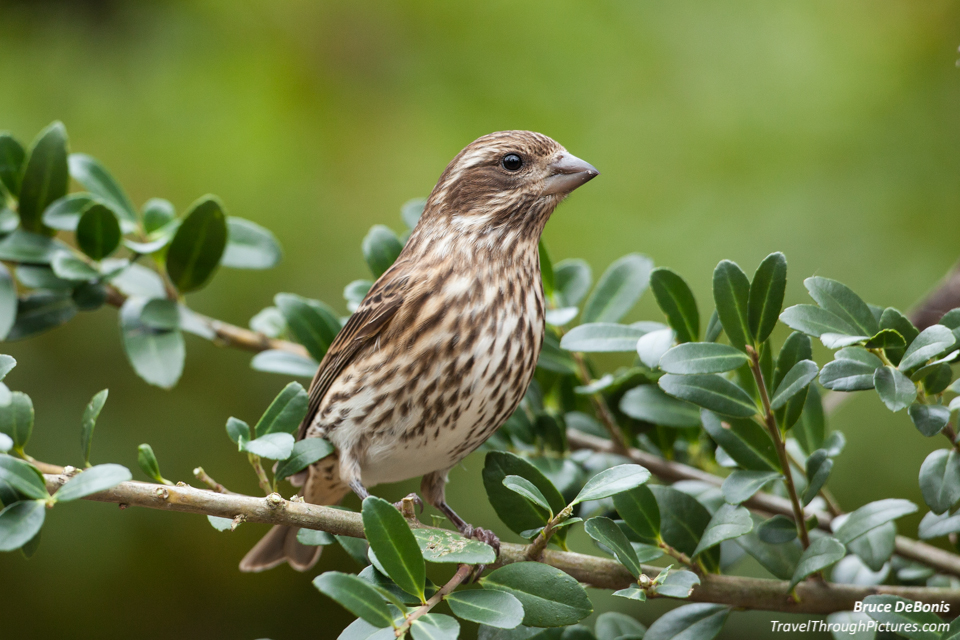
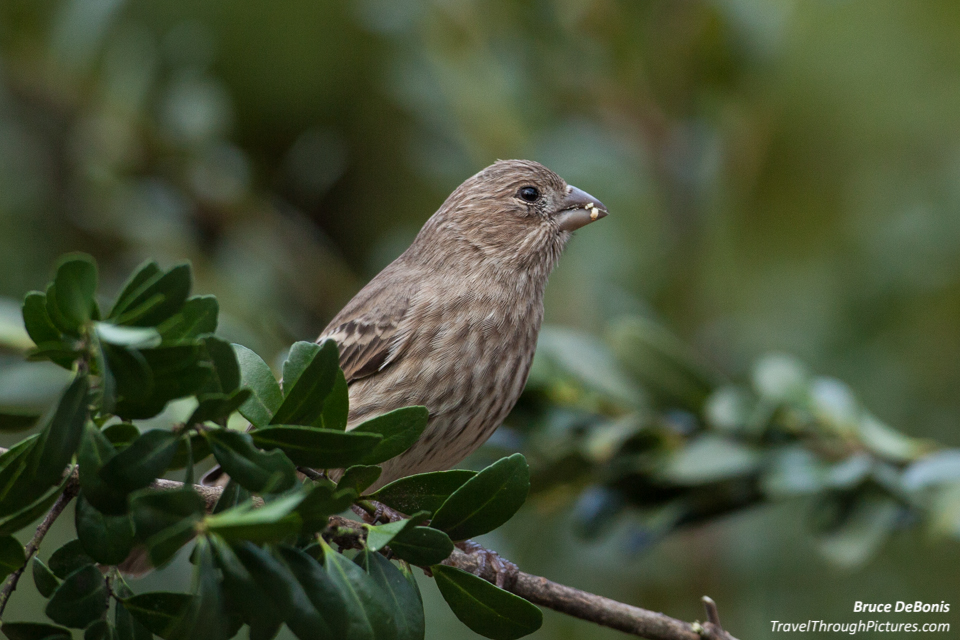
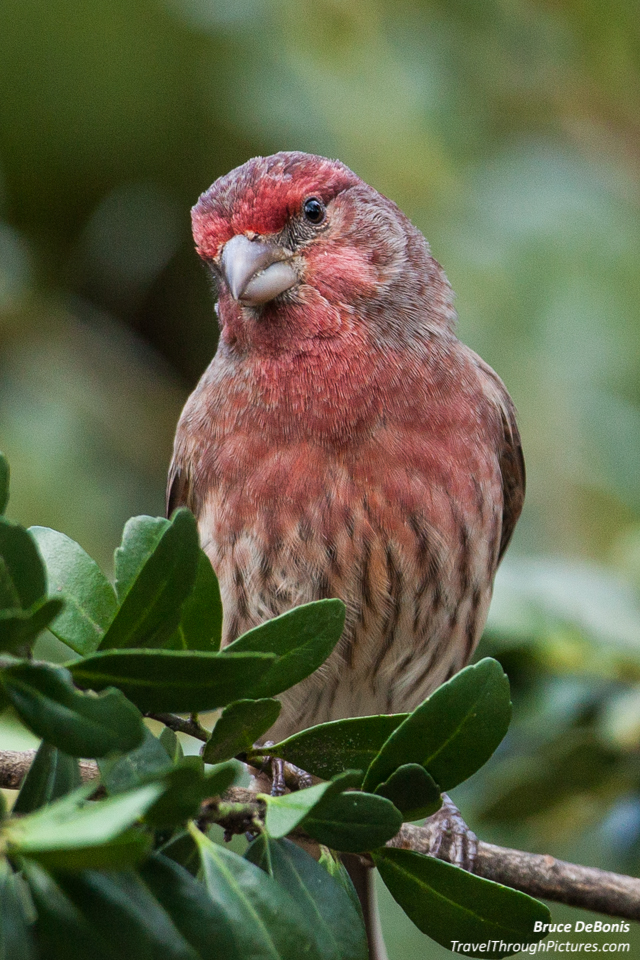
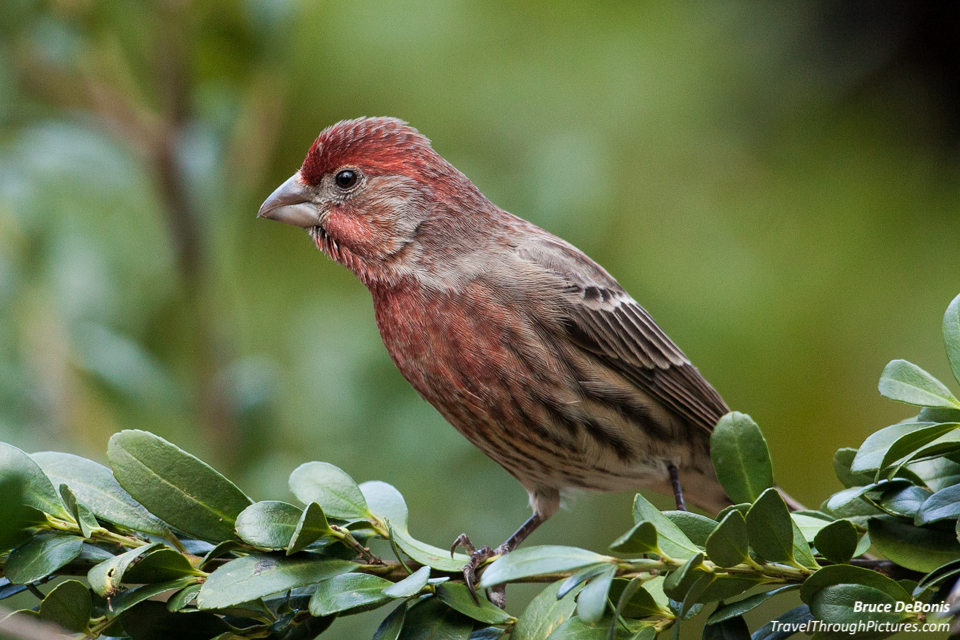
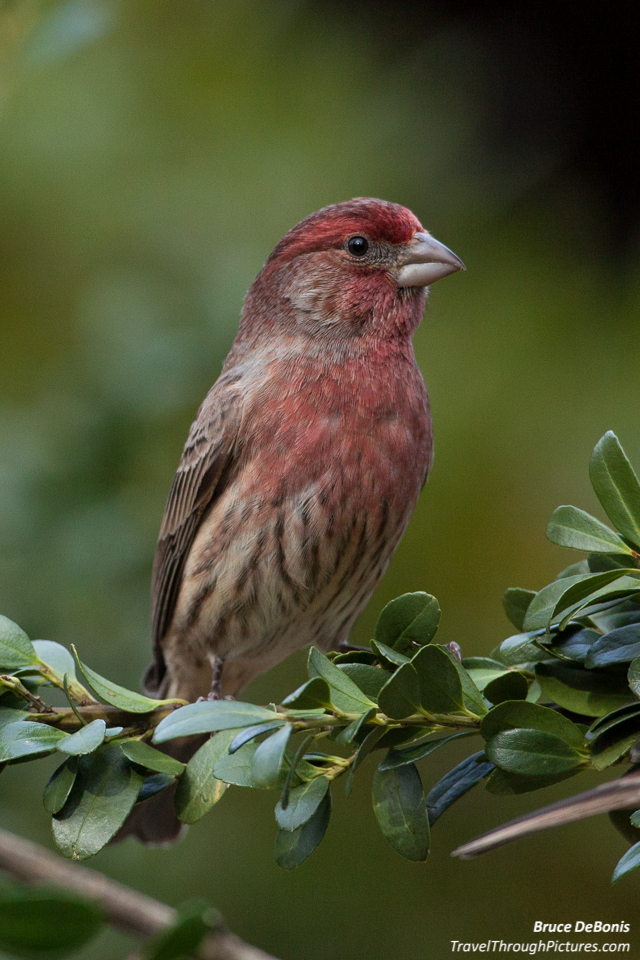
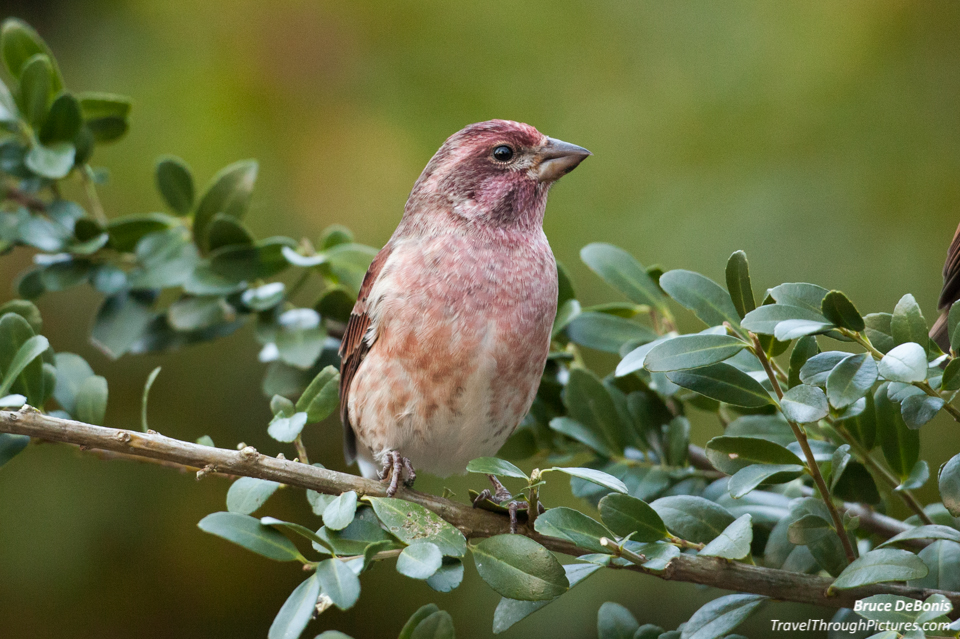
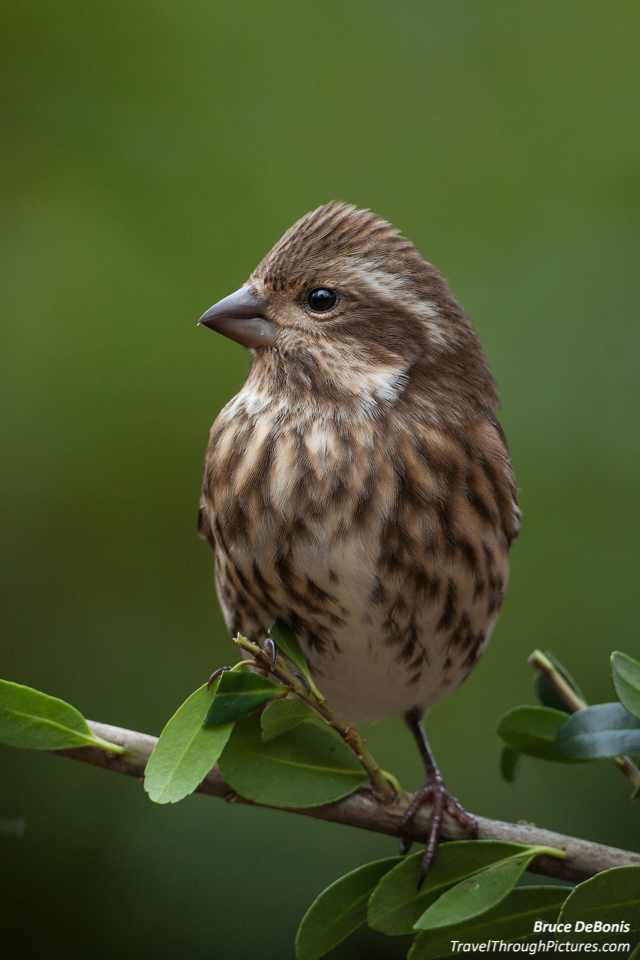
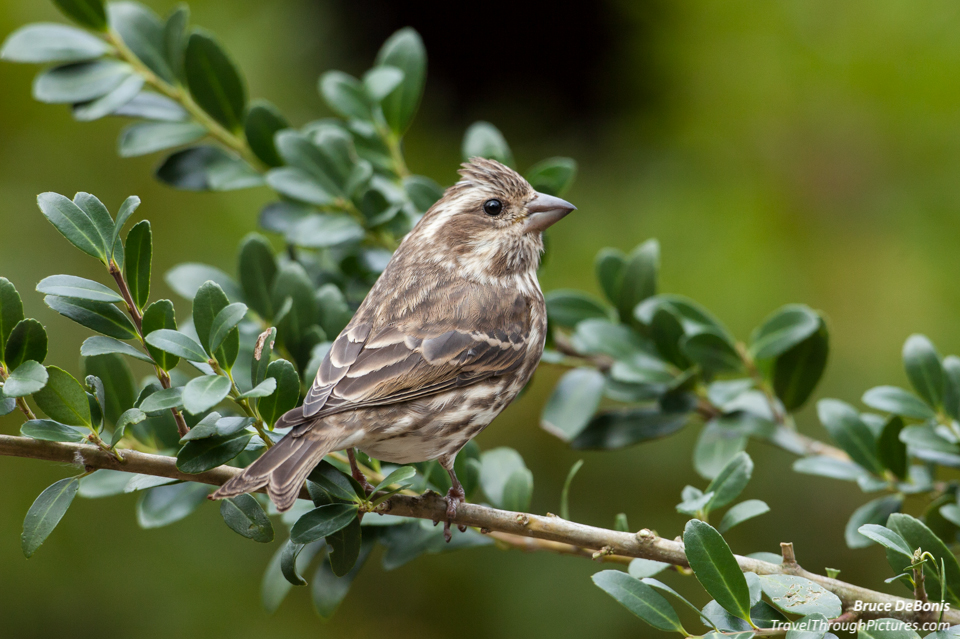
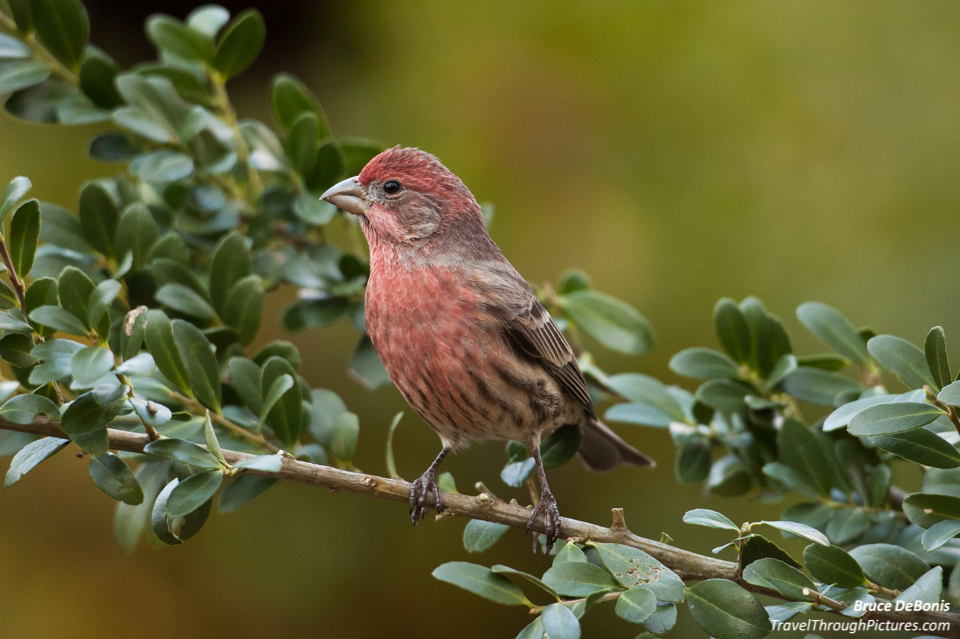
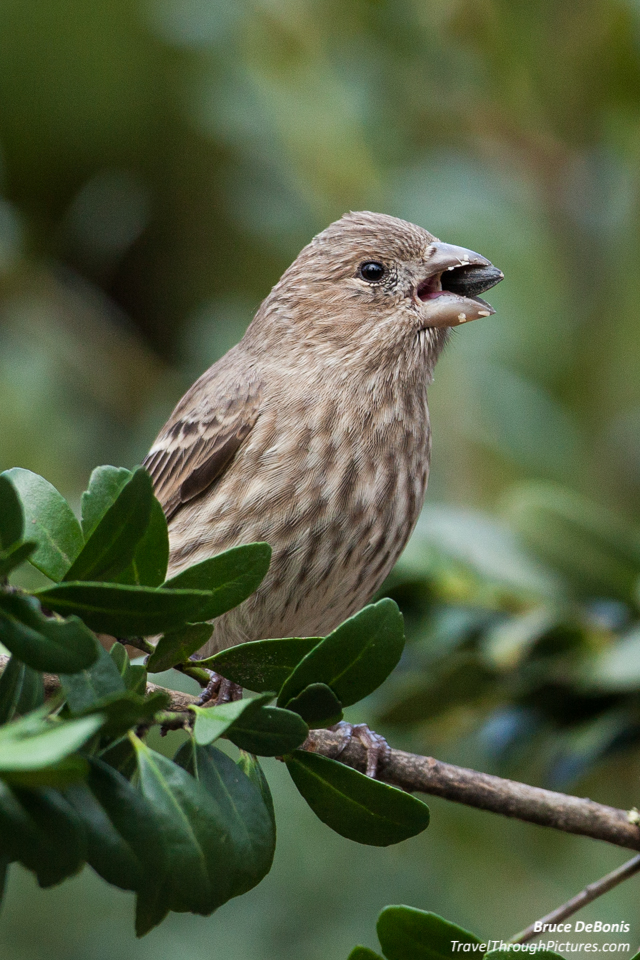
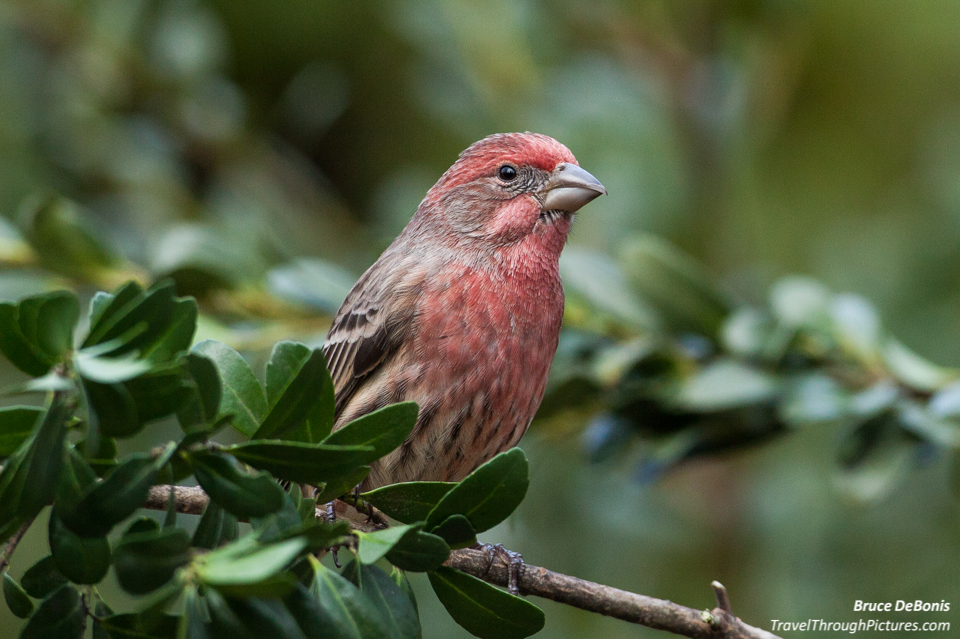
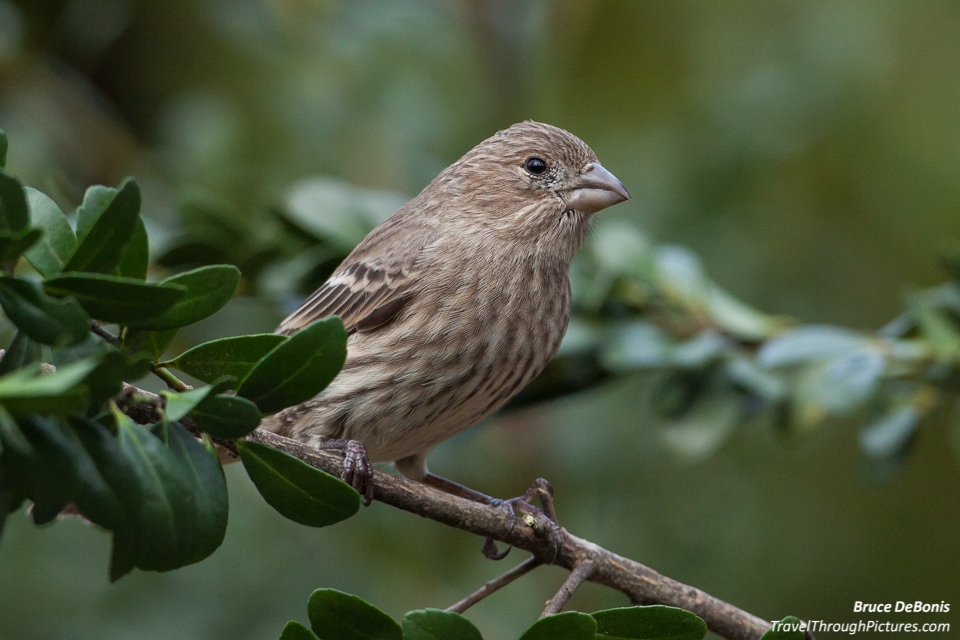
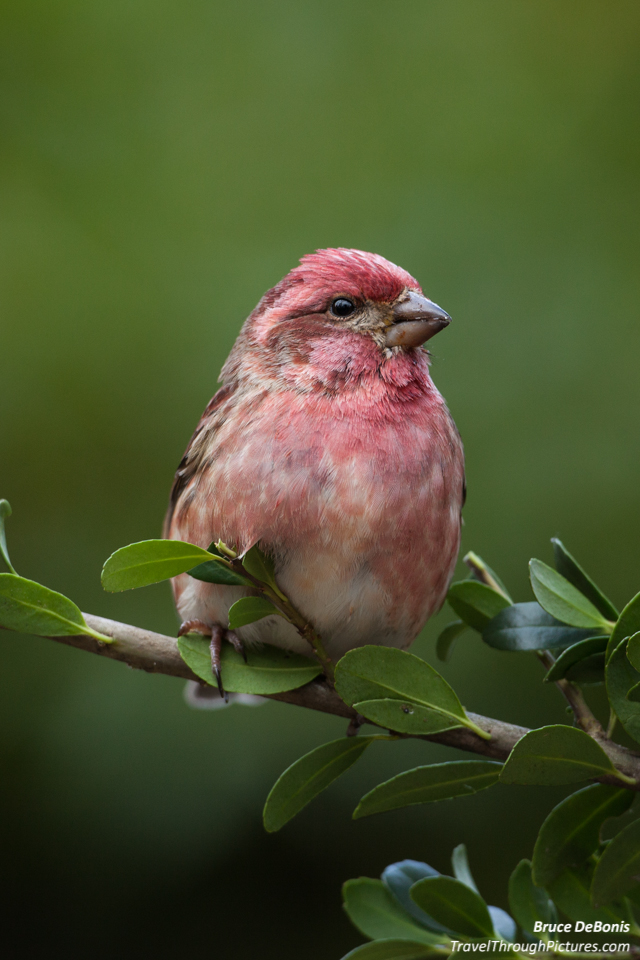
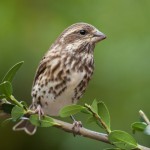
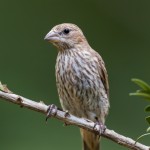
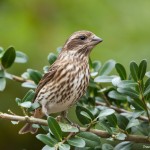
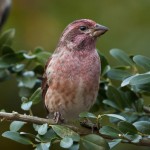
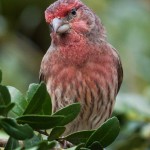
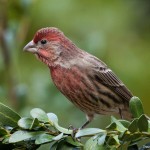
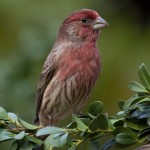
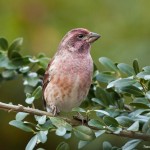
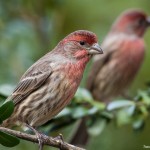
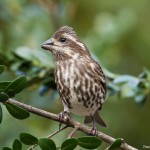
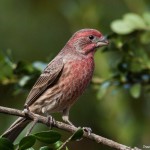
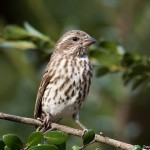
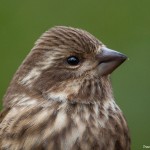
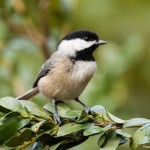
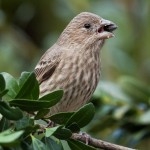
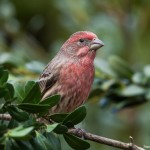
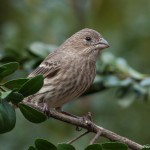
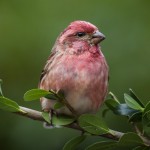
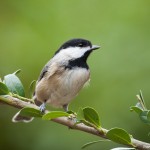
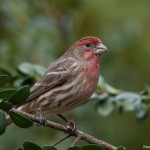
So how did I get these shots? Notice that they are sitting on the same branch. Notice that the leaves on the branch don’t seem to be positioned naturally. Well the feeder is actually about 2 inches away and lashed to the feeder are a bunch of boxwood branches with a tiny section cleared of leaves as a perch. Yes, I cheated.
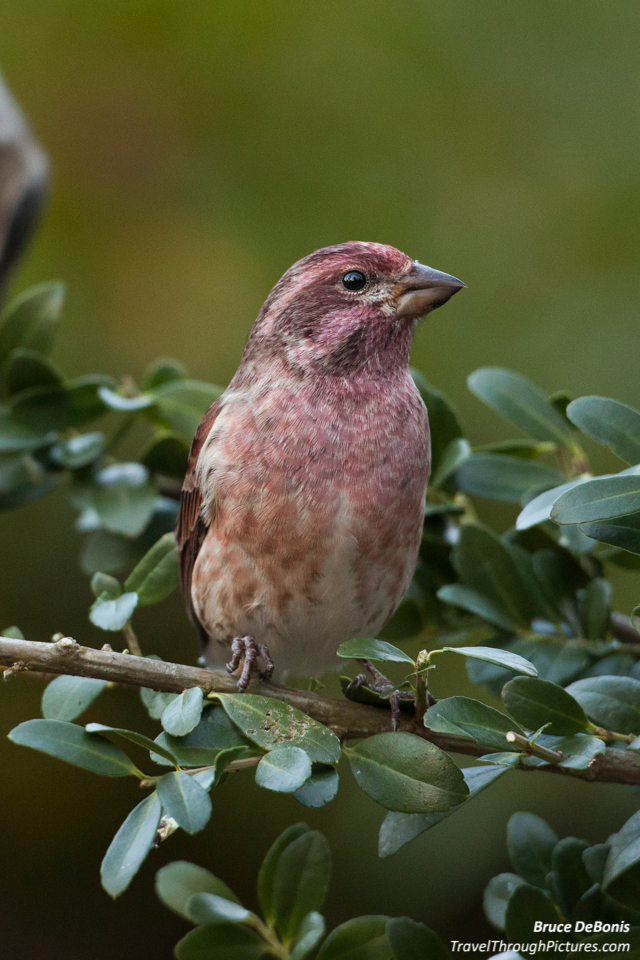
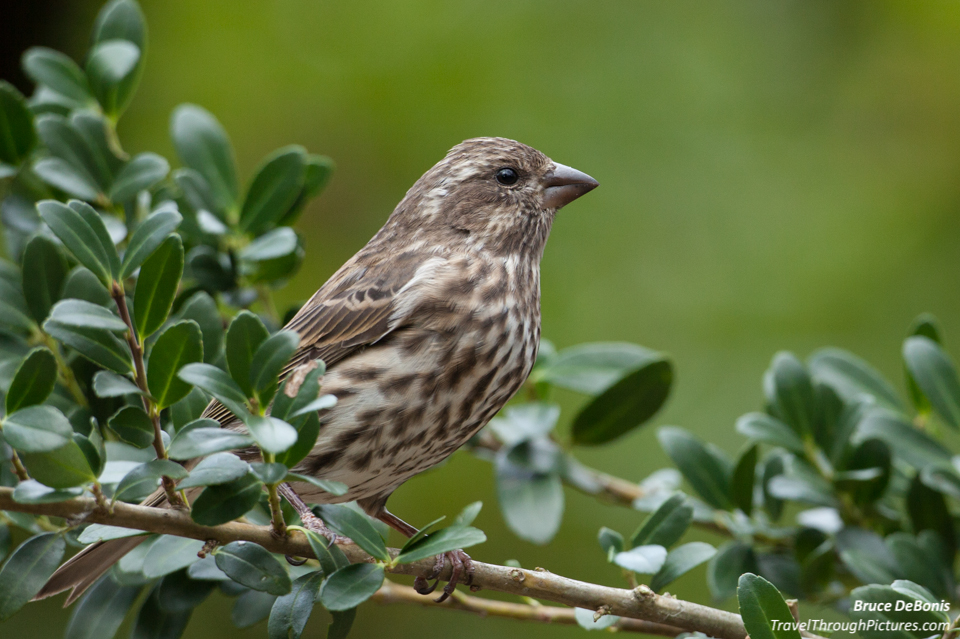
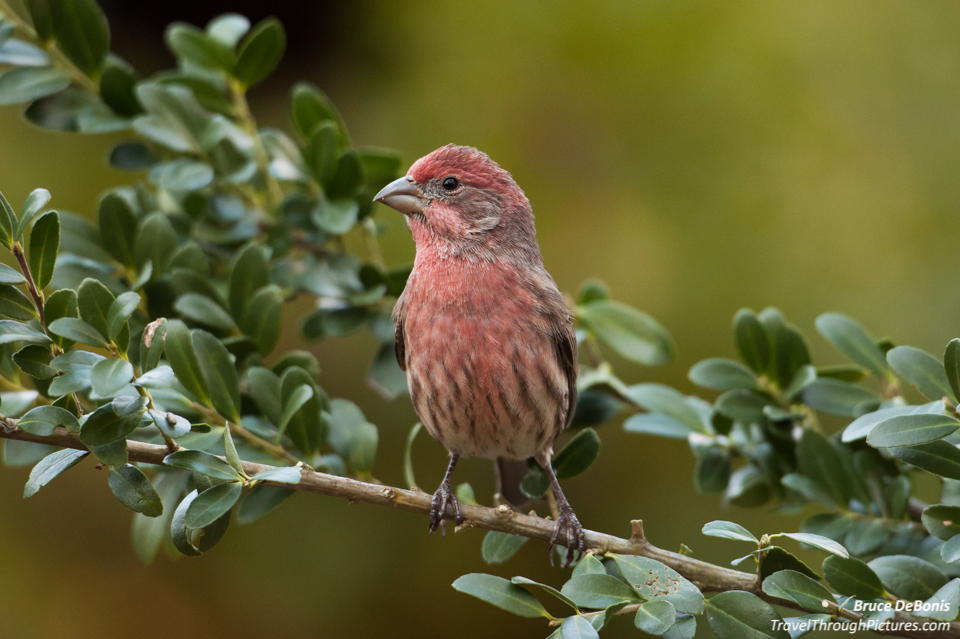
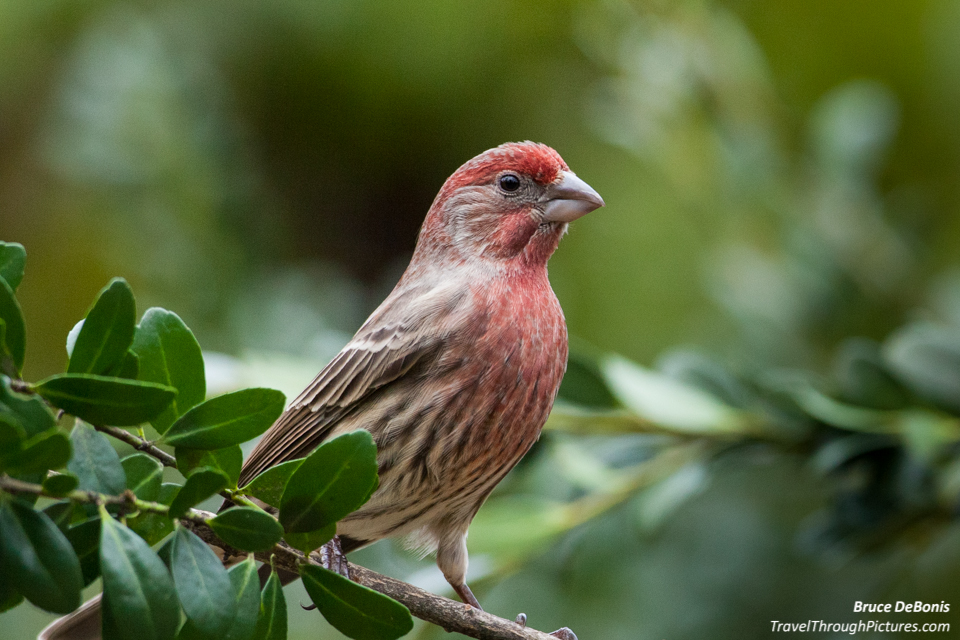
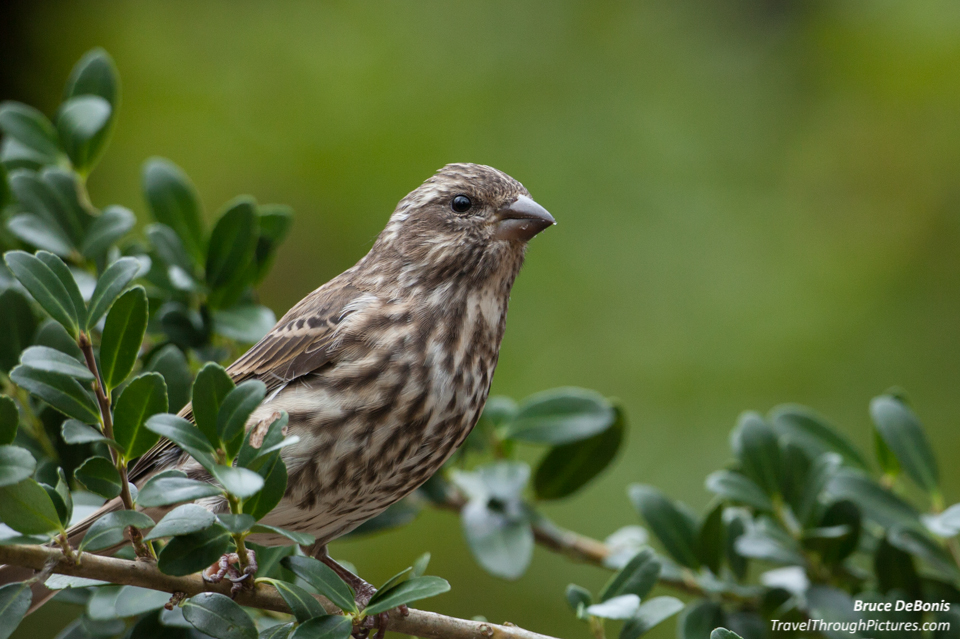
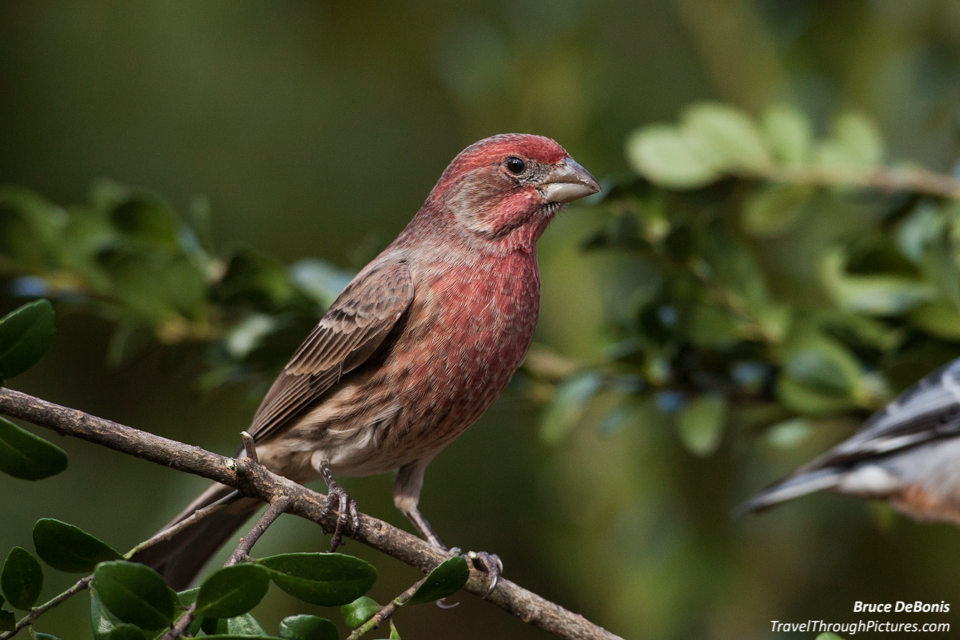
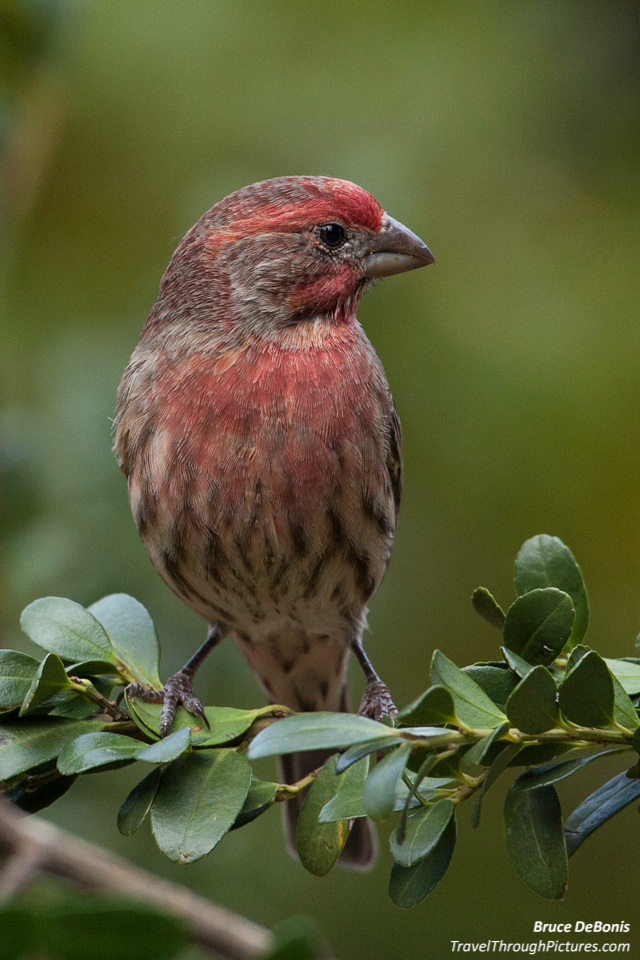
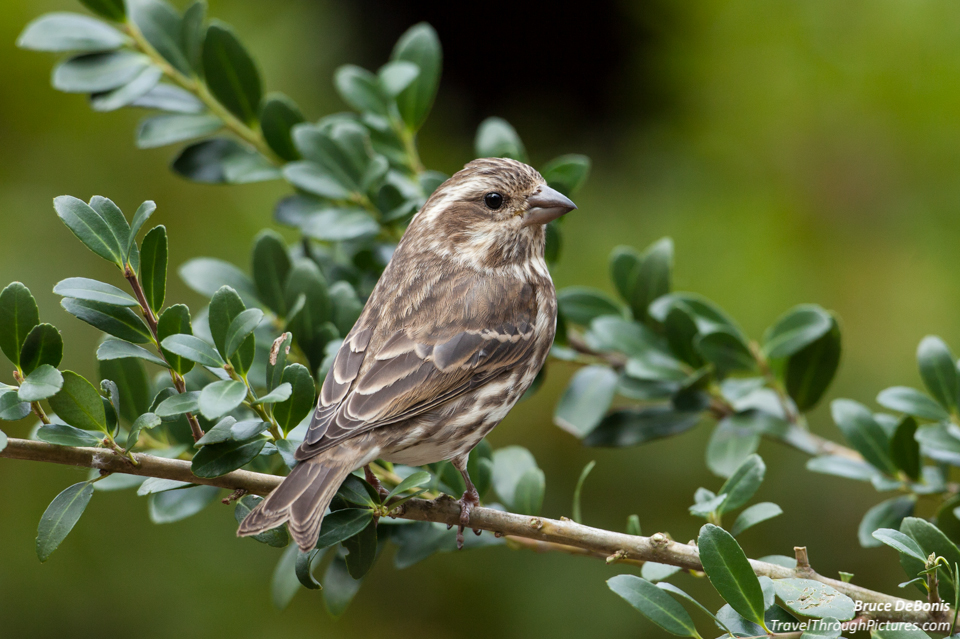
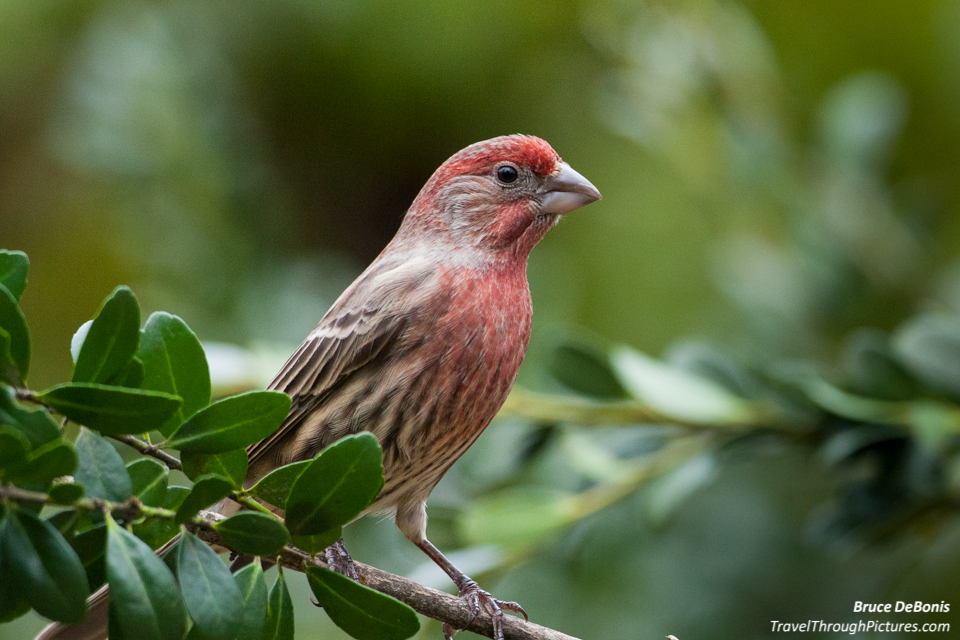
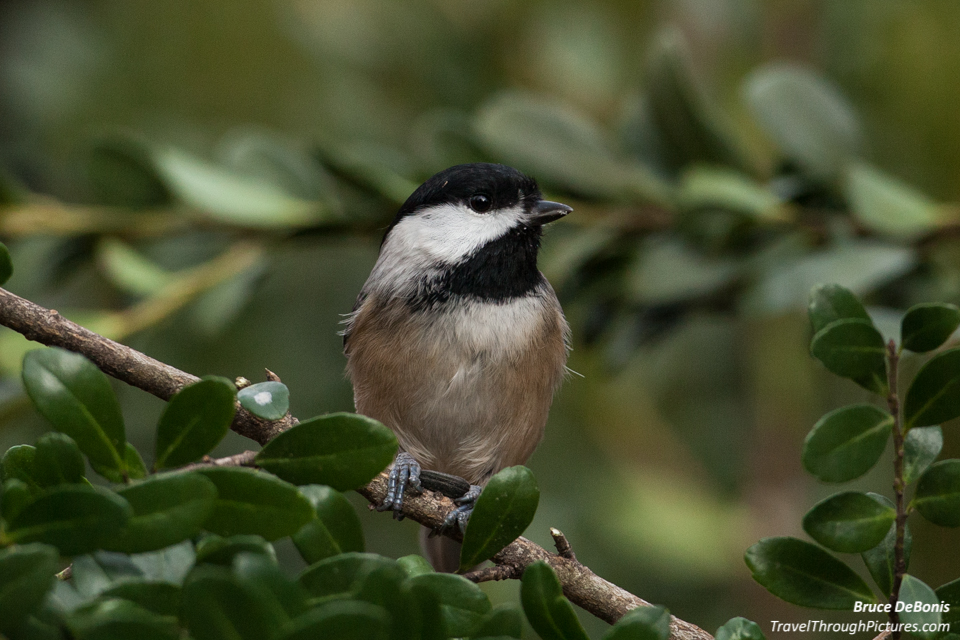
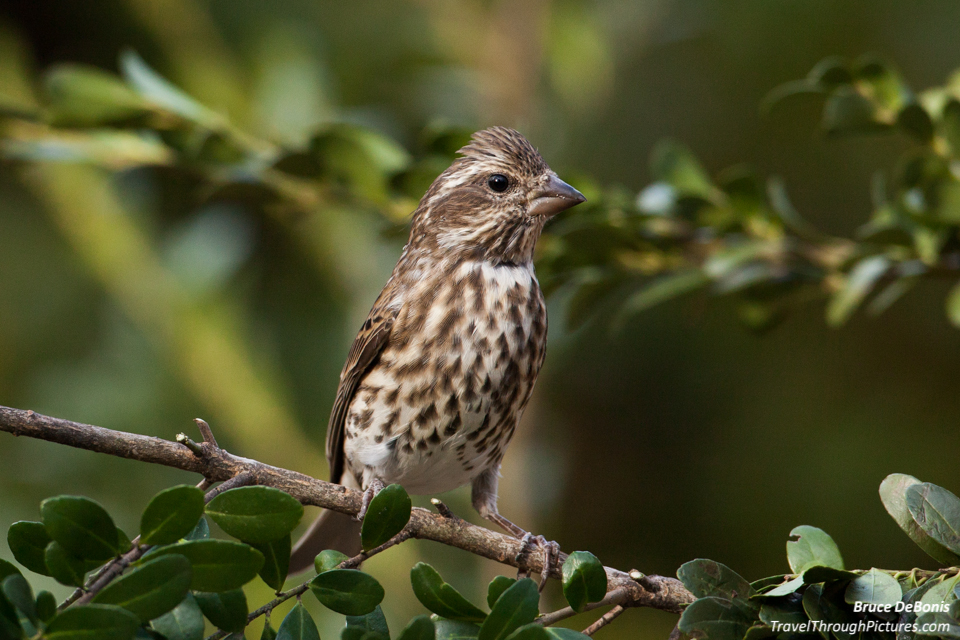
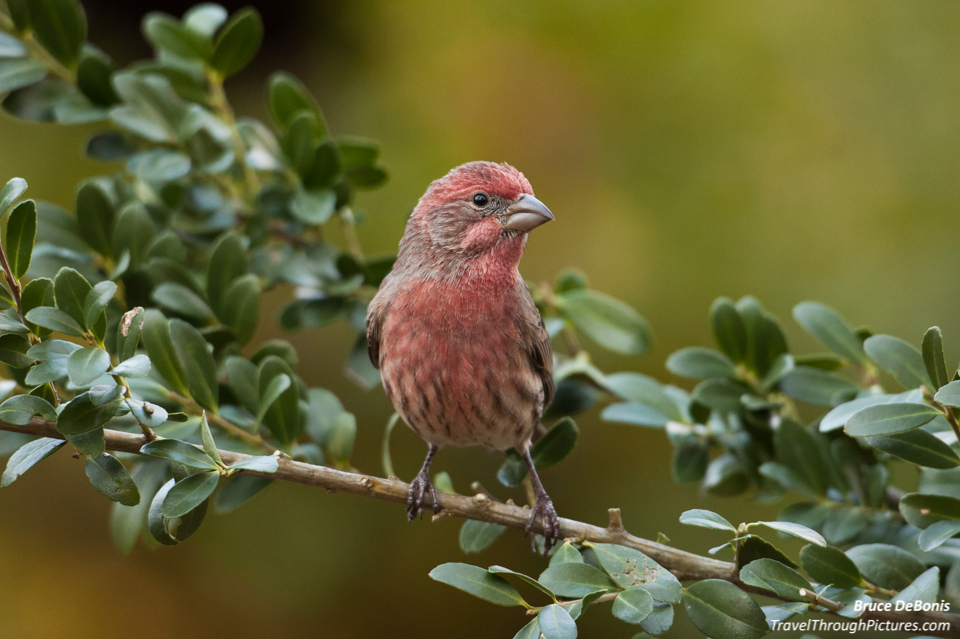
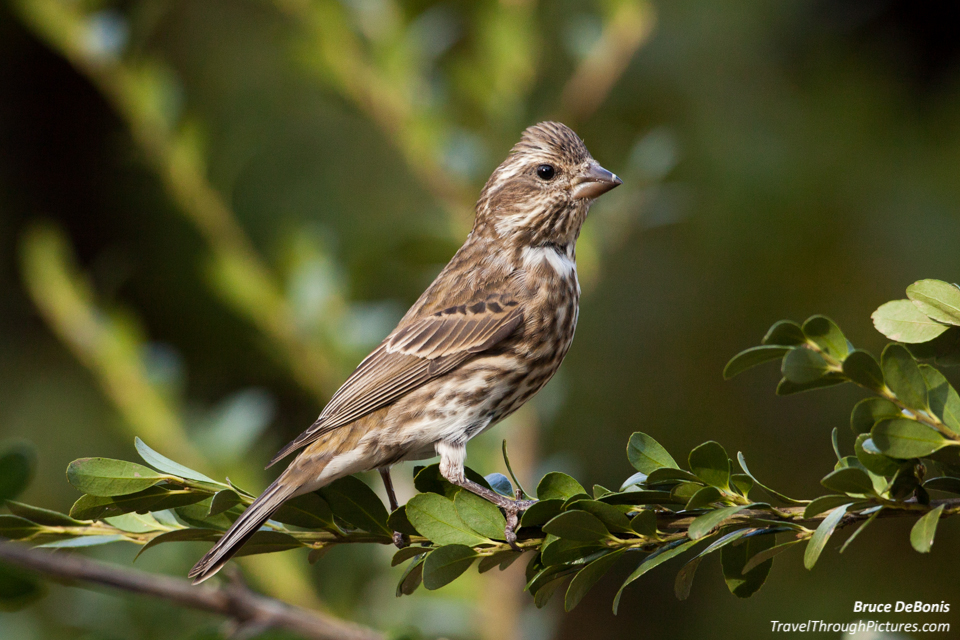
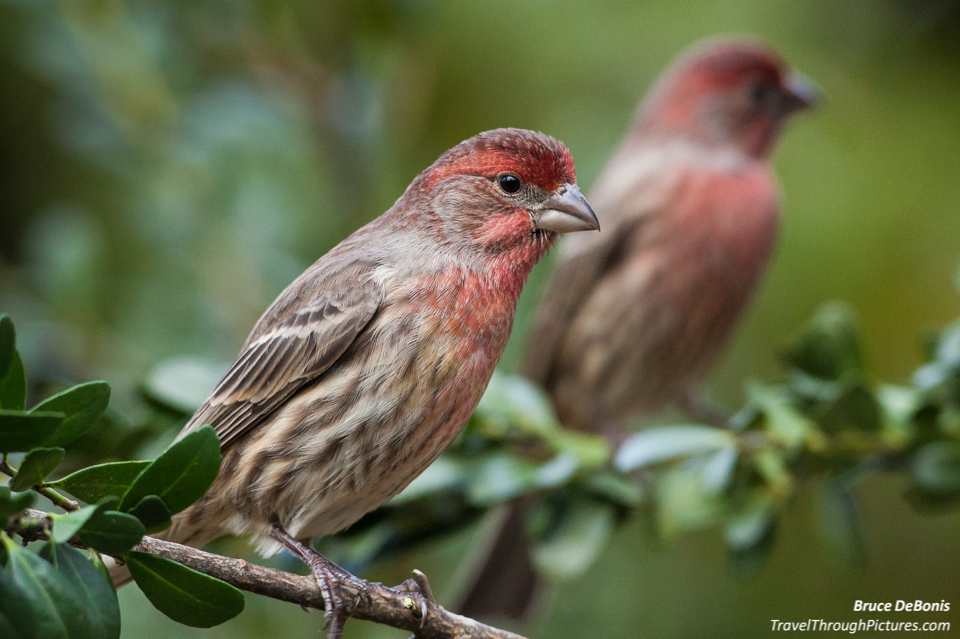
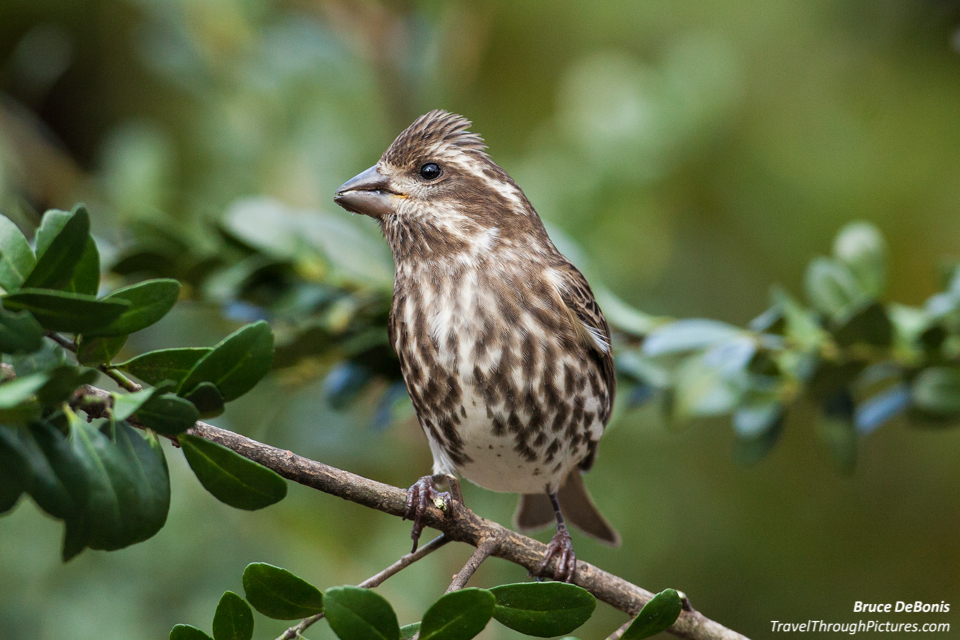
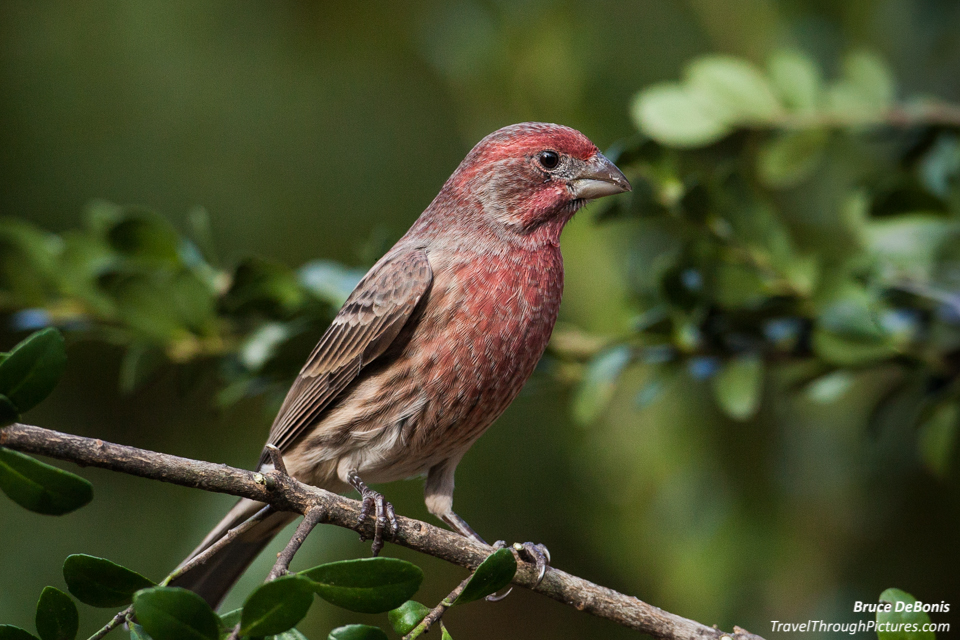
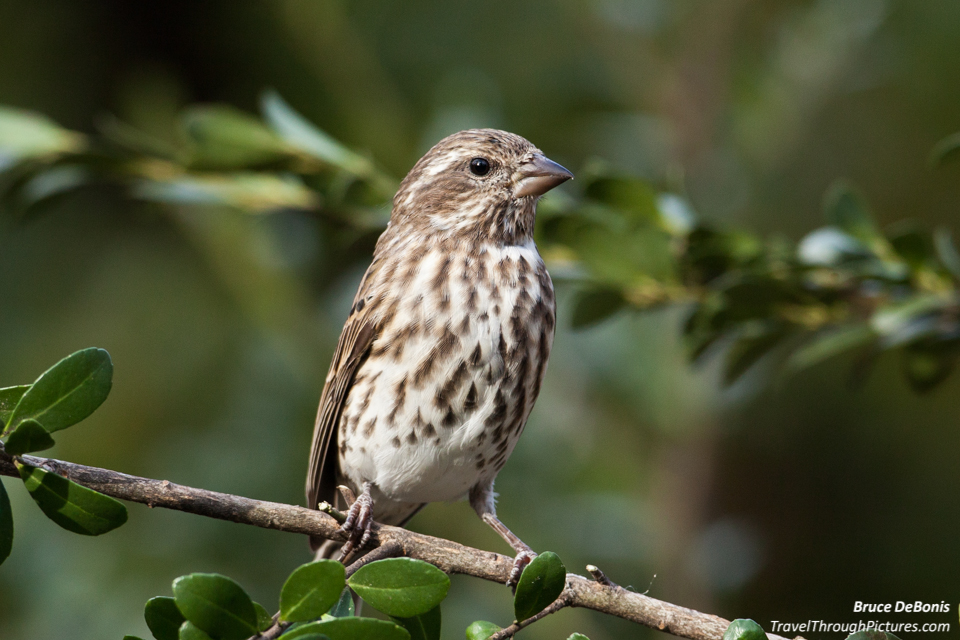
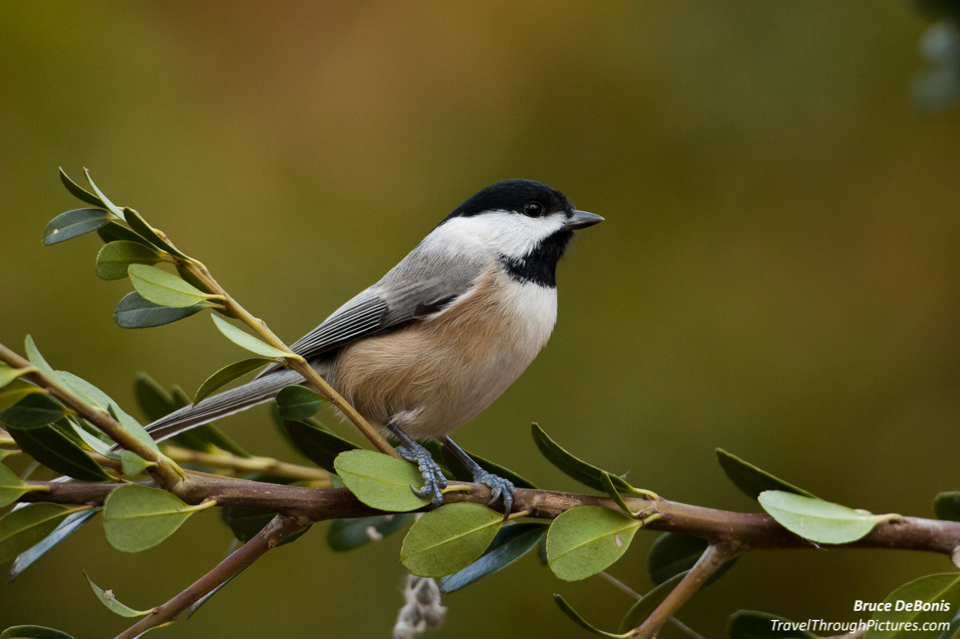
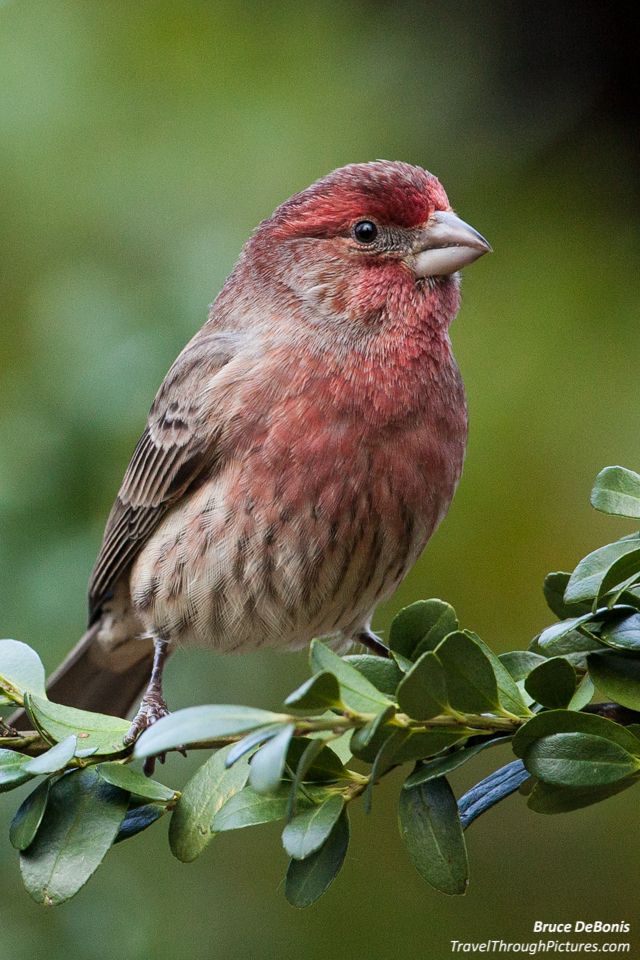
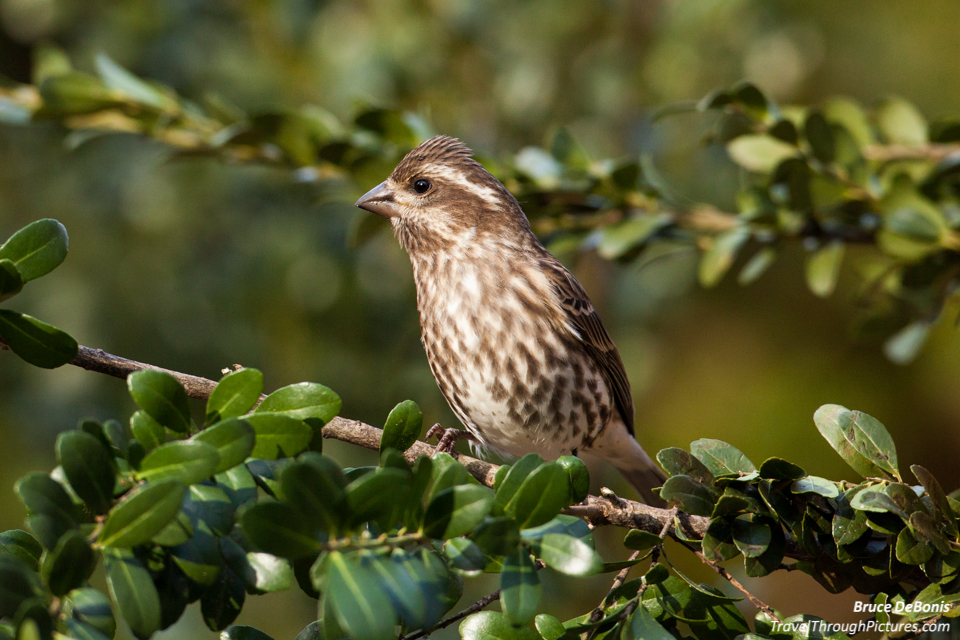
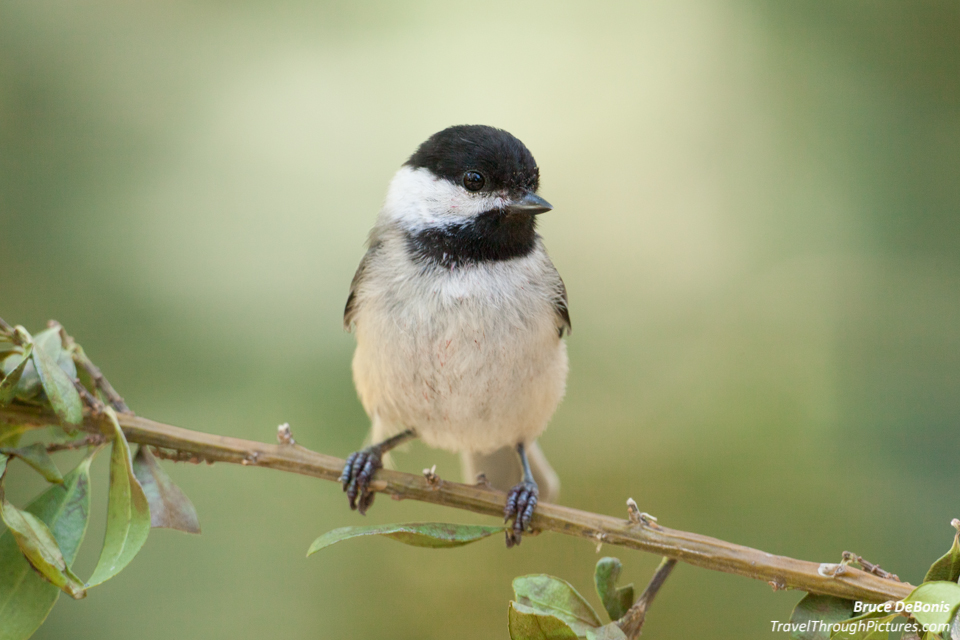
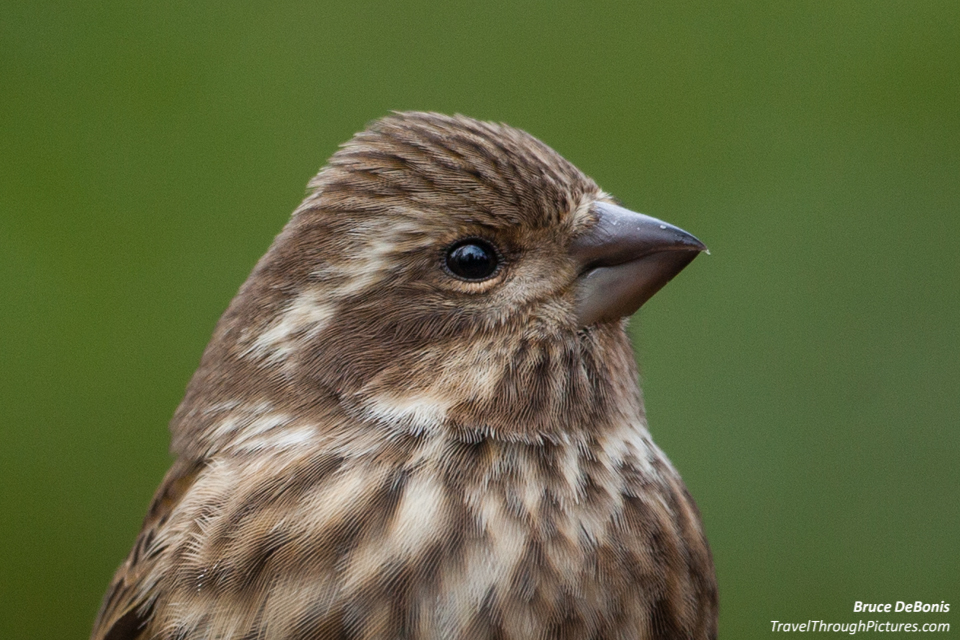
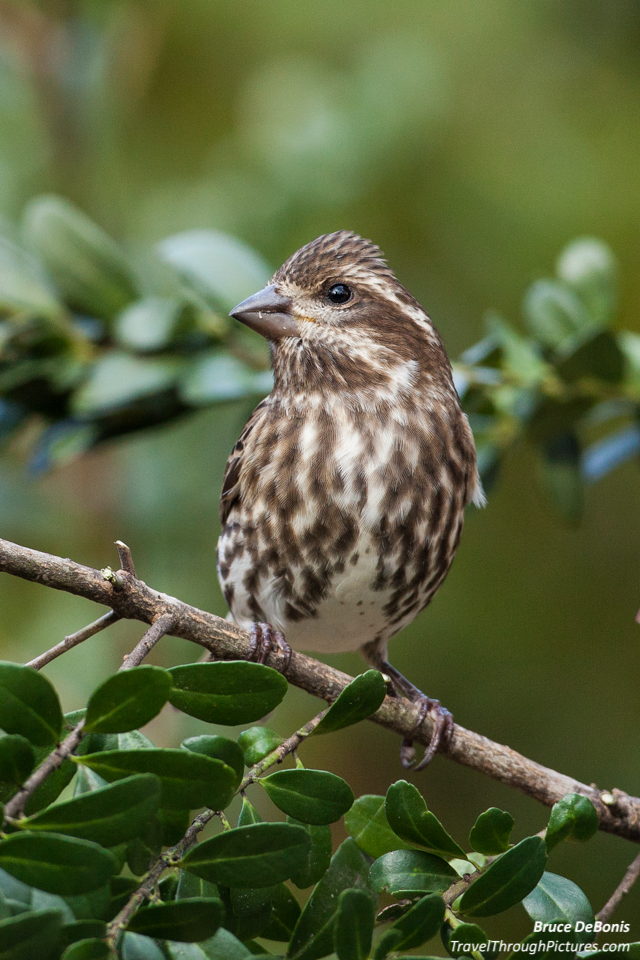
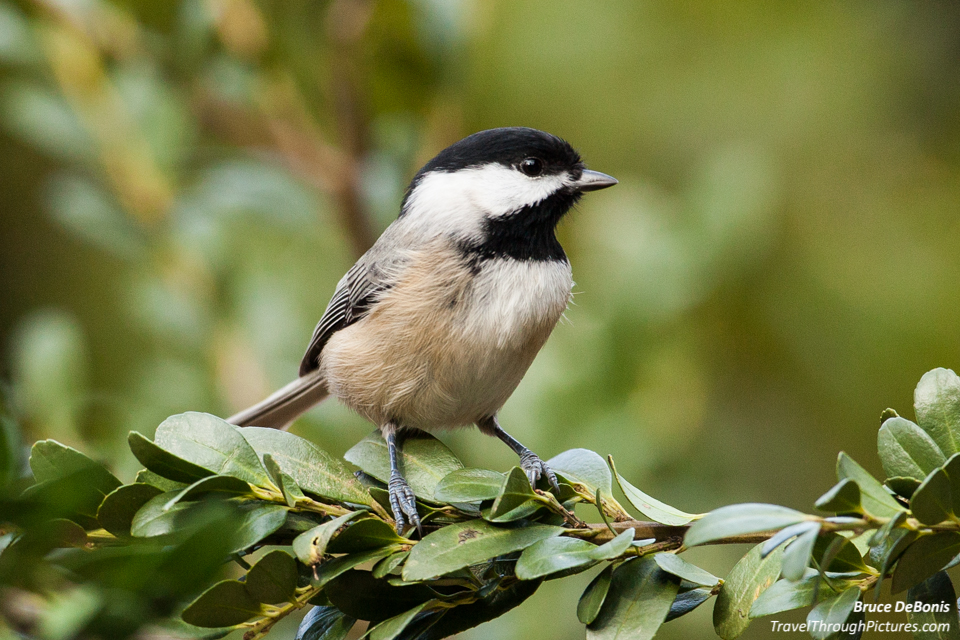
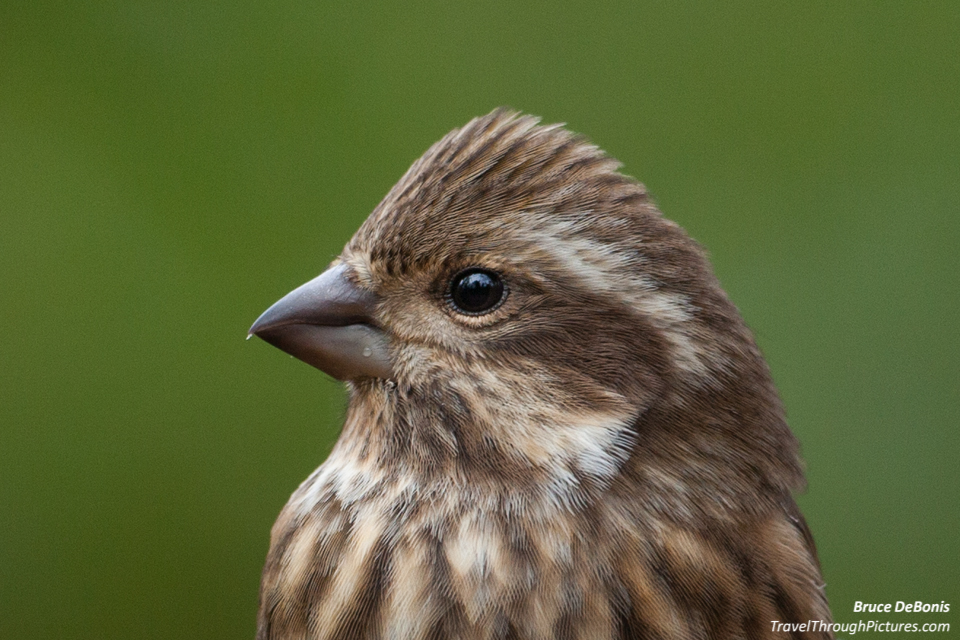
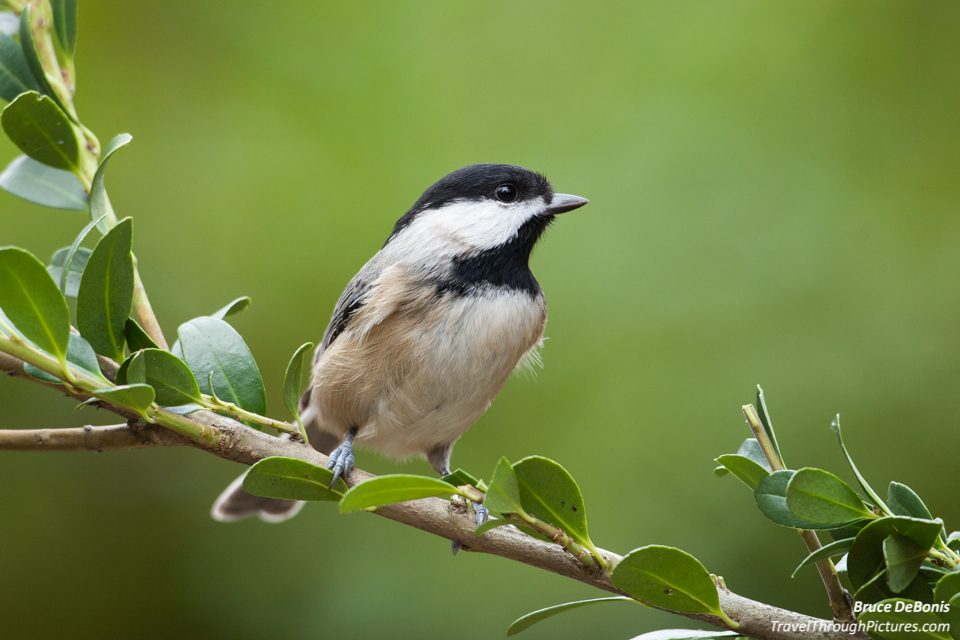
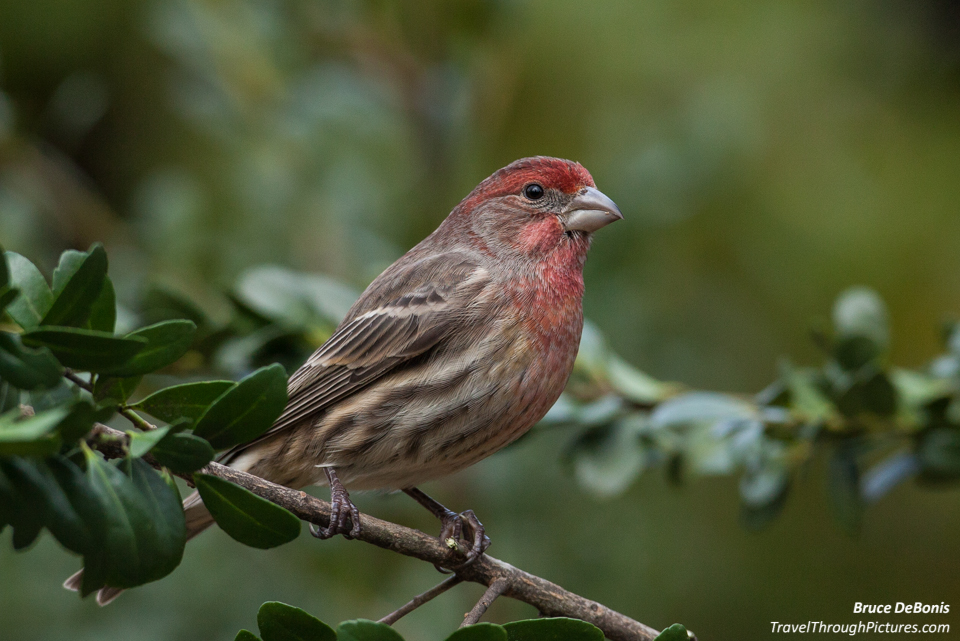
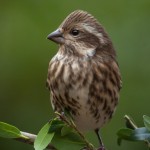
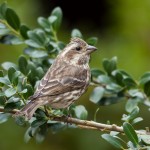
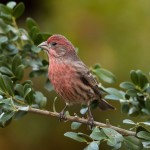
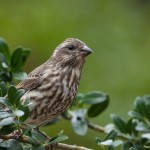
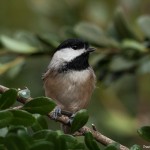
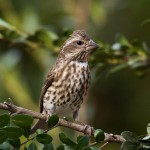
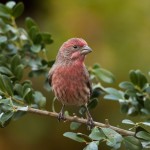
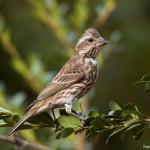
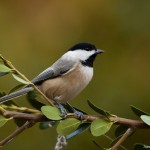
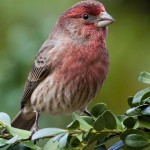
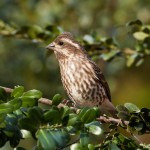
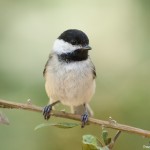
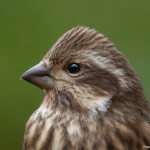
Purple and House Finches, Pine Siskins, and Carolina Chicadees
The birds here are a mix of Purple and House Finches and Carolina Chicadees. You know the Chicadees, but separating the finches is really tough for me. For the female finches, the female Purple Finch has bolder marks and white stripes on the side of her head while the female House Finch is smoother in markings. Similar for the males but I find them a bit harder to tell apart. The Purple Finches are definitely purpler like raspberry juice and the House Finches are redder. If you know a quick way to tell them apart, post a message here to help out. Pine Siskins have that punky, mohawky, crown thing on their head.
This season, the fall of 2012 (sounds like a political statement), we had an explosion of Purple Finches and Pine Siskins here and the Birder Brains told me this is due to a lack of pine cones this year in Canada. Prior to this season, I had never seen a Purple Finch and only a few Siskins just last year.
Feeder Setup
Here are a few tips for setting up branches and your feeder. It may sound pretty brainless to do this but it actually turned into quite a challenge to get the branches and positioning just right. You want to get the branches to provide for an attractive picture but also influence the flight paths of the birds so they are positioned properly when perched. The following really are important things to consider as you set up your outdoor bird studio:
- Consider you background and where you camera will be positioned. You want to have a smooth, similar colored background without harsh color transitions such as would be from the architecture of your home or a large branch of a tree. A bush is a great background and hopefully, at least ten feet from your feeder where distance will make it our of focus, smooth, and creamy.
- Choose a long branch or branch group that will look natural. When I showed these pictures to my mother, she immediately said the branches didn’t look right as the leaves were upside down. Great. Thanx mom. So there you go, after all my planning and work…. according to my mom, I blew it.
- Attach the branch in a way that will allow you to spin and reposition it. I twisted a very large eye screw to the under-side of the feeder to feed the branches through and then banded the ends to the feeder pole. You will need to make micro-adjustments to the branch to get the birds to perch properly for you. Then trim about six inches of leaves and branches to allow for a clear perch.
- Block the feeding toughs around your feeder to drive the birds to the branch-side of the feeder. This will drive the bird-traffic to one side and improve the odds of a great shot.
- You may need a “focus stop” branch behind the feeder. For these shots, I used my 500mm lens but you don’t need a long lens and any lens will do. But this lens gave me some problems in that focus is long and slow and sometimes would overshoot the bird, focus hunt, then give me a “focus error” message and a ruined opportunity. To prevent this, I pounded a pole into the ground about two feet behind the perch with a branch to act as a back stop to prevent the lens from seeking too long of a focus.
- Careful if using a “V” shaped branch as a perch. I tried using a branch that branched out and provided a real nice backdrop making for a “nestled in a tree” look. Well this idea backfired as the birds now flew onto the branch in a way that all I could shoot was their backs. You want to encourage them to fly towards the camera and land so they face you.
If this sounds like way to much work, well, I will leave that up to you. But it started with just my feeder, camera, and a stick. One of the big lessons I learned when I really got serious about this photography hobby is that great shots are no accident… well most at least. You have do some homework and put some thought into it.
Camera Setup
You can use any tripod, camera, and lens setup. If you don’t have a long zoom lens, then your camera will be just closer to the feeder. Now sometimes I noticed that the camera clicks can scare the birds so you may want to wrap a towel around your camera to muffle the noise.
To control the camera, I used Canon’s free EOS Utility software and linked the camera via a long USB cable to a PC located in my kitchen. I can then control the camera and shoot with a mouse. This is called “tethered” shooting and you can read more about it in my blog article where I shot American Goldfinches.
The real challenge is with focusing. You have two choices, 1) use manual focusing and pre-focus the camera, or 2) let your camera auto-focus for you. For my Amercian Goldfinch shoot, I pre-focused, and for these shots, I used the camera’s auto focus function. I am not sure which works better… try out both and drop me an email as to your opinion.
Some tips for setup, focusing, and composition:
- Place your camera exactly perpendicular to your branch. You want the bird to be the same distance from the camera no matter where the little bugger lands. If you pre-focused your camera, this is an absolute must. Even using auto focus, you are still not sure what the camera will grab.. the bird… a leaf…. a branch … whatever… and with the stick perpendicular to the camera, you have a good chance the bird is in the same plane of focus.
- Shoot on a slightly overcast day. I waited for sunny days but the exposures were hard and shadowy. My best results came on a bright but overcast day as the light is diffused, still bright, and won’t cast harsh shadows.
- Watch your background. See the first point in the prior set of tips.
- Shoot in manual. Start with these settings and run experiments: ISO 400, f/6.3, 1/400 sec. If too bright, then speed up your shutter a bit. If still too bright, bump your aperture to f/7.1. Keep notching up shutter and f/stop until you like the exposure. Speeding up your shutter will keep the picture sharp by better freezing the bird movements, and stopping down your aperture (higher f/numbers) will improve your depth of field thus improving the odds of getting the bird head and more of the body in focus. Birds move in a jerky stop/go action so real fast shutters are not required. When a bird lands, rapid fire the shutter. Some will be blurry as the bird was moving but perfect when they stop.
- If you pre-focus, focus on the branch, then move the focus point to the camera by about 1 inch. Moving the focus point closer to the camera is necessary as the birds will be leaning a bit forward. If you don’t do this, their feet and mid-body will be in focus but their heads will be out.
- For autofocus, choose focus points and composition together and be very careful. You will need to understand your camera’s focus point array and this will differ by camera model. But in general, think of the focus point array when you decide how far your camera will be from the branch. You want all of your focus points to be covering the range of places the bird may perch. Don’t worry about the far sides as you don’t care if the bird is there or not because part of the bird will be out of the frame. Getting this step is really tricky and I tweaked this for days. Big birds behave differently from the smaller ones and require different focus approaches. Good luck as you will tear your hair out with this one.
Neither focus strategy is best… you are just going to have to experiment. I think I like using autofocus more as the locations and positioning of the birds will constantly vary and autofocus will take this into account. However the camera will occasionally try on focus on anything but the bird and I will get a “focus error” message on my computer…. and no shot.
This Requires Beer
I drained more than a few for each day of shooting. This takes tenacity, patients, and beer. I did not mention how cooperative the birds may or may not be. Just when you get everything right, the birds disappear for hours. At least with beer, you stop caring.
The Equipment:
- Canon 5D MkII
- Canon 500mm L f/4.0 IS
- Wimberley II gimbal head
- Canon EOS Utility for remote, tethered shooting
- IOGEAR USB 2.0 Booster Extension Cable

