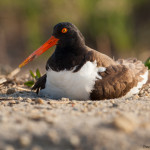
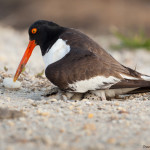
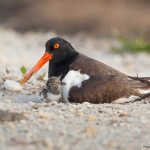
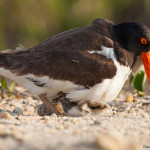
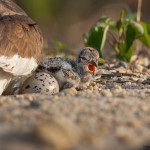
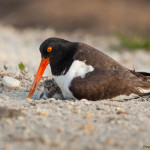
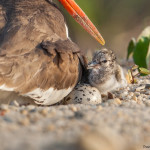
Oyster Catcher with Chick & Exposure Compensation
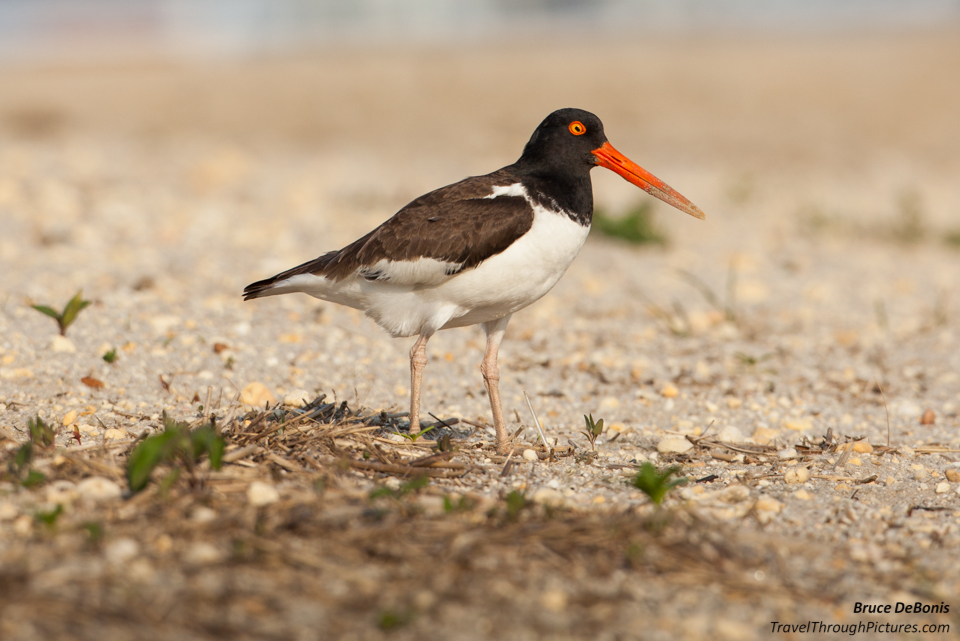
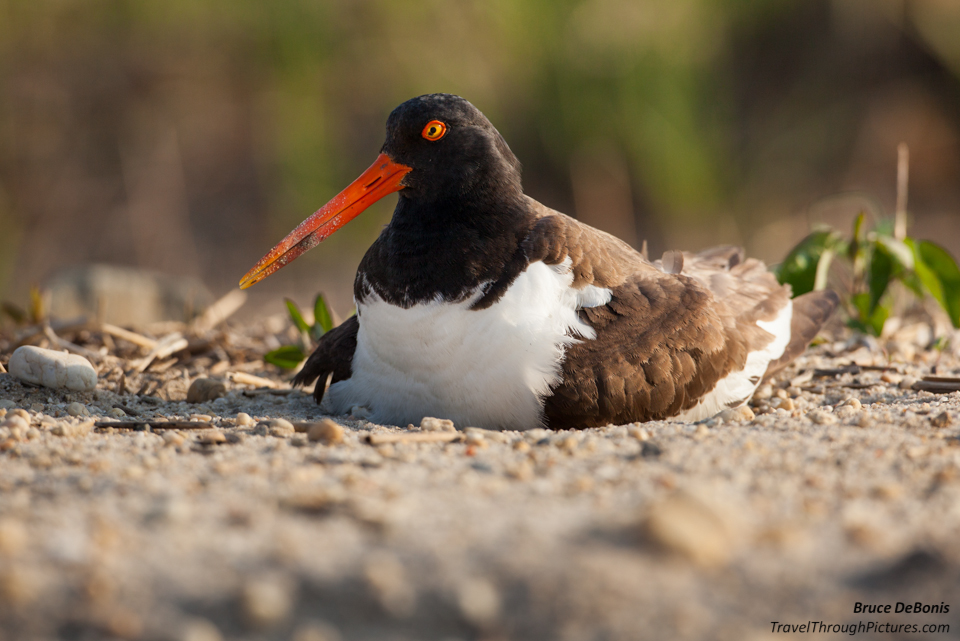
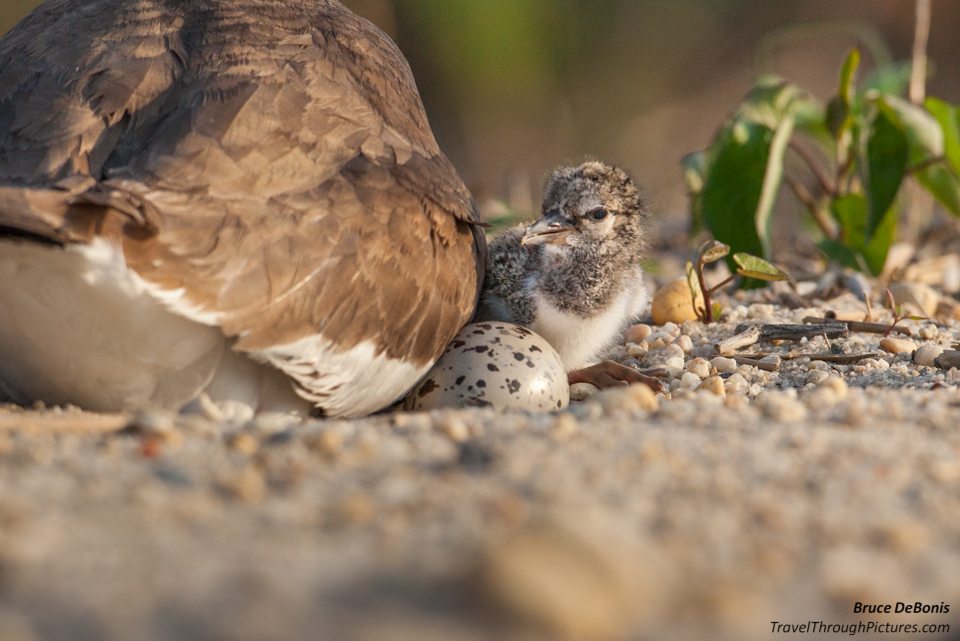
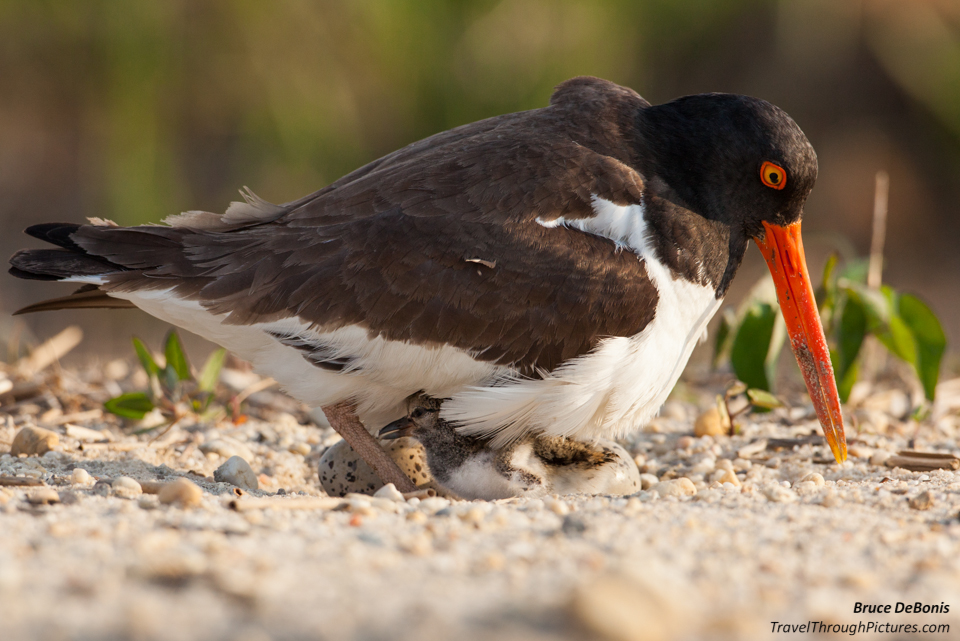
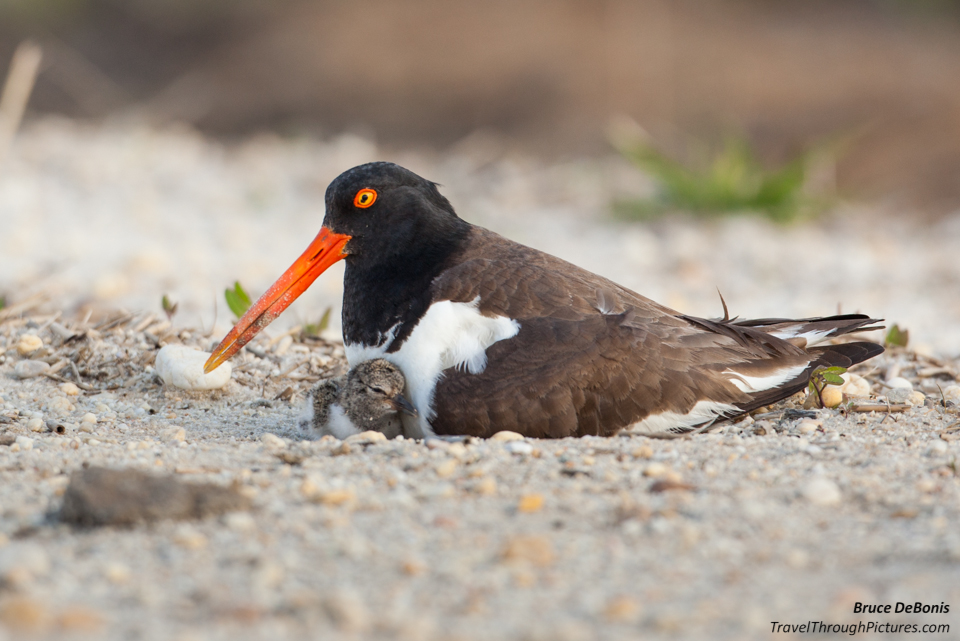
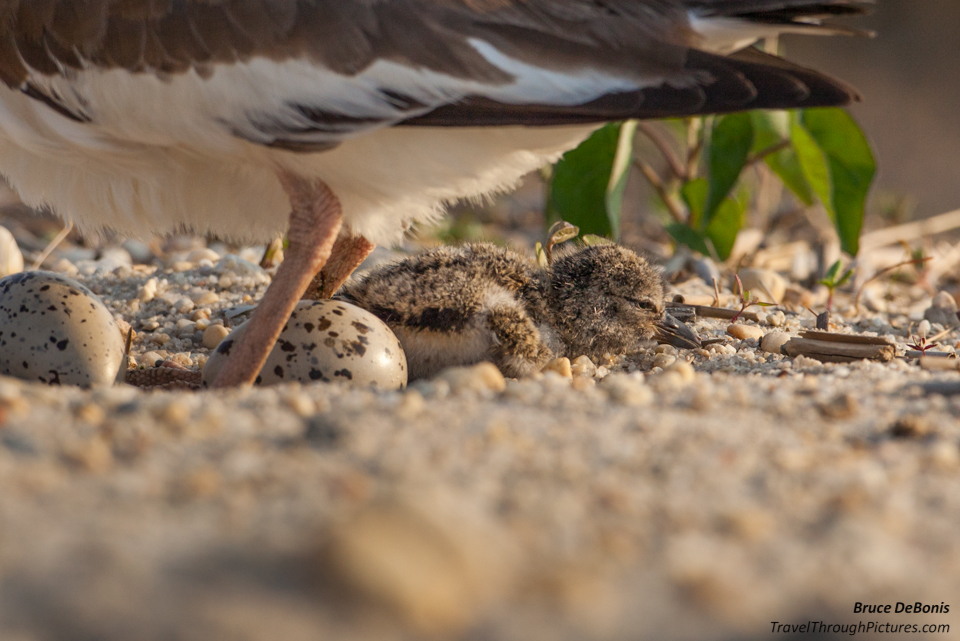
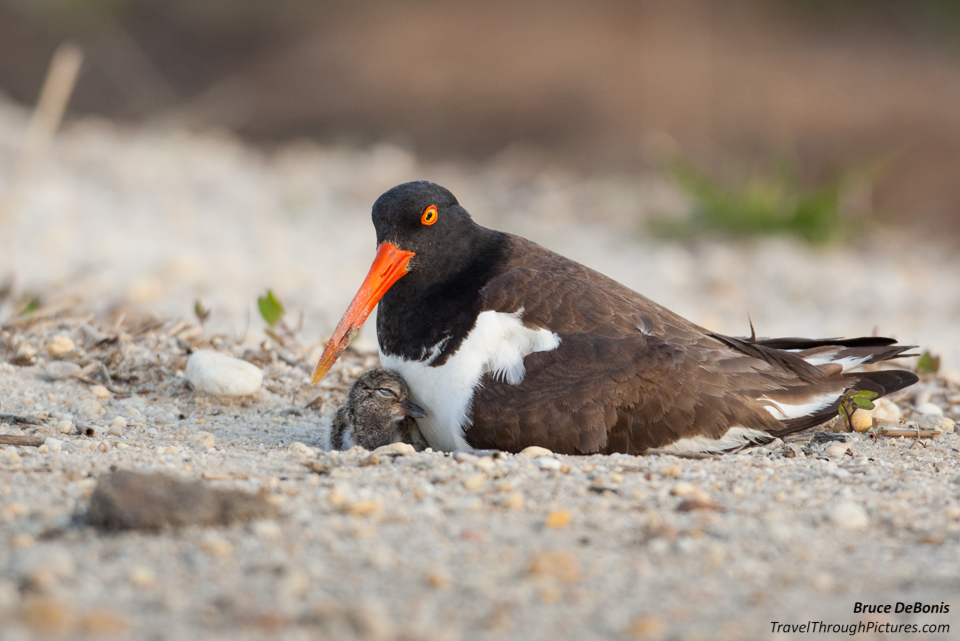
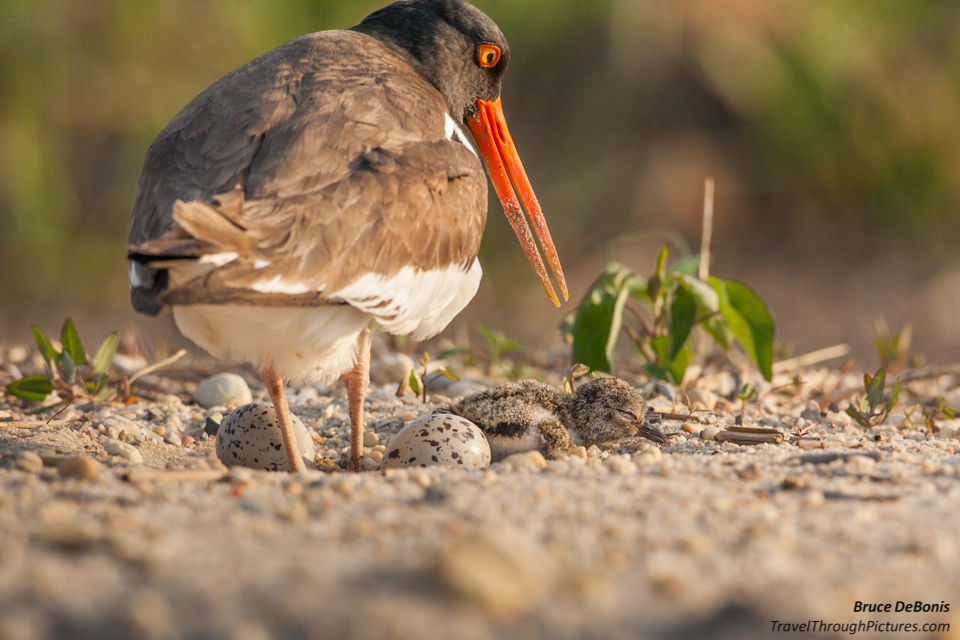
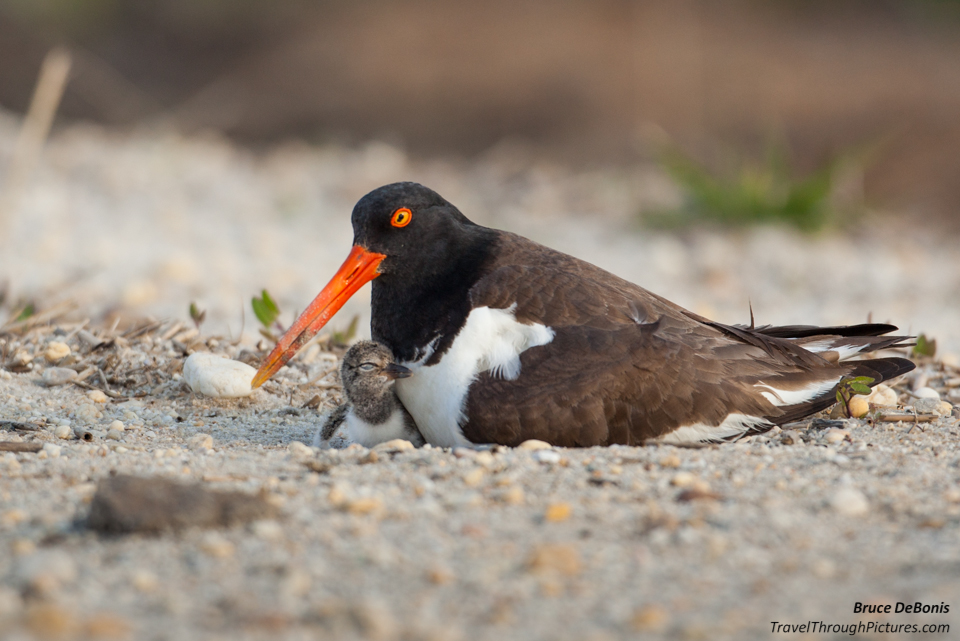
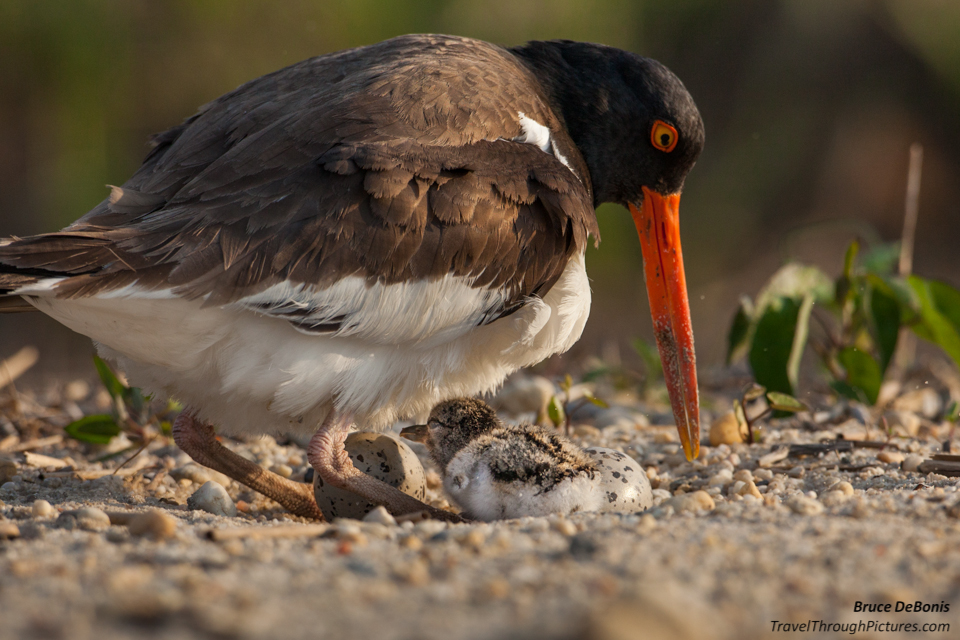
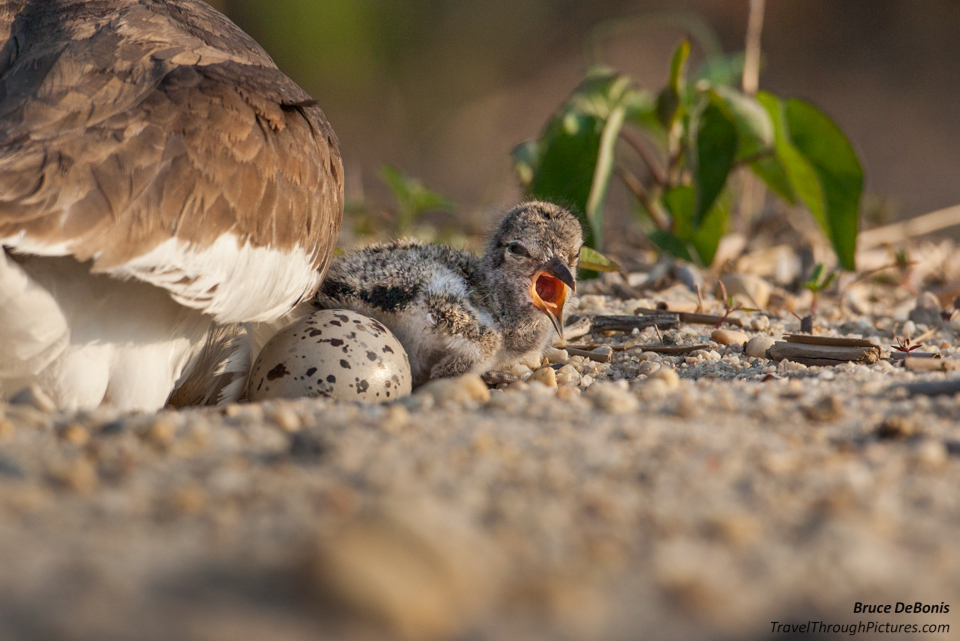
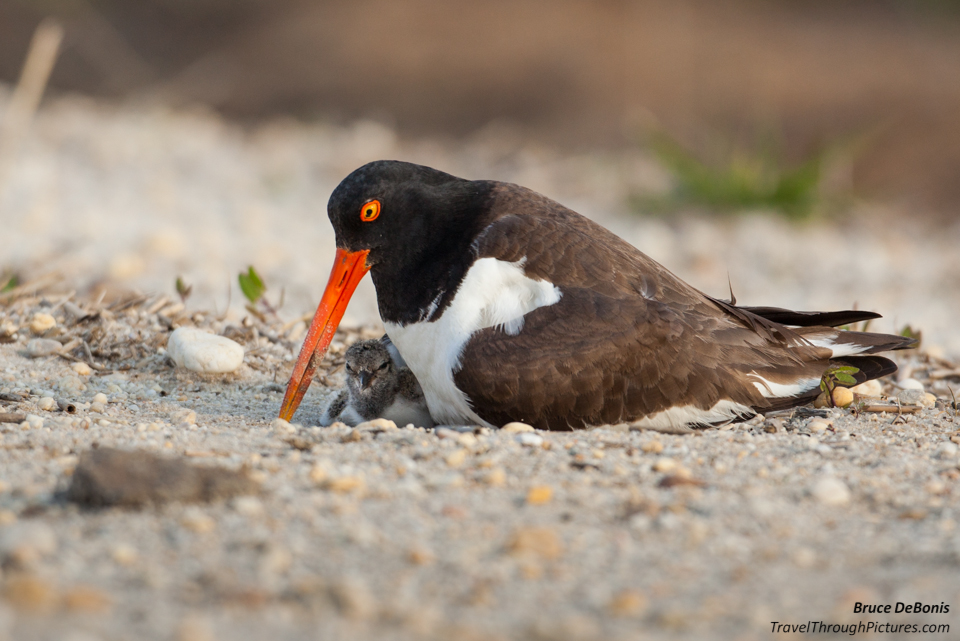
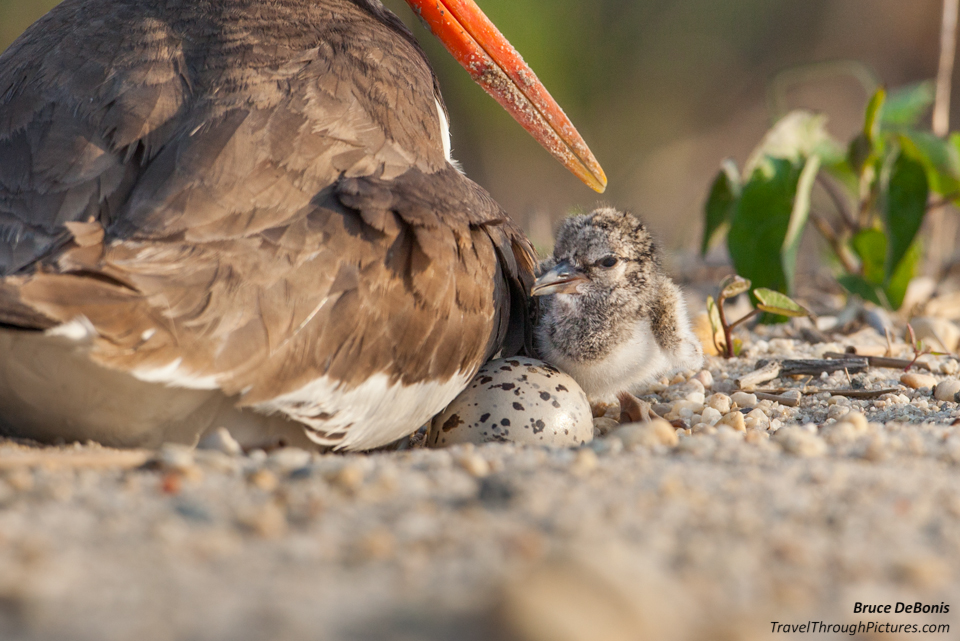
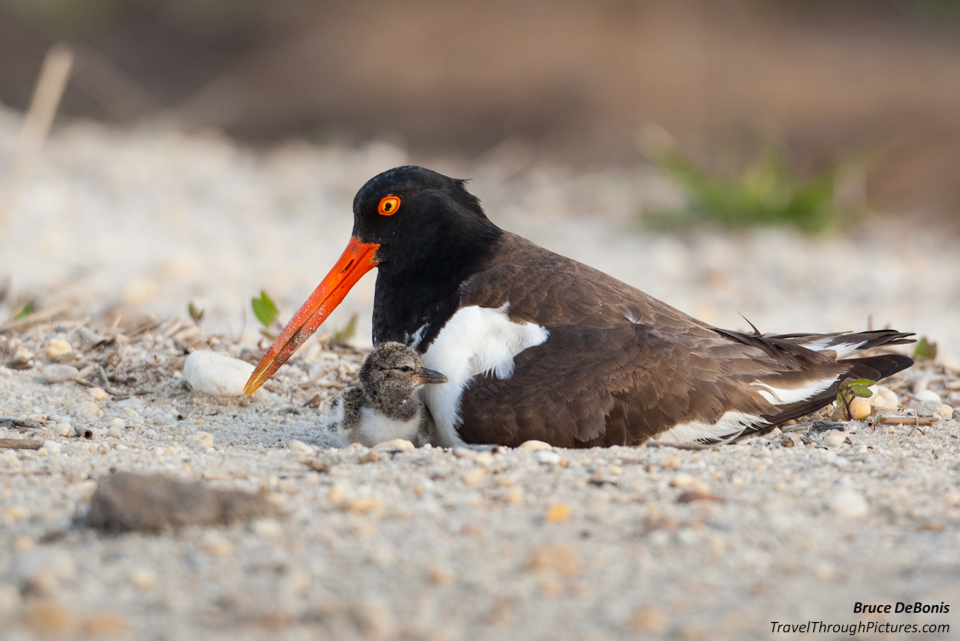
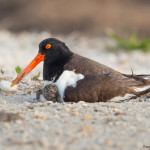
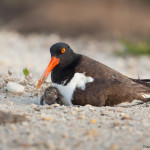
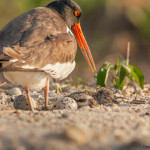
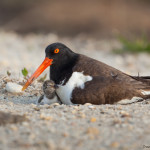
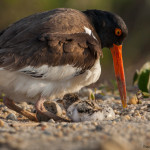
I am so proud of these pics. Proud because these types of picture opportunities are rare and when they do present themselves, I usually panic and mess something up. This Oystercatcher and nest were just on the edge of a road in a popular nature reserve near Atlantic City.
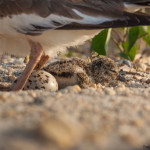
I was able to shoot this bird, chick and eggs from my car window and since they are staying put, I shot a ton. When you have this opportunity to shoot a bunch of pictures of the same scene, experiment and try different camera settings. Some will come out, others will look like crap, but you will learn through comparing them to one another. This was a difficult lighting situation, read more about it below, so I experimented with exposure compensation.
Sad update: I went back a few days later and the eggs and chick were gone. From hearing some accounts, other Birder Brains suspect that some onlookers got too close and freaked the birds. One account saw the chick run away. So please give nature some space. I shot these from within my car and with a long 500mm lens. I believe I was far enough away and even then, I was so far that I had to crop these pictures. You have to respect this wildlife and I feel lucky and privileged to have made these shots.
Shoot from within your car if you can. For some reason, ducks, birds, and other critters don’t seem to mind cars. Get out and they freak.
The American Oystercatcher
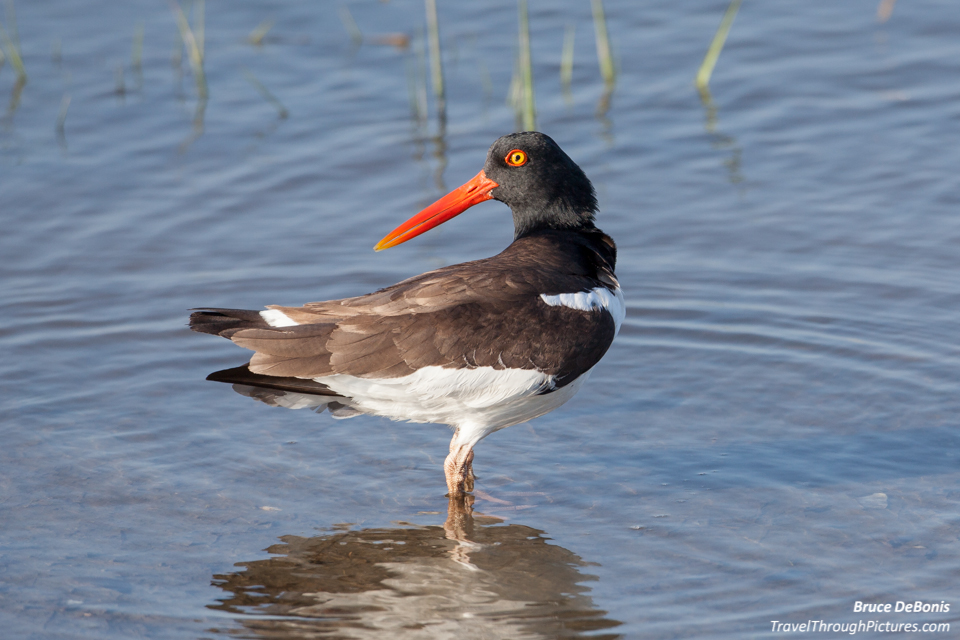
I always liked these birds for some reason; maybe their goofy orange bill and eye ring gets to me. IT was always hard for me to get a good photograph of them as they don’t let you get too close.
Like their name suggests, they eat clams, oysters and other shore critters. While not endangered, the Audubon Society lists them as “yellow” indicating a species of concern. I see them along the shorelines pecking around in the muck or jittering around squawking like crazy. They make their nests by scraping the sand and sitting right on down. Nothing fancy about these buggers.
There were two spotted eggs and one chick in this nest. I wanted to get back in a few days and see if the rest are hatched and begging for food. Unfortunately, as I noted above, this was not to be.
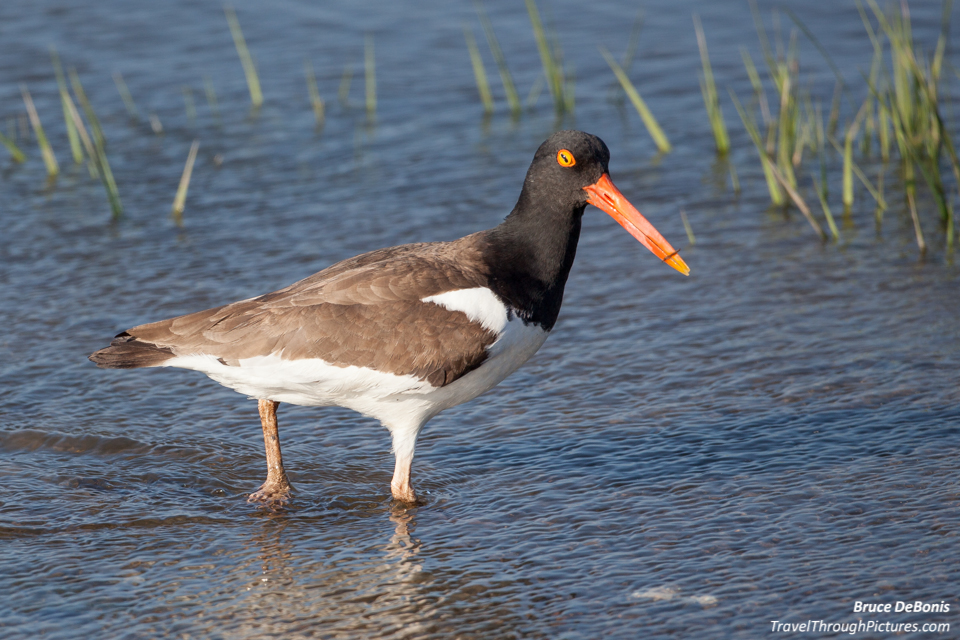
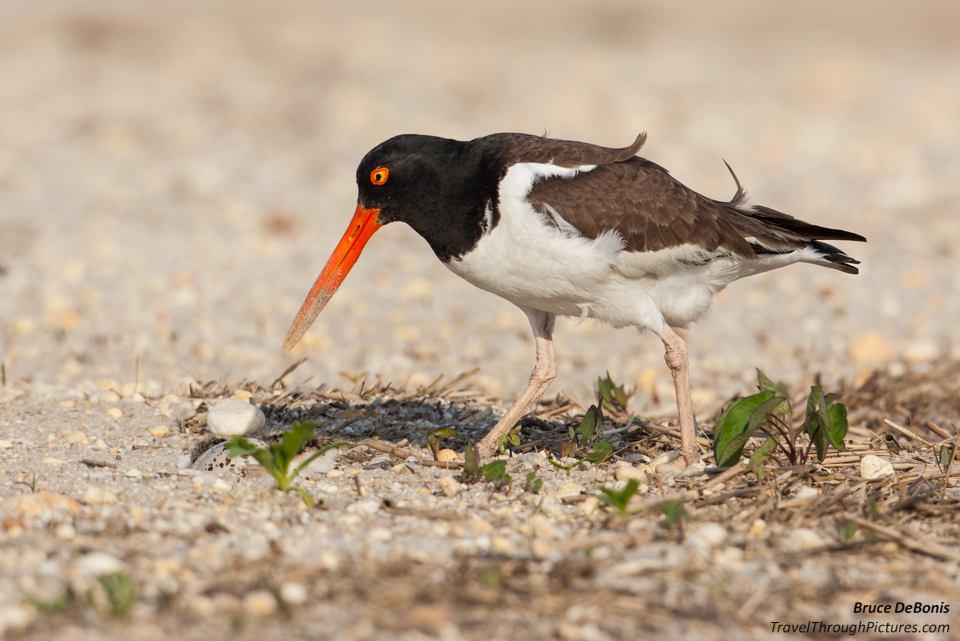
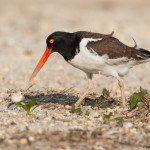
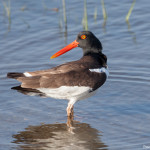
I threw in two other pics of a different Oystercatcher I nabbed along the water’s edge I took a few days later.
Tricky Lighting – Had to use exposure compensation
The biggest challenge (besides finding a cool subject to shoot) was the lighting. It doesn’t look like a real problem, but the pictures you see above are crops of larger, wider angle shots. The full picture shows quite a bit of white sand in the frame and the bird has a black, dark head with super white feathers. The white sand tells the camera the scene is brighter than it really is and therefore speeds up the shutter to darken the picture. The result? The bird turns into a black blob. If I let the camera make the decisions, my pictures would have been ruined.
I always start with my camera in my standard settings stored as a camera preset and shoot in aperture priority mode. I set the aperture and camera calculates the shutter speed based on how bright or dark the scene is. Click here for my standard camera settings. To change the brightness of my pictures from what the camera wants to do, I have to use exposure compensation settings. Click here for more on exposure compensation. Exposure compensation tells the camera to make the picture brighter or darker than it normally would want to do. This allows you to “compensate” for strange and difficult conditions. But, how do you know how much compensation to set or even know if you have a problem?
Use the “blinkies” in your camera’s picture viewer to tell you everything you need to know. Make sure your camera’s Highlight Alert option is set to “Enable”. After you shoot your first picture, view the picture on your camera’s LCD screen. If there are any overexposed areas in the shot, they will blink. If this happens, then set your exposure compensation to a negative number to darken the picture and get rid of the blinkies.
But in my case, the camera underexposed the picture due to the bright white sand. When I looked at the picture on my LCD screen, there were no blinkies but I could see the bird was very blacked out. So, wanting to make the bird lighter, I moved my exposure compensation to +1. I reshot. When I looked at the picture, the bird was much lighter. Good. But maybe I needed to go more. So, I bumped up the exposure compensation to +2 and shot another test.
Now when I looked at the picture, the white parts of the bird were blinking, meaning that I overexposed these areas. So, I just backed off the exposure compensation and shot more tests until the bird stopped blinking.
To summarize this, you want your subject to be bright but not overexposed. Shoot some test shots and look for overexposed blinkies. If there are none, then brighten your exposure with the exposure compensation dial and reshoot until you have blinkies. Then back of a 1/3 of a stop or so or until the blinkies stop. This is called “exposing to the right”. Now you have a well exposed but maybe a bit too bright picture. This is OK as you will turn this into a fantastic shot in post processing on your computer.
By the way, “exposing to the right” has nothing to do with opening your coat in front of a Tea Party meeting. It just means making your exposure a bit brighter than what your camera wants to do. Pros try to do this all of the time because, as I note below, there is more and better information in pixels exposed brighter than those exposed darker.
Post Processing: Lightening is bad, darkening is good
On your computer later, you may want to darken or lighten your subject. If you “exposed to the right” as I did with this bird, you may need to do some darkening. When you lighten dark areas in software, these dark areas don’t look so good as lightening exposes noise and other digital nastiness hiding in the darkness. Darkening, however, is OK in software. This is just a reality of this digital technology. So in general, you want a bright but not overexposed picture, and then darken as necessary in software later. This will yield the most perfect exposure with the most technically perfect picture.
Any over or underexposed areas are not good to have in photograph. There just is no data in them thar pixels to be lightened or darkened and your picture may be ruined. Be careful. The good news is that most shooting situations don’t pose these problems but beware when your subject is brighter or darker than the surrounding environment, you have a challenge, and exposure compensation can make it all better.
The Equipment:
- Canon 5D MkII
- Canon 500mm L f/4.0 IS
- Been bag pillow to throw over my car window and rest the lens
- Lightroom 4

