Flowers, Backlighting, & Exposure Compensation
Making Art: Try Backlighting
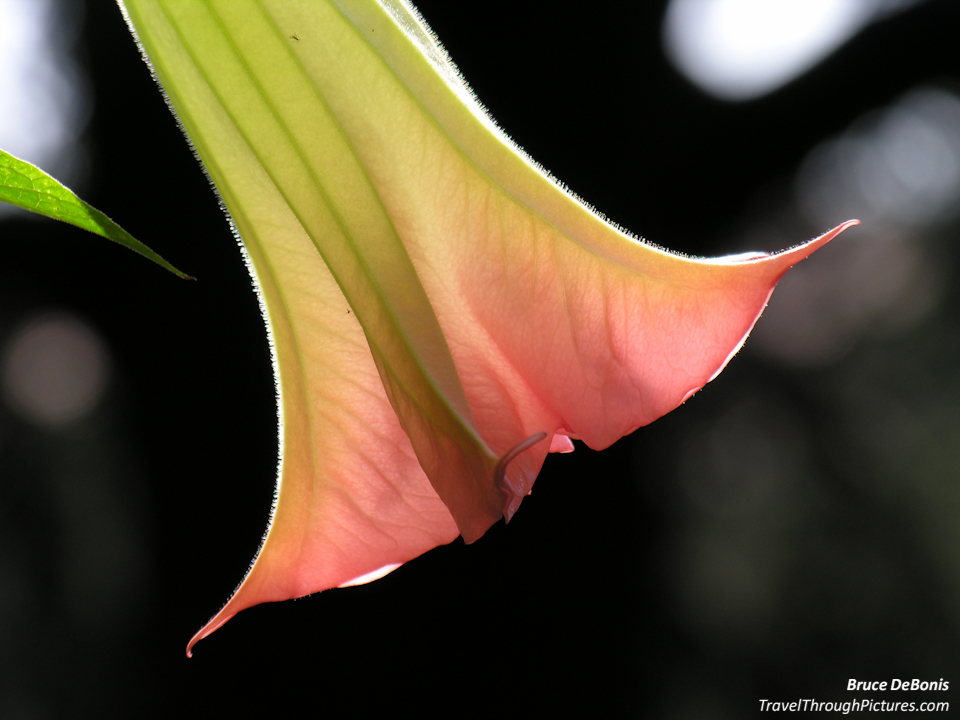
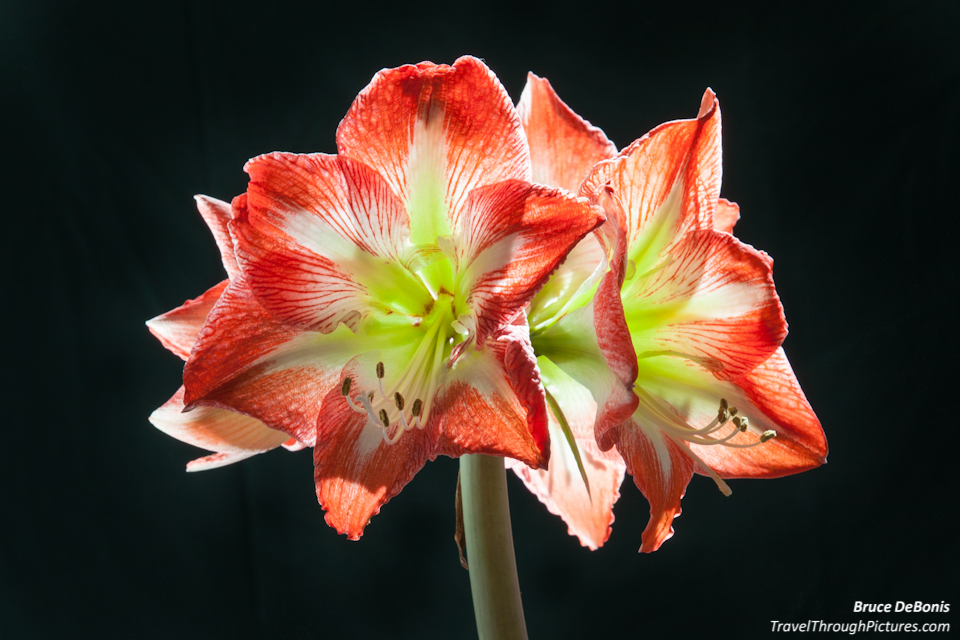
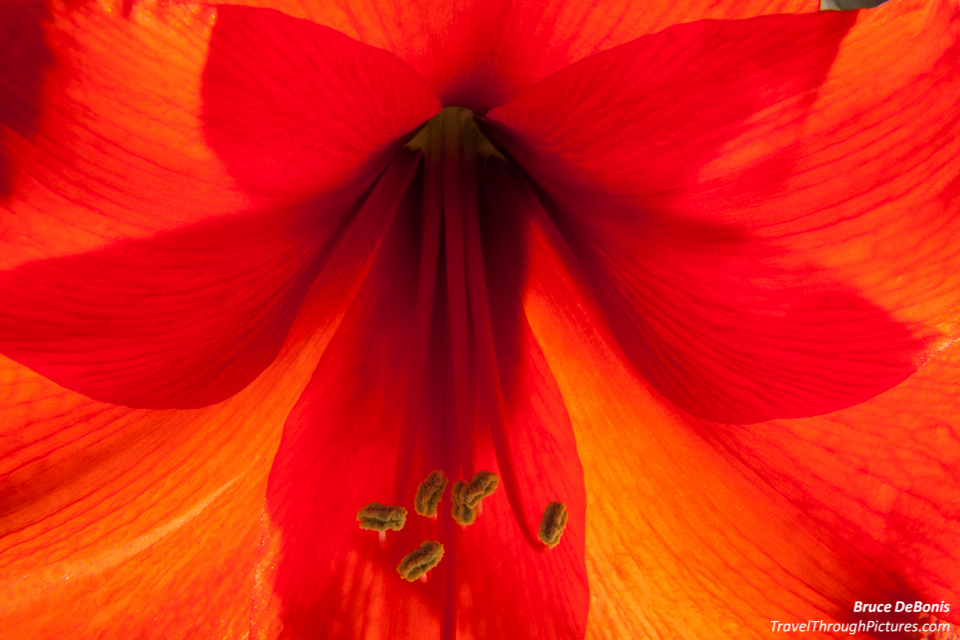
Wanna make art? I gave a sure-fire tip for doing this in my blog about depth of field (DOF) here, but there are more little tricks to turning a typical photo into something special. Besides shallow DOF, another trick is backlighting. Backlighting is where your light source, say the sun, is actually in front of you and therefore behind your subject. This is tricky to pull off, but I will try and walk you through some tips so you can get started.
Starting to Get Advanced Here Eh?
What makes backlighting tricky is that you may have to use the exposure compensation settings in your camera. Exposure compensation is used to tell your camera to make the picture brighter or darker than what it wants to do. You see, backlighting can make your camera think the scene is brighter than it really is. The camera will then compensate, say by increasing (speeding up) the shutter speed to let less light in. This will darken your picture making your subject look dark and underexposed.
It is the same problem you have when you shoot a bird in the sky…. Feathers get splattered all over the place. Er,…. you can see I am from Western Pennsylvania, the word “shoot” has a whole other meaning there. Anyway, the sky is bright, the bird is dark, and the camera thinks it is a very bright scene. Other common shooting situations that lead to your subject being dark, is shooting a person in front of a sunset or when your subject is in front of a window with sun streaming in. The exposure compensation feature can fix this for you.
Click here for another blog piece on exposure compensation.
Tips and Tricks
- Start out your camera with your typical start-up settings (click here for my recommendations)
- Set in Aperture Priority Mode for control, ISO 200 for high quality, and open your aperture all the way (smaller f-numbers) for shallow DOF, and center-weighted metering for predicable exposures (my standard settings get you here)
- Position yourself so the light source is behind your subject
- Meter appropriately (oh oh, this is the tough part, read on)
- Take a test shot and examine the pic. If your subject is exposed properly, you won and are done!
- If it is dark, as it most likely will be, the bright light threw off your meter and underexposed your subject so bump up exposure compensation to +1
- Go to 5 and retry
See, with bright light in front of you, your camera will compensate for the brightness by speeding up your shutter thus darkening your subject. This is why photos of people with a nice sunset behind them always look blacked out. Actually there are a few ways to address this challenge and you are welcome to try all of them to learn:
- Move your body or zoom so the subject fills most of the screen therefore blocking out and minimizing the bright light source – this will correct your exposure problem but you may not like the composition
- Use a fill flash,but this will wreck the whole point of backlighting by washing out the light passing through your subject
- Use spot metering, as this will force your camera to meter on a small part of your frame, the center where your subject is, and ignore the bright light around it. But I don’t recommend this method as spot metering has its own complexities and may cause other exposure problems
- Use exposure compensation in your camera, and set it to overexpose a stop, +1 or so as this will lighten your subject and compensate for the incorrect camera calculation
Any of the above will work here but I recommend using exposure compensation. Forget the others, as you will use exposure compensation for more situations and it is your most powerful tool to get your exposures correct. The graphic here is from the manual of my Canon 5D Mk II and shows the exposure compensation features. While your camera may be configured differently from mine, the exposure compensation gradient usually looks the same in all cameras.
How much compensation to use is pretty impossible to predict unless you are very experienced. So, my typical, results-oriented recommendation applies here: start at +1 and shoot a bunch at different settings. You can review them on your camera’s LCD. I also must point out that you can use your camera’s automatic bracketing feature to help with exposure compensation, but I am not going to go into that here, as I will leave it to you to read your manual for that. But really, you don’t need to use the automatic bracket feature as I feel that camera function will just add complexity to your shoot and cause your brain to freeze up. That is why I like to keep things simple and not use the automated functions on my camera. It is just too much to think about.
So, in a pinch, use +1 as it should get you close. +1 tells the camera to brighten “one stop”.
When to try Backlighting
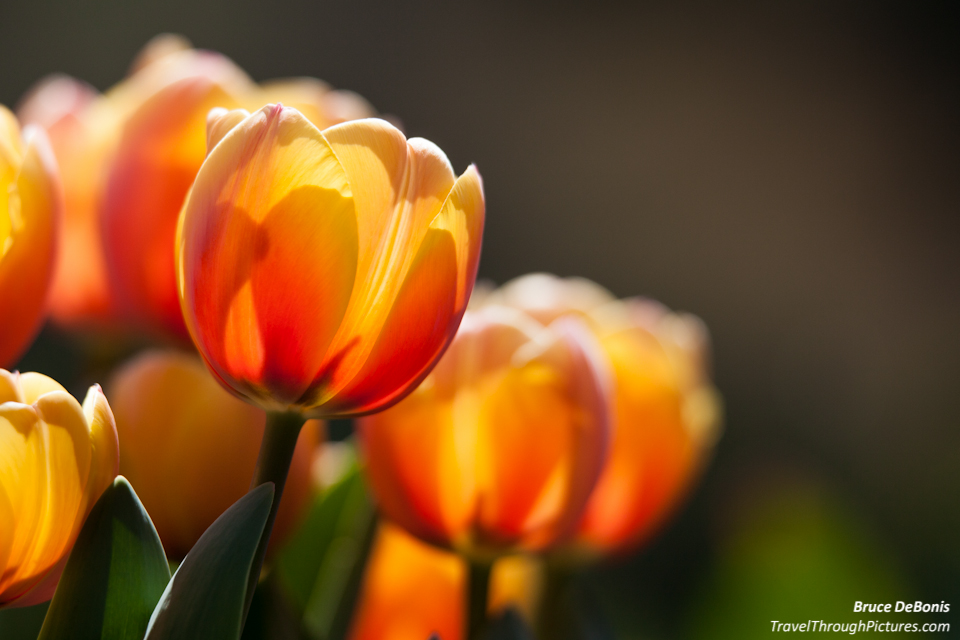
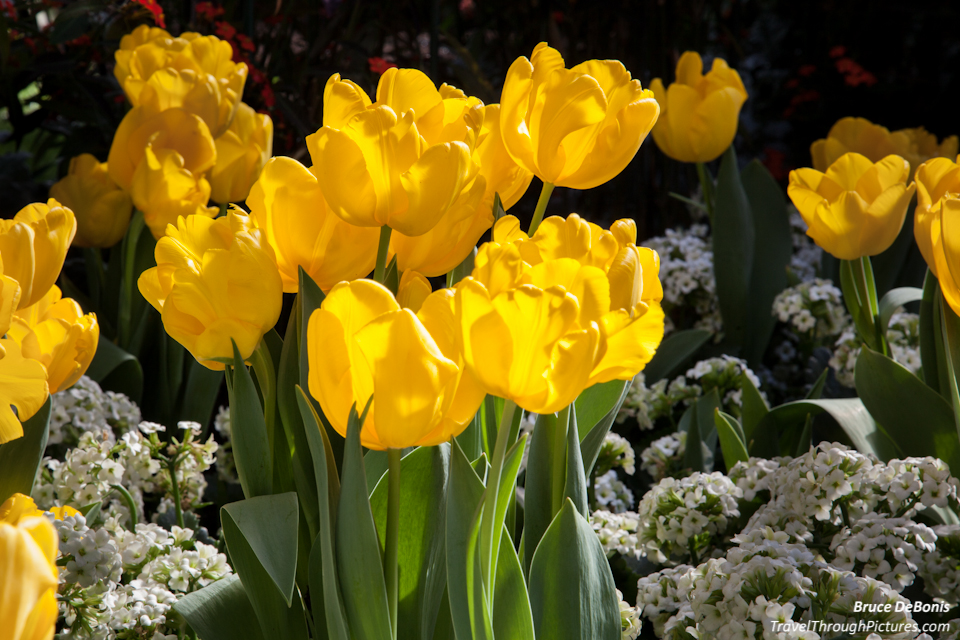
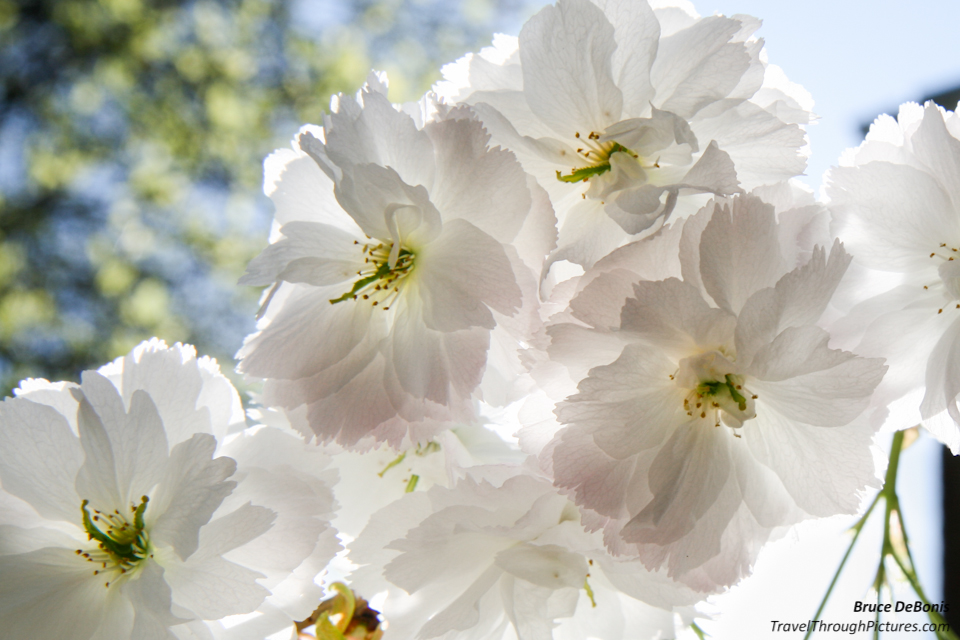
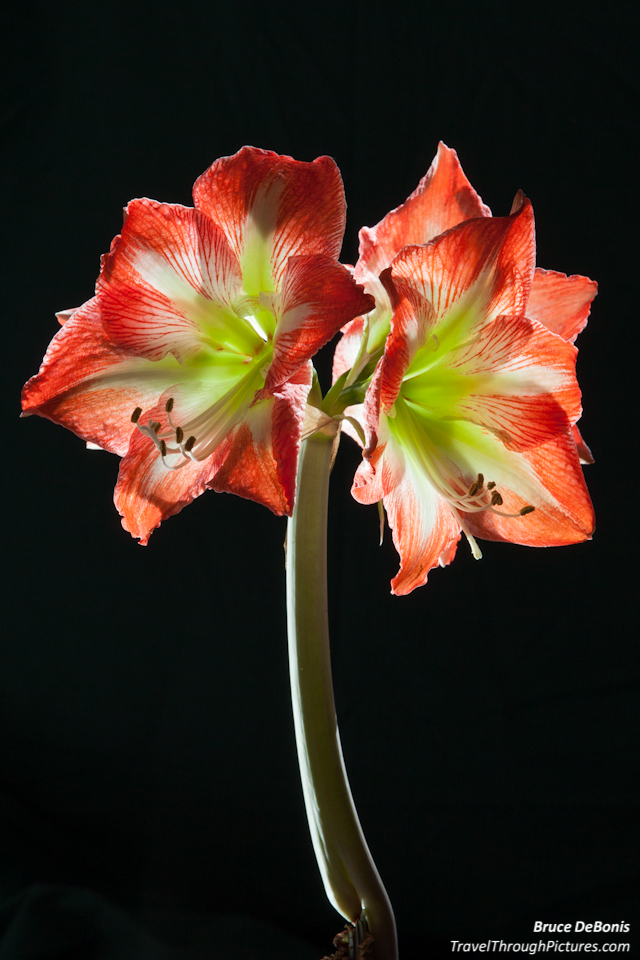
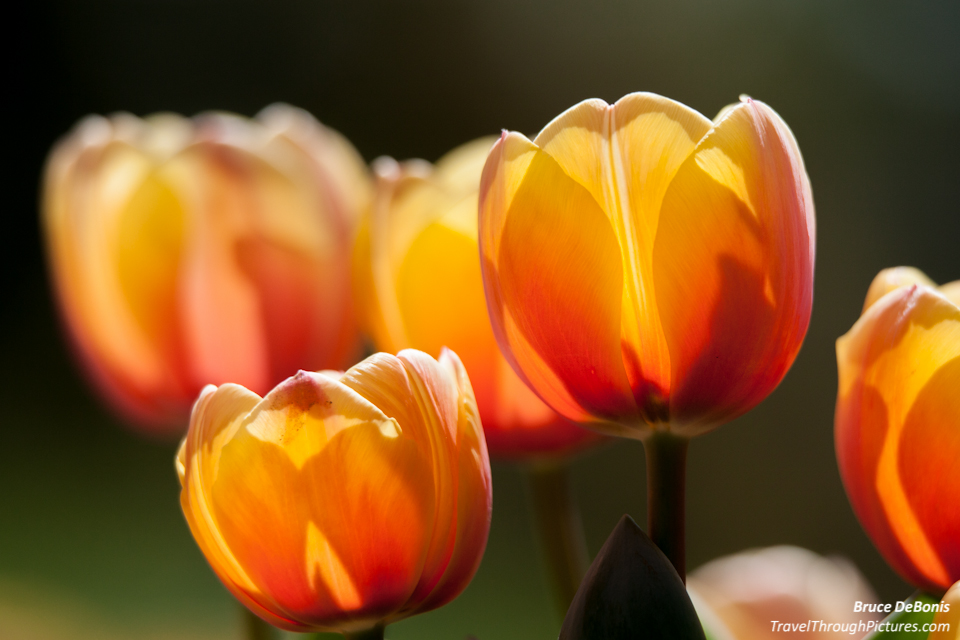
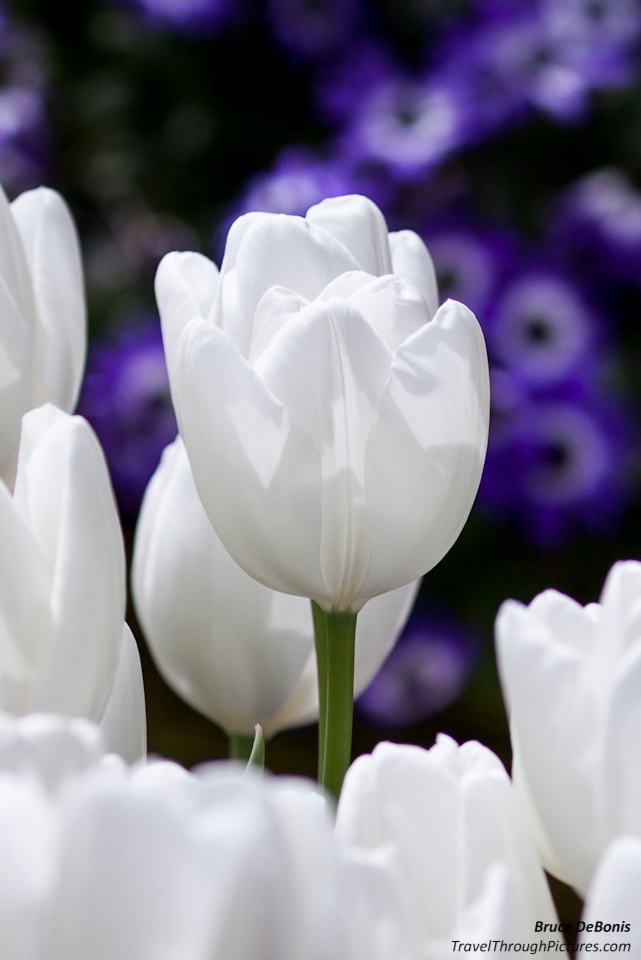
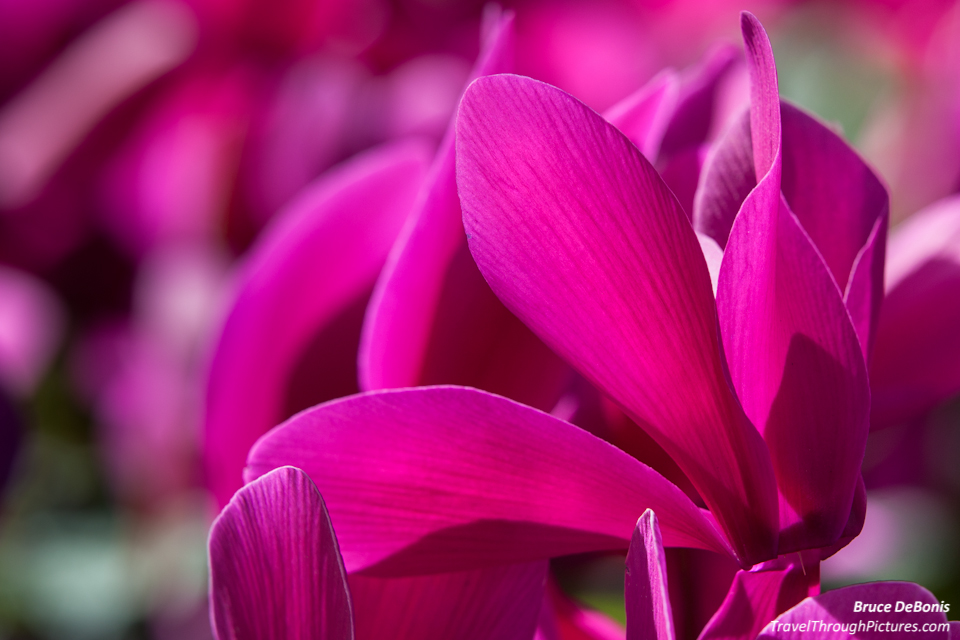
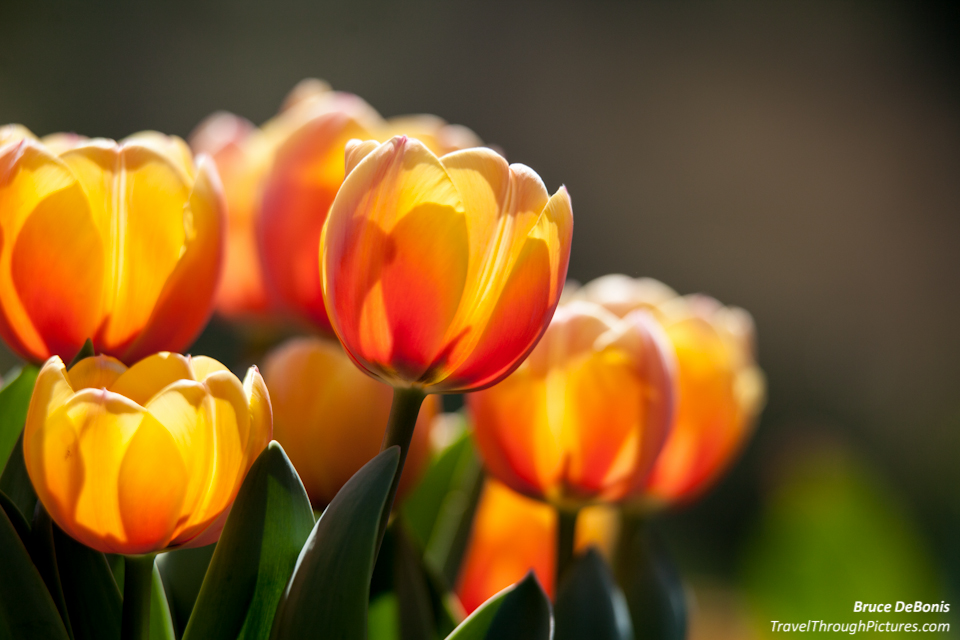
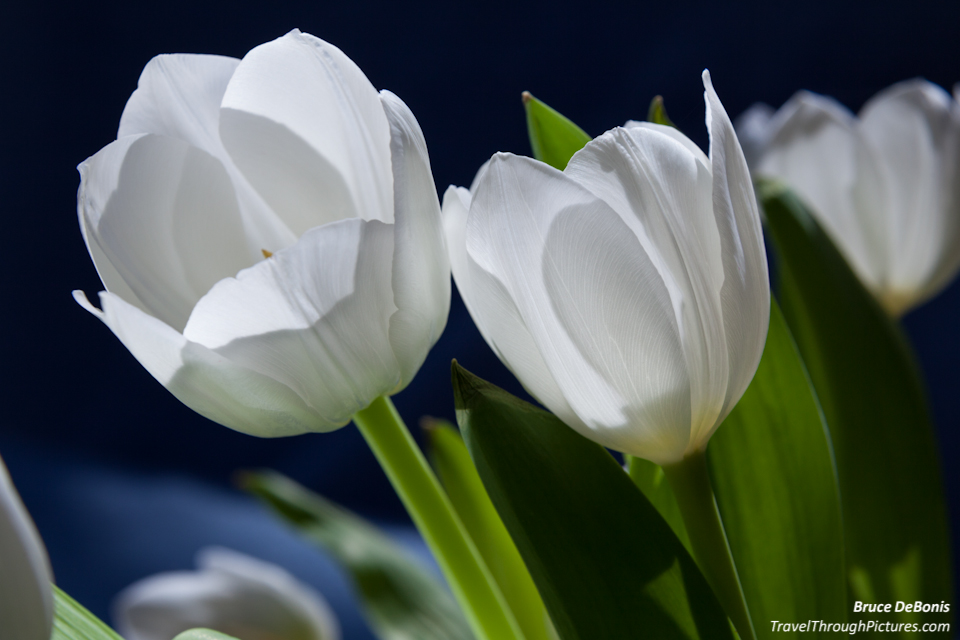
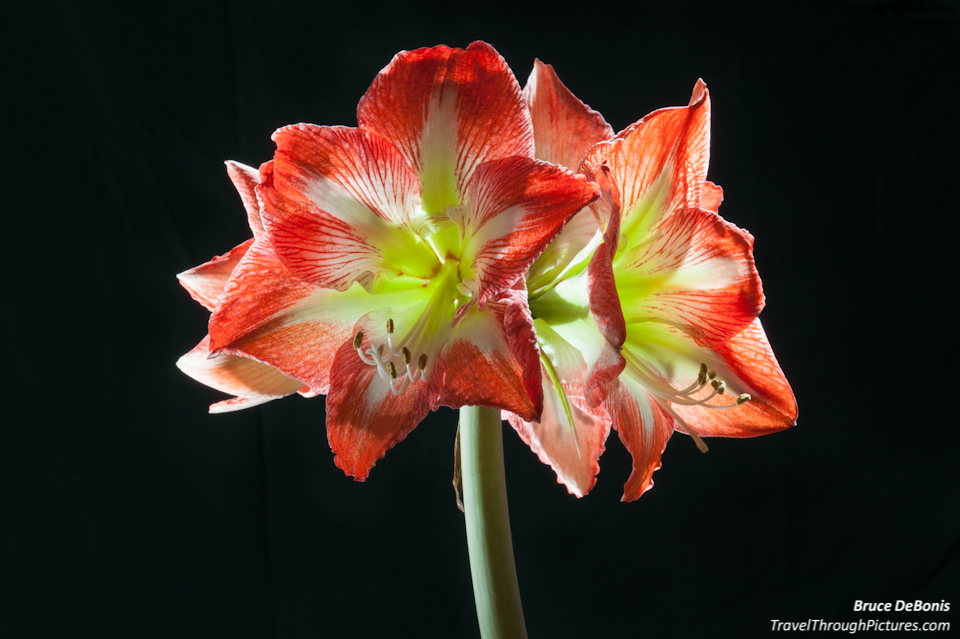
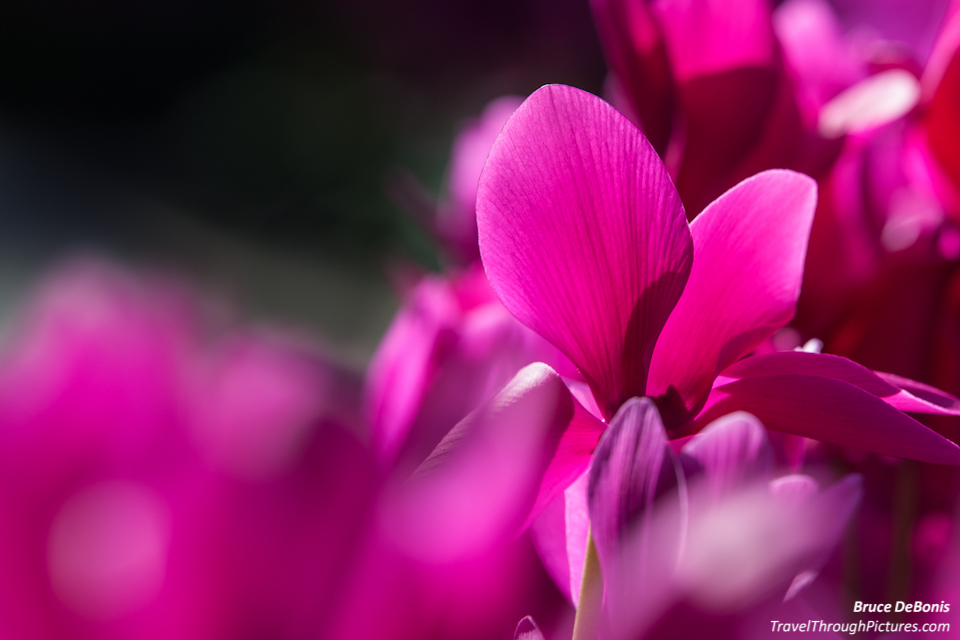
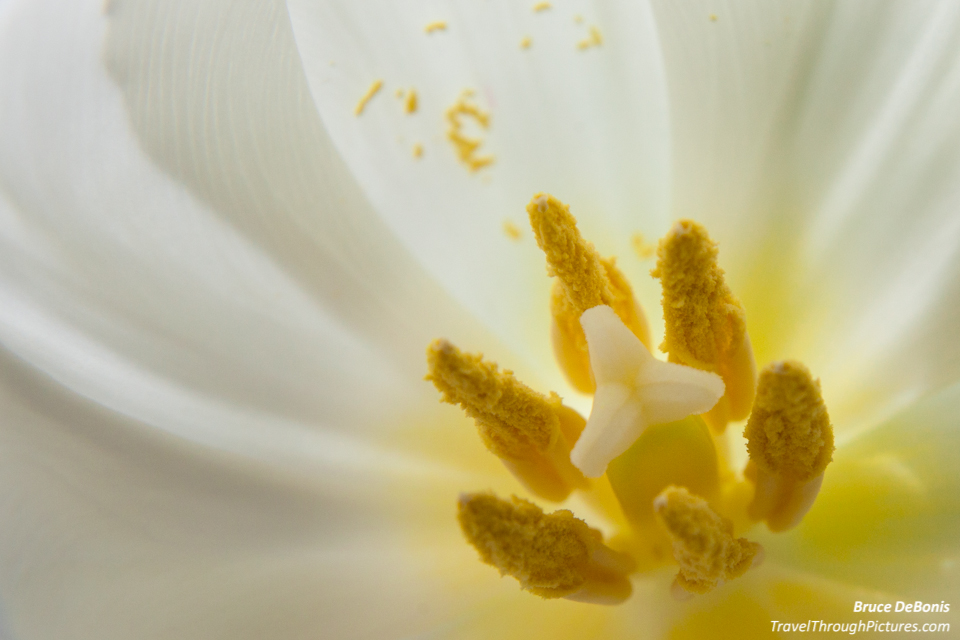
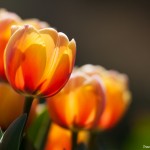
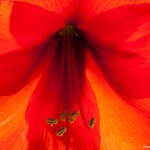
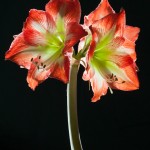
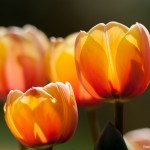
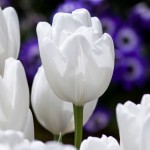
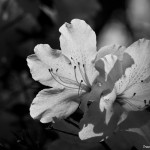
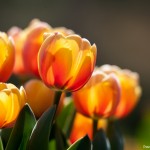
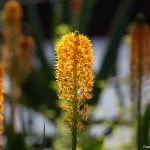
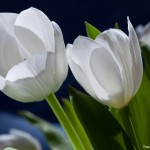
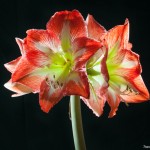
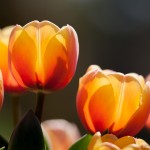
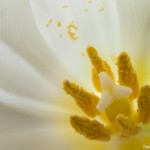
I found backlighting works really well with flowers as flowers are partially translucent (or is it semi-transparent… or is it semi-opaque?) and allow light to pass through them. Structures and forms really pop and expose things that can’t be seen with normal lighting. To make this work, shoot when the sun is bright with no clouds. This is normally one of the worst times to take pictures because the bright light kills colors and the extreme contrast is too much for our cameras to capture properly. This is just another example of how engineering has not matched the sophistication of our own eye-brain system – yet – it will, just give those brilliant, capitalist, profit-driven, egg heads time. If you want to shoot flowers and not do the backlighting thing, then the best time to shoot flowers is on an overcast, dreary day, where the light is even and there are no harsh shadows.
When light turns bad – the dark side of a sunny day
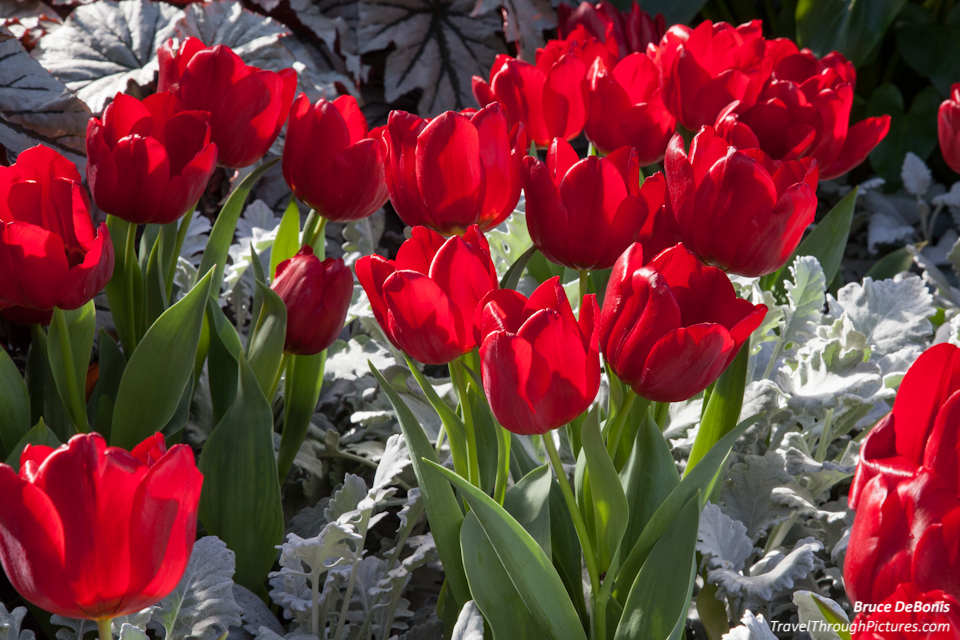
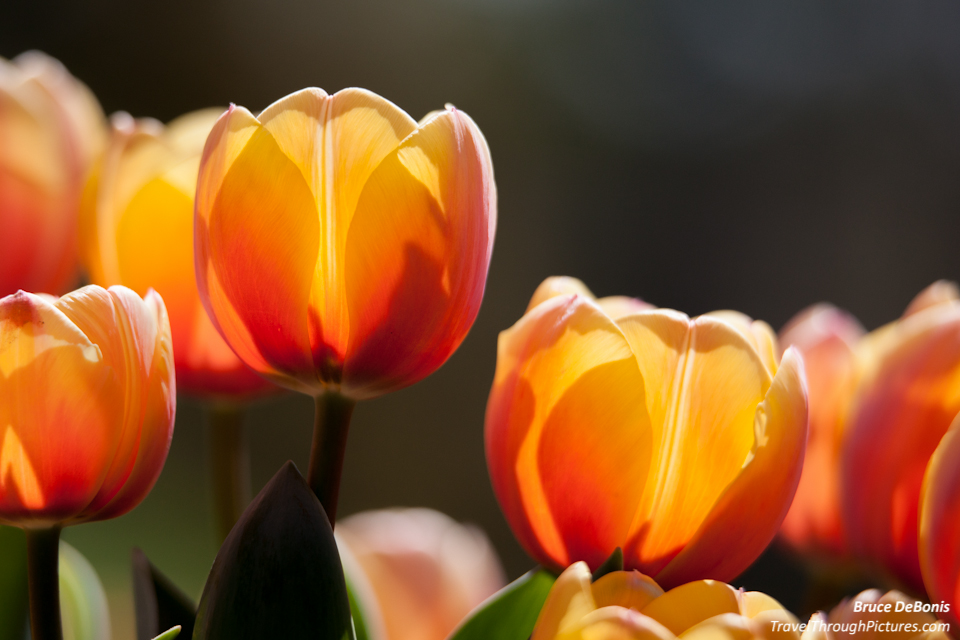
Here is a picture I shot on the same, sunny cloudless day as the orange tulips you see above. The orange tulips look great because I used the harsh sun to my advantage by using it for backlighting. The picture of this flower bed and red tulips here was what came right out of my camera with no tweaking. Just awful. The camera exposed for the bright, near white flower bed thinking it was even brighter than it really was. Then, given the huge contrast between lights and darks caused by the bright sun, the darker areas like the red tulips look almost blacked out. I tried lightening up this wreck in LightRoom but it still looked like crap. So, don’t be fooled by a sunny day. Sunny days are not for shooting flowers unless you do backlighting. The best day for shooting flowers like this bed here, is on an overcast, dreary day.
Advantages to Backlighting
Because it looks cool. No other reason than this. A better question to ask than why do it, is why does it look so cool? It appears to me, a great photo shows a different perspective from what a person would normally see. Talented artists get this innately as they have, well, talent; hacks like me have to learn tricks like backlighting to do anything acceptable.


