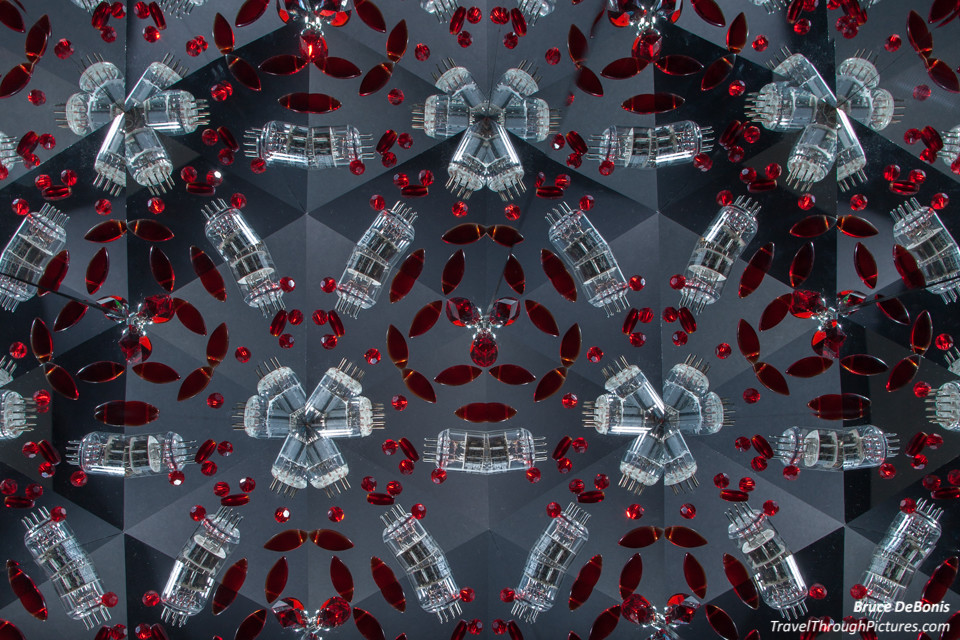
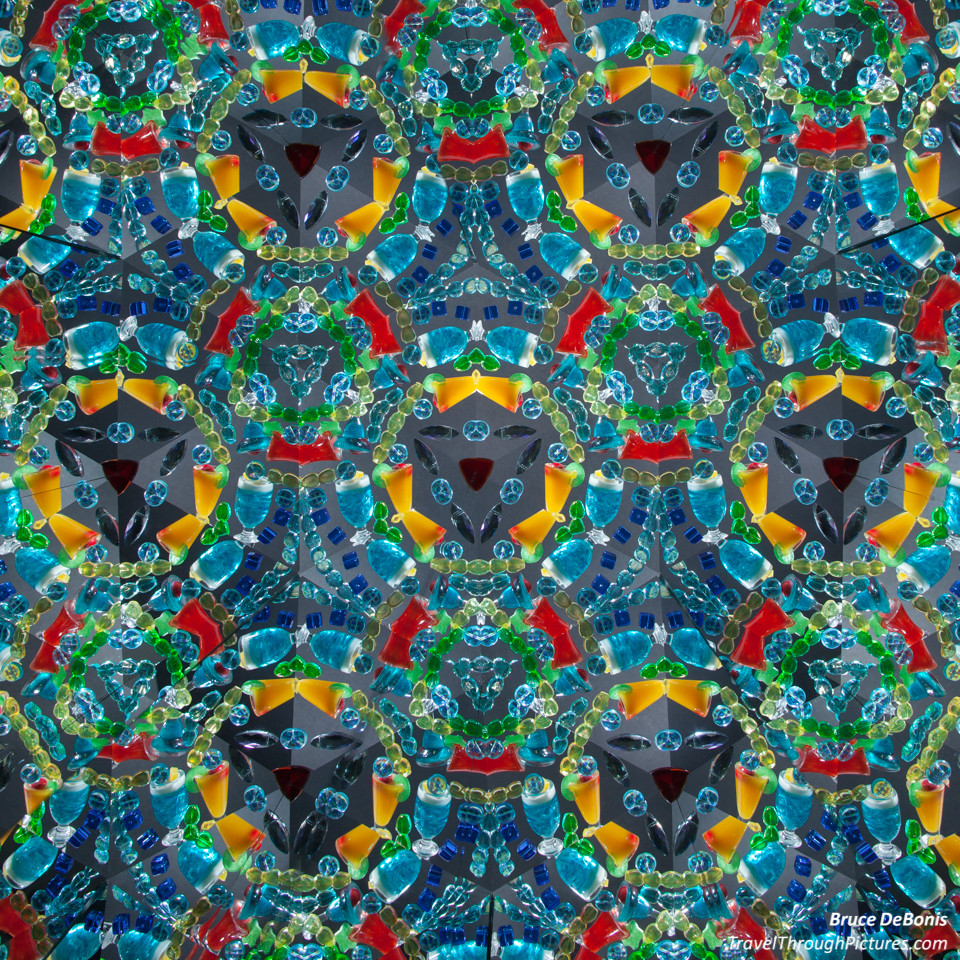
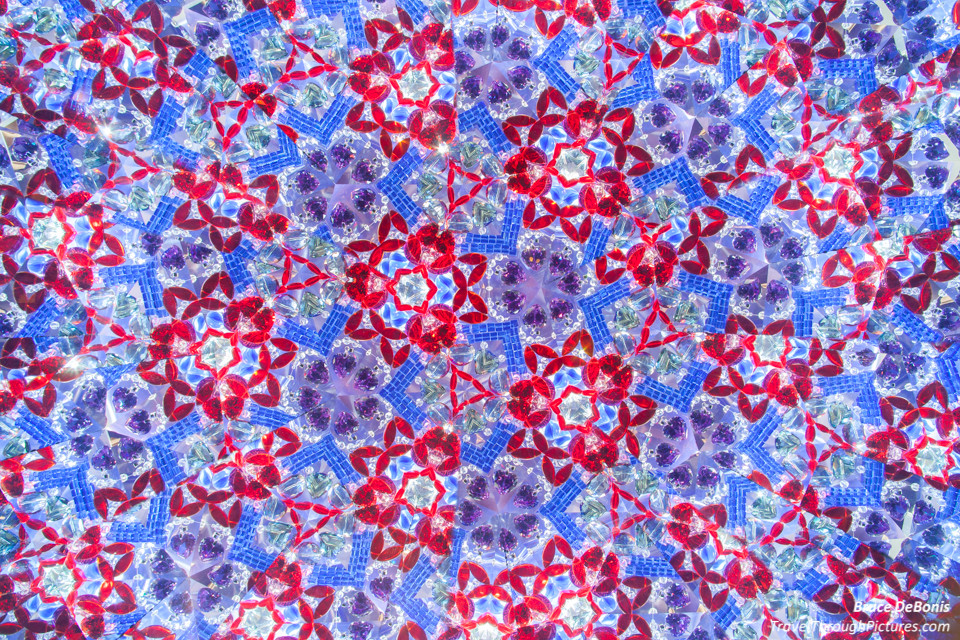
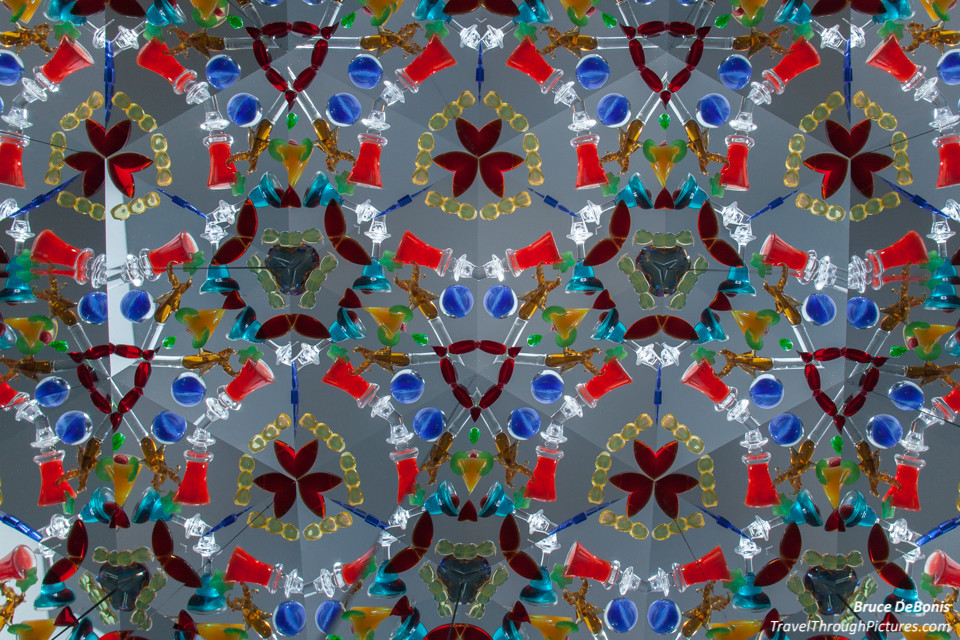
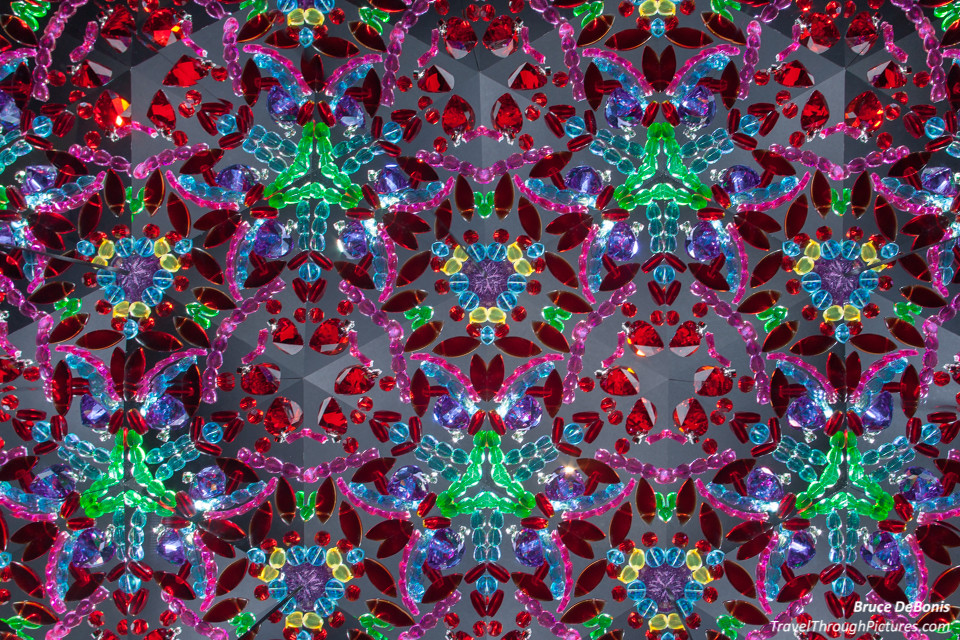
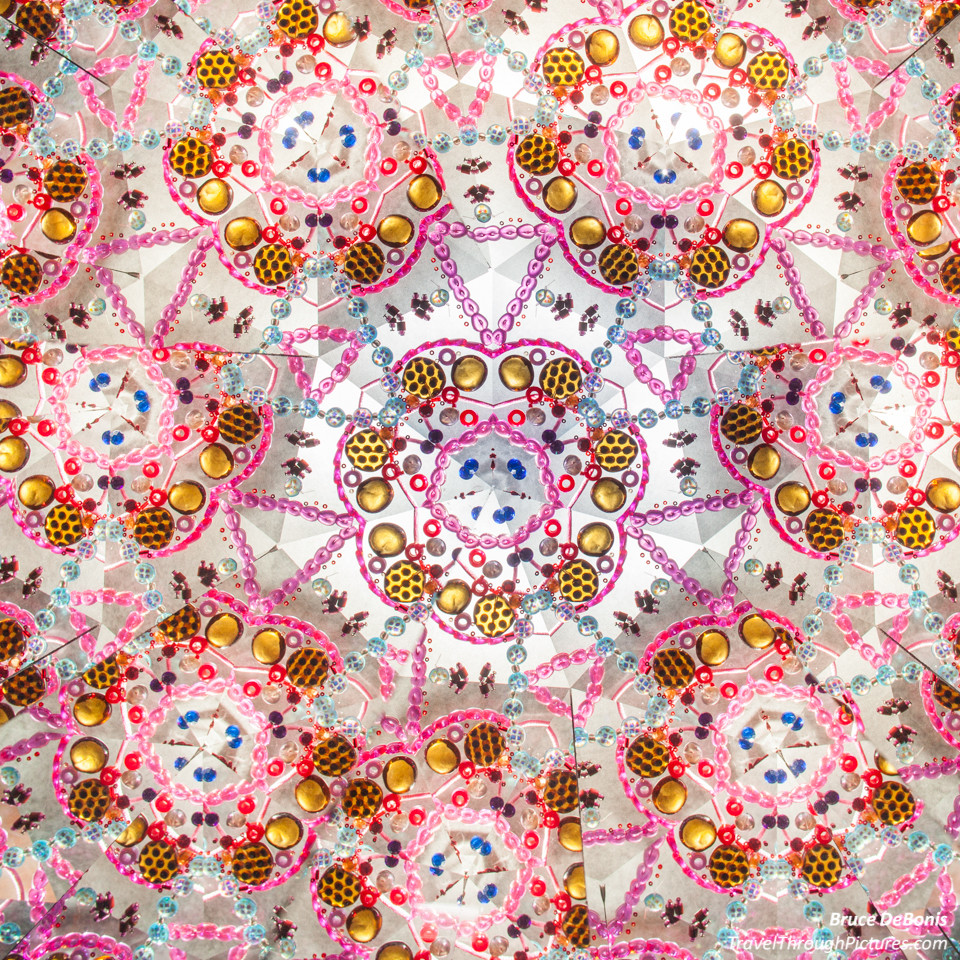
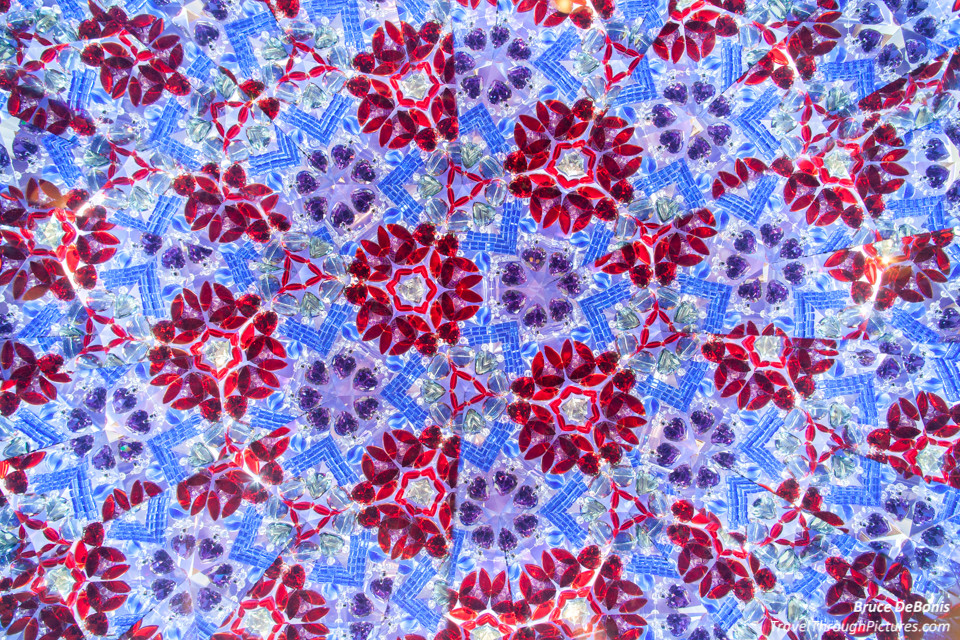
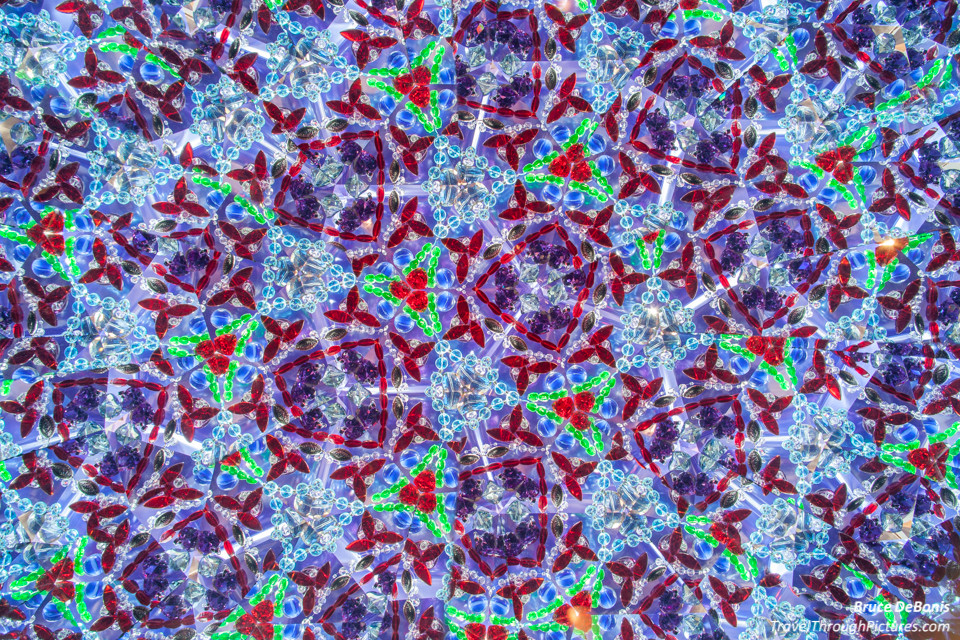
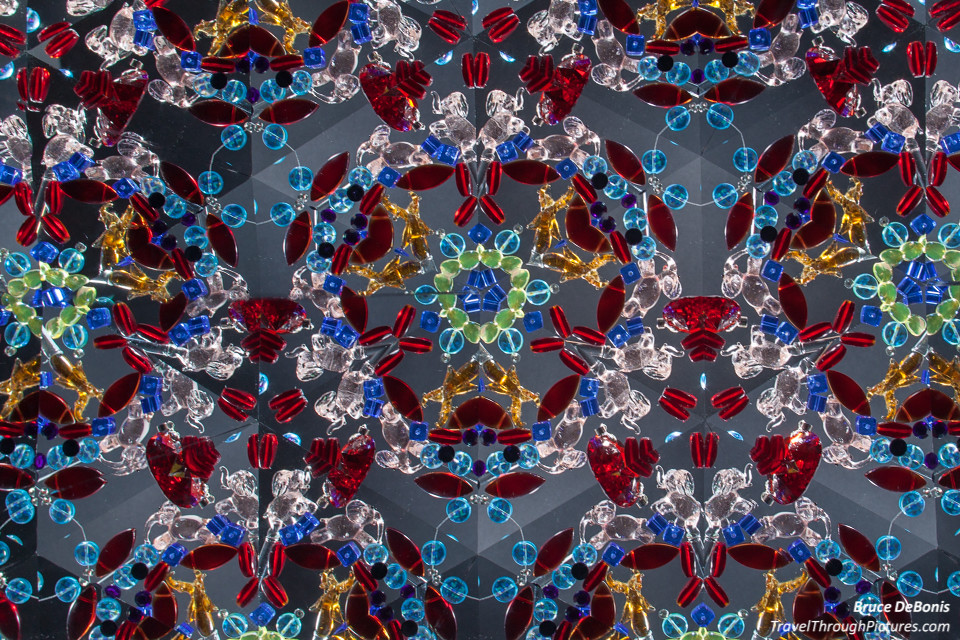
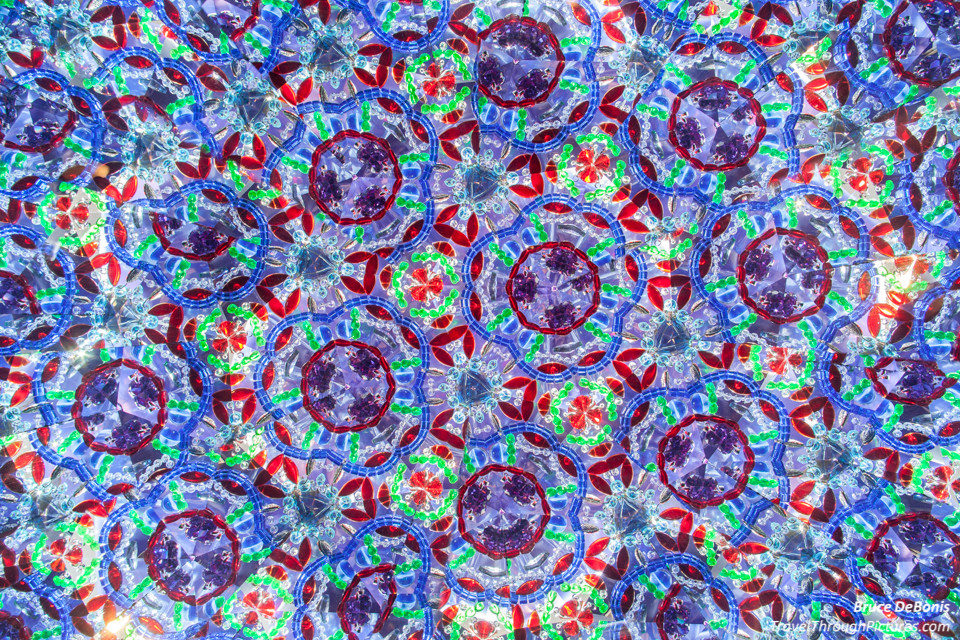
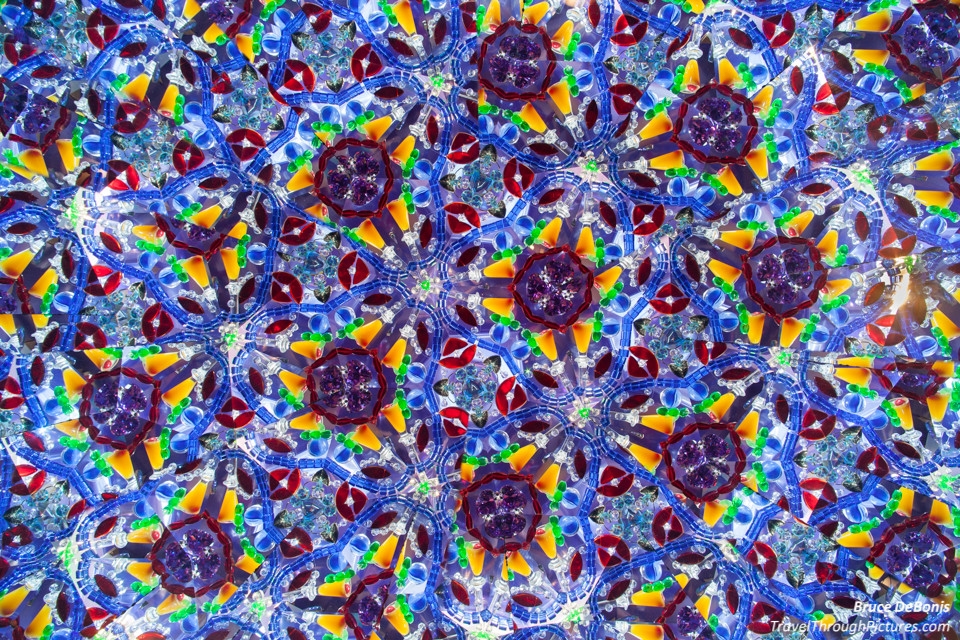
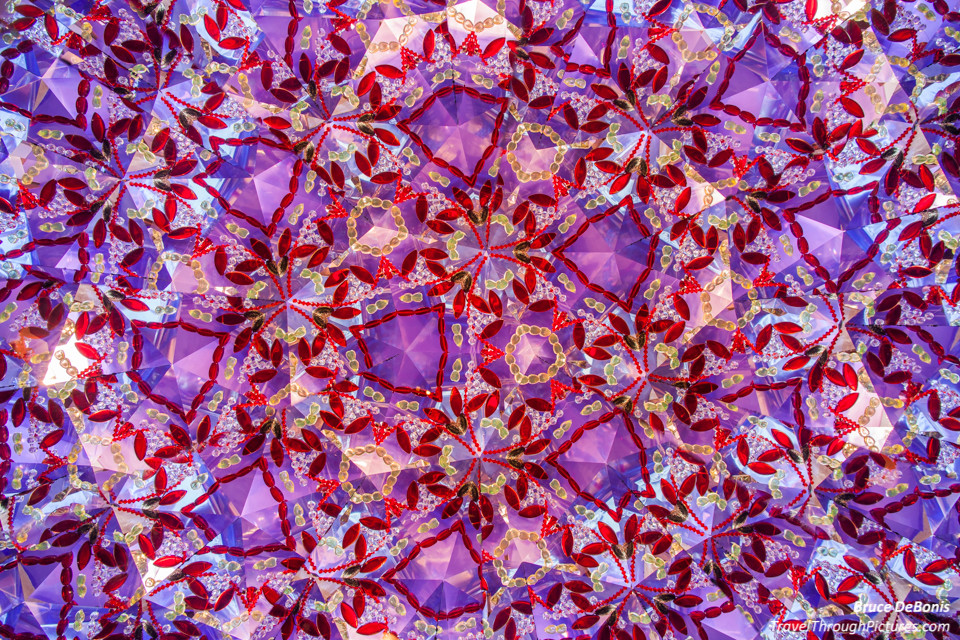
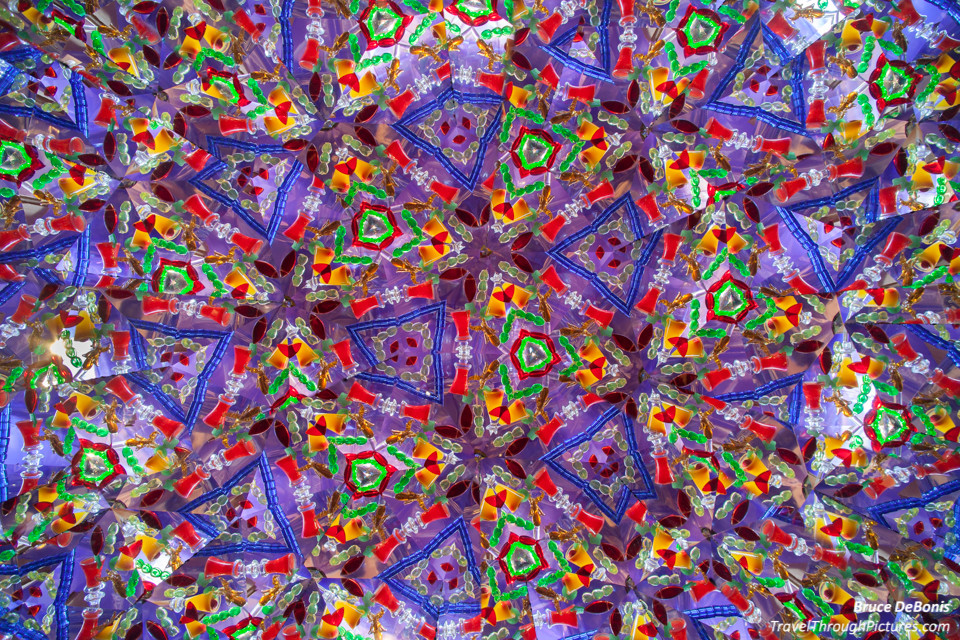
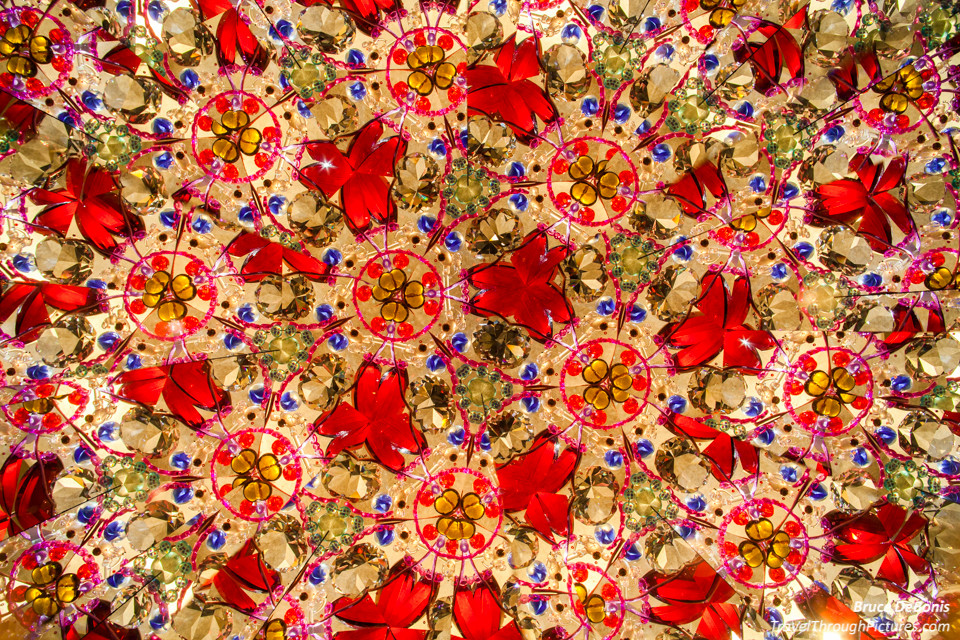
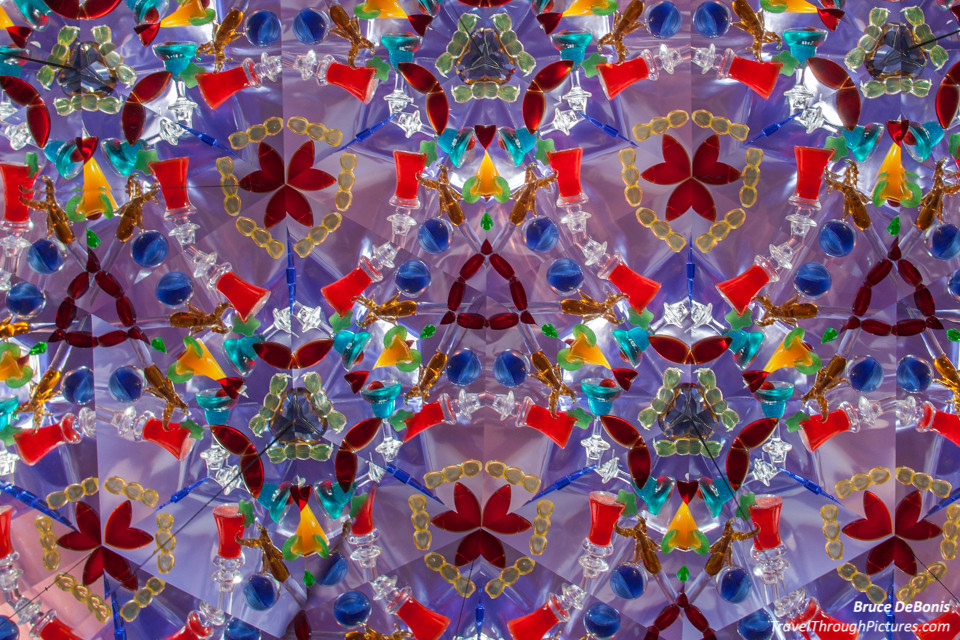
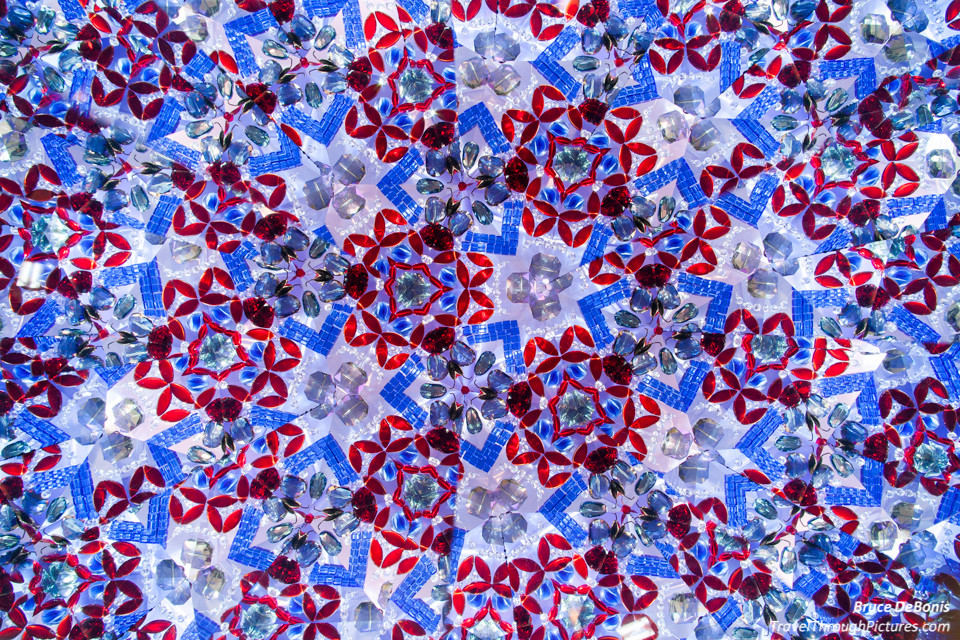
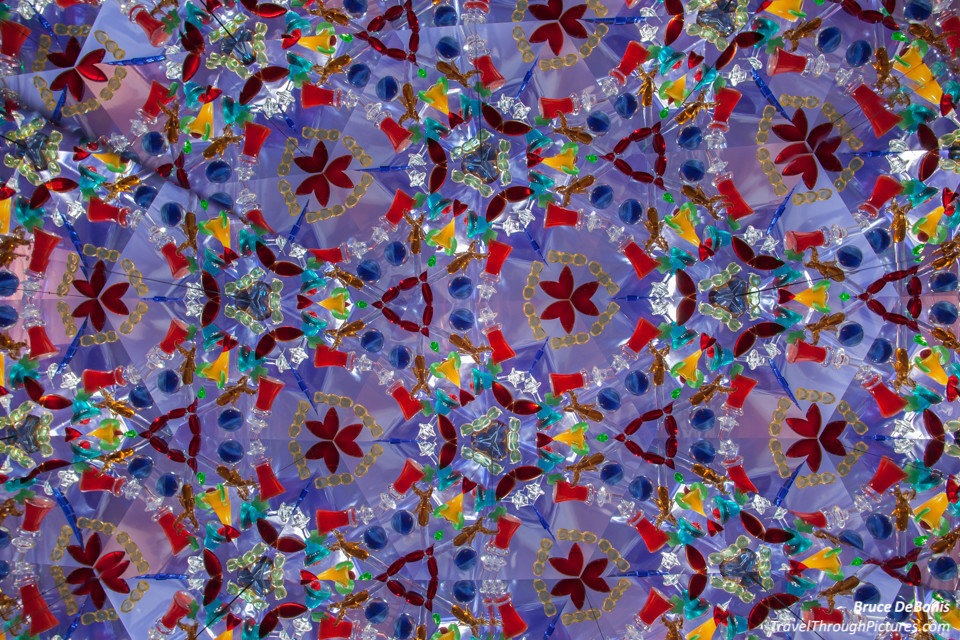
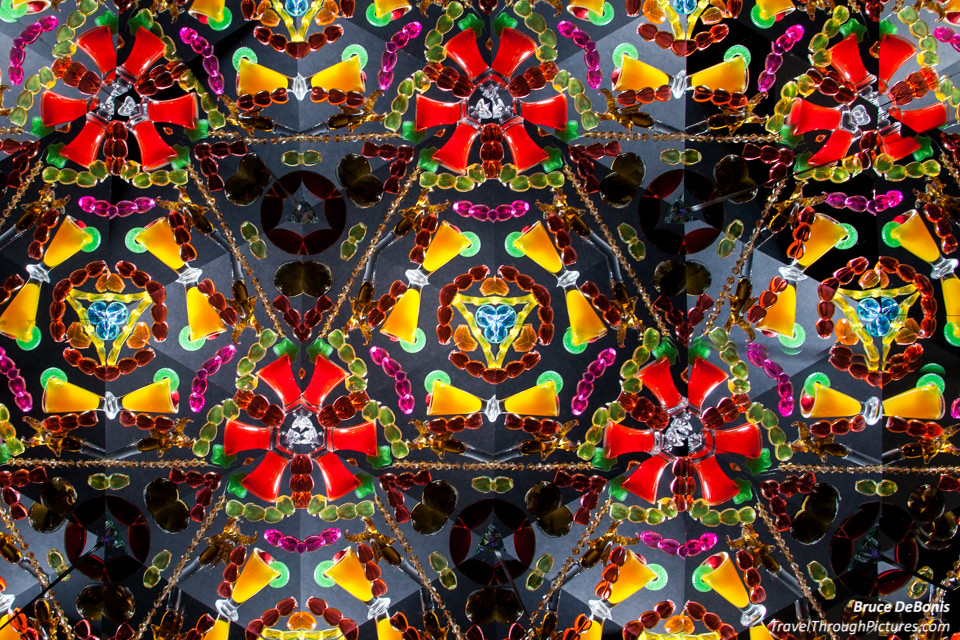
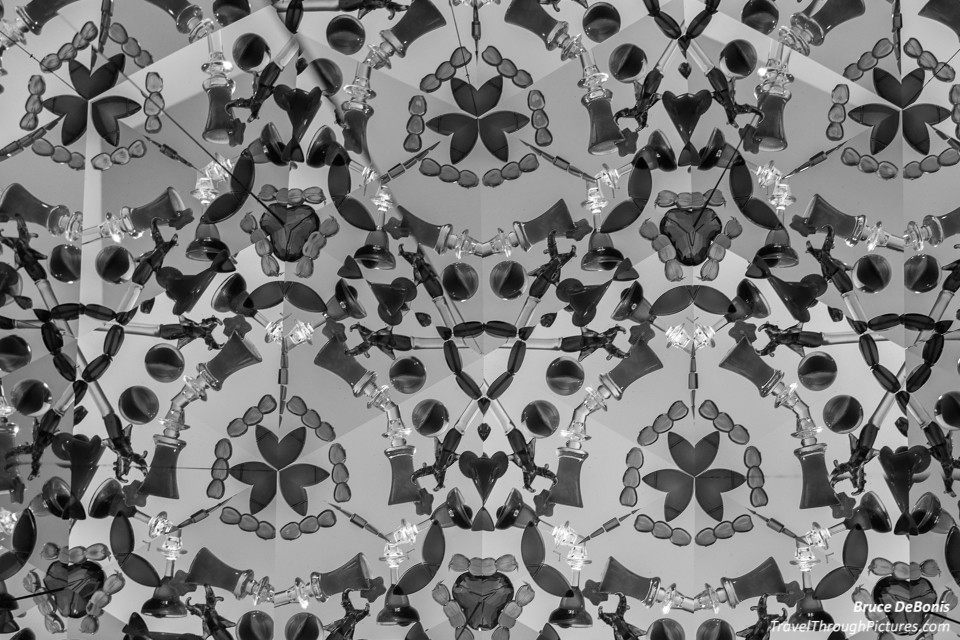
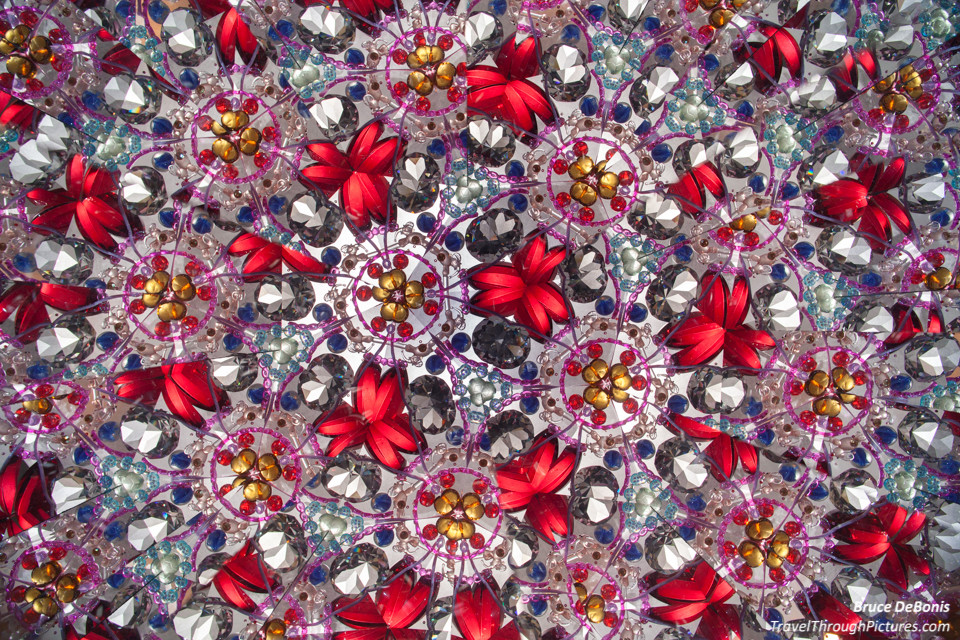
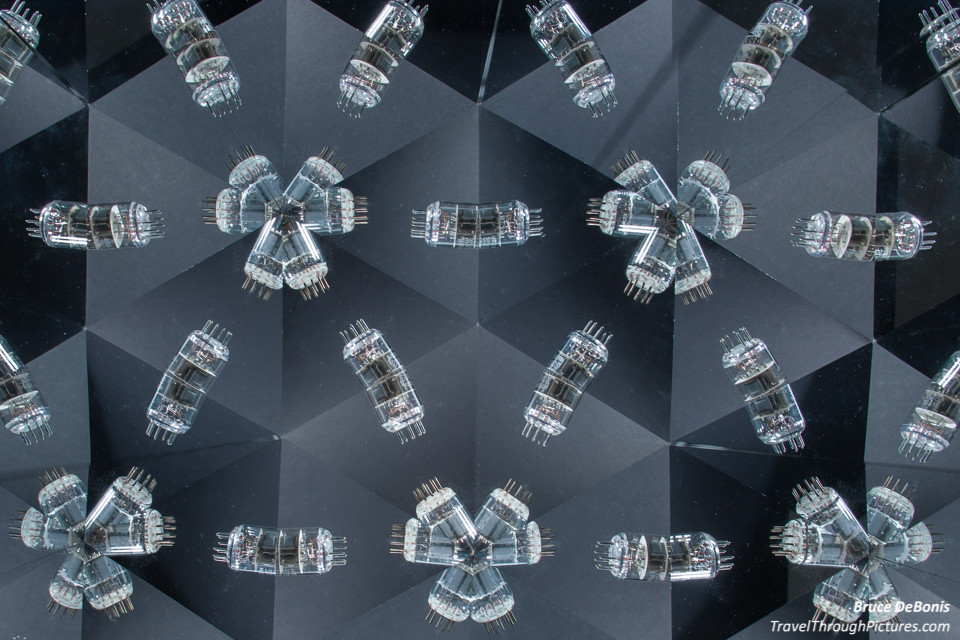
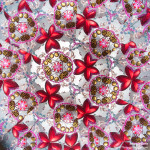
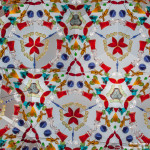
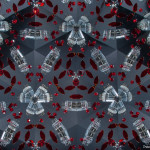
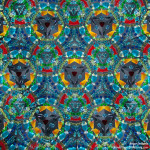
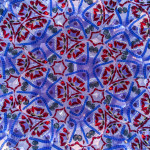
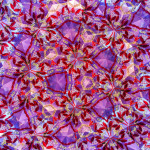
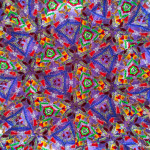
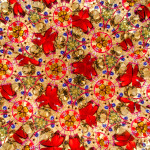
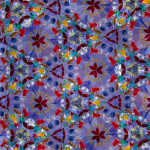
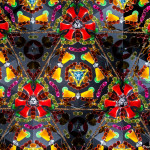
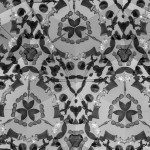
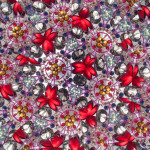
Making and Photographing a Kaleidoscope
I think I went over the top this time. Who in the heck does stuff like this? Maybe I should see a shrink and get myself straightened out. Not only did this test the depth of my tenacity and attention to detail, but it really put my masculinity on trial. I spent way too much time in Michael’s Craft store staring into the bead rack as ladies and little girls pushed me aside to grab the latest glittery roundel rhinestone. Sheesh! Honestly it shook me up a bit so I ran home and spent some quality time with wife….. there…. all better……
Background
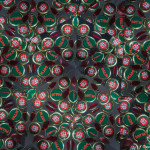
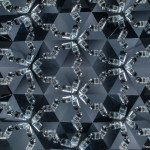
Ok, admit it, you have a curiosity about kaleidoscopes. I always did as a ‘scope appeals to our natural instinct for pattern recognition and our affinity for the aesthetics of symmetry. Throw in some colorful sparkly things and these things are very attractive.
In the early ‘80s, I purchased a few ‘scopes with the best being a Van Cort ‘scope. Van Cort ‘scopes, now out of business, are not toys but precision optical instruments and are actively traded on eBay. Do yourself a favor and go buy one. Get the brass Lucida version… just do it. They are very special and you won’t regret your purchase.
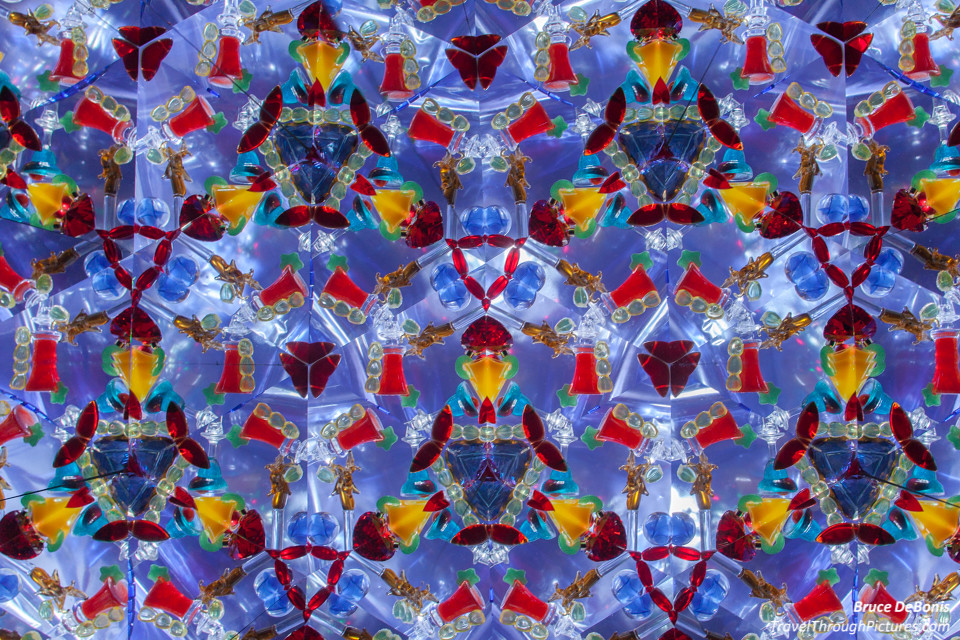
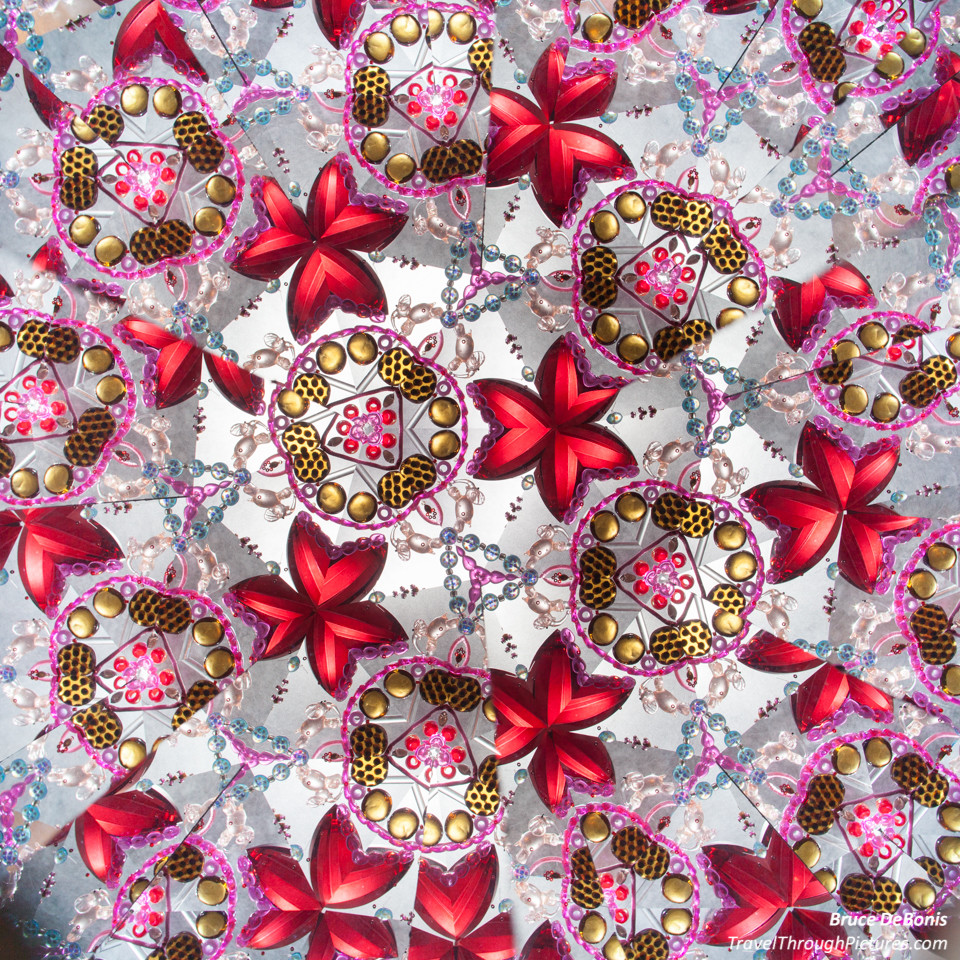
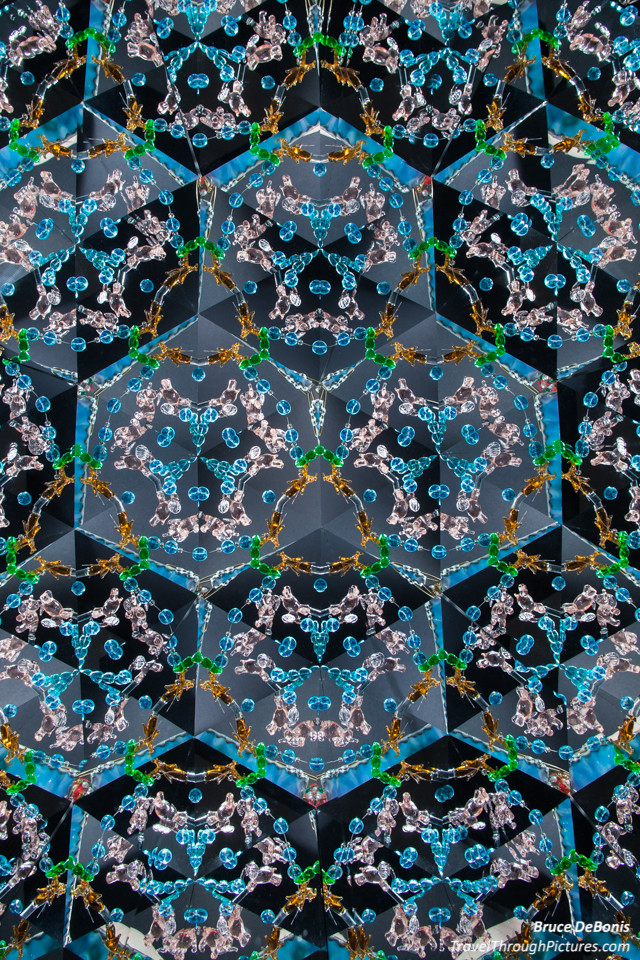
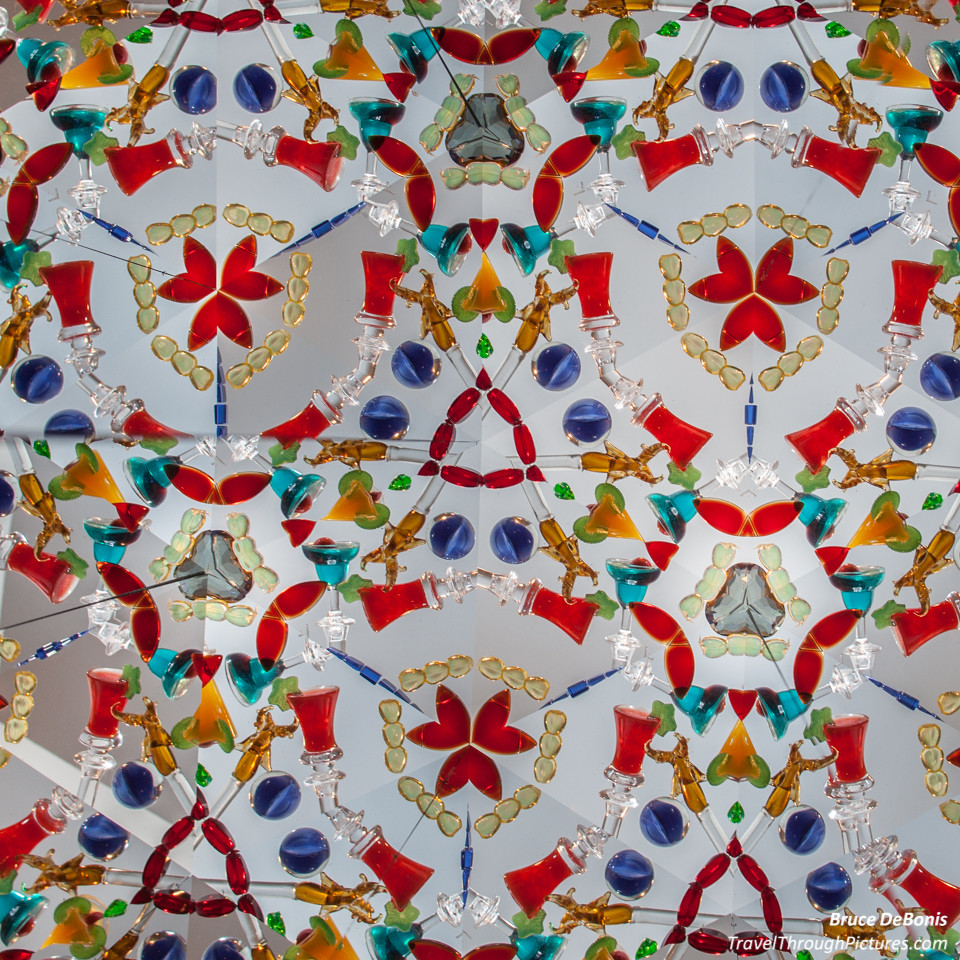
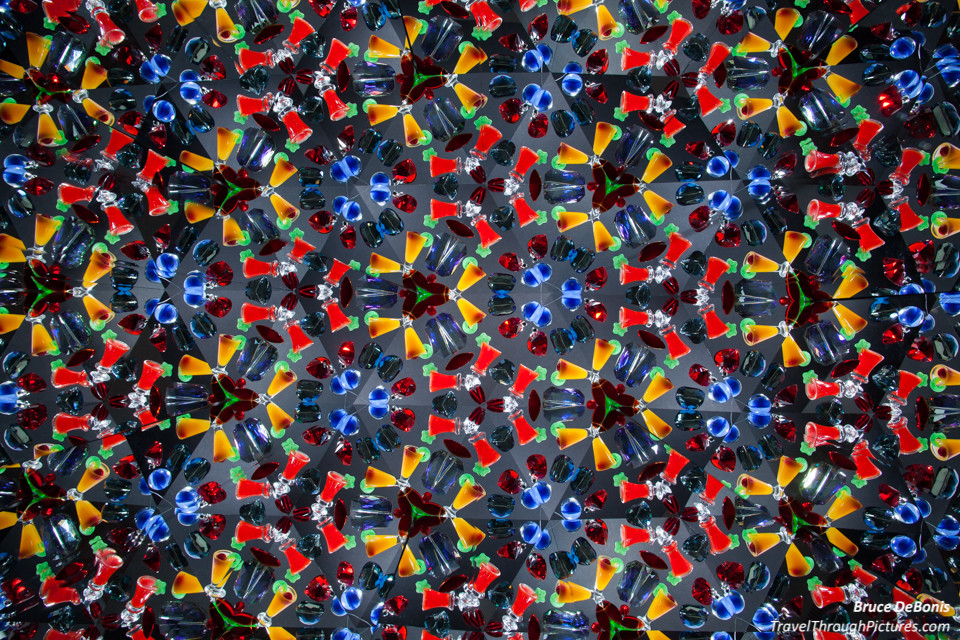
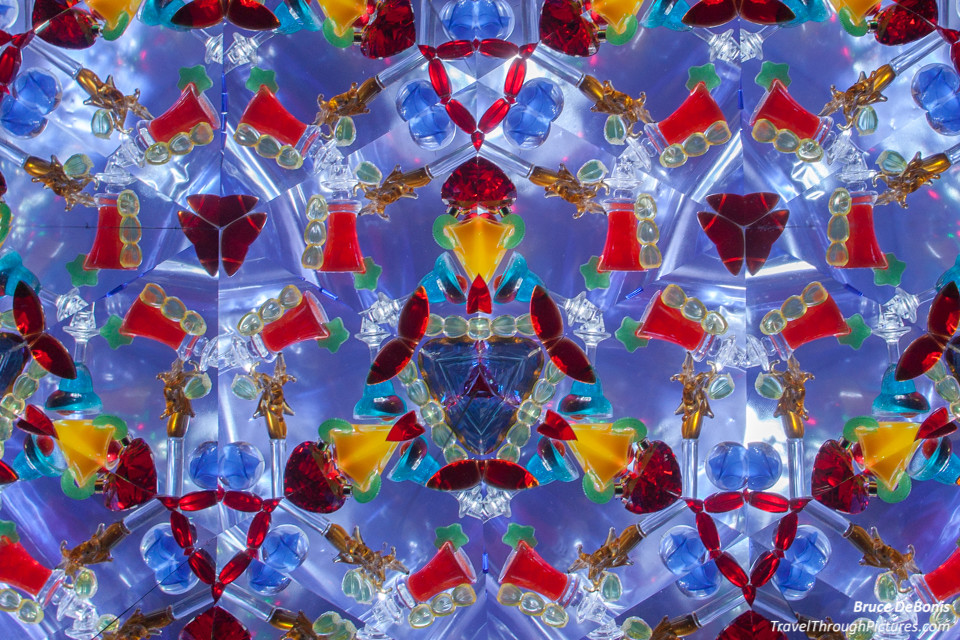
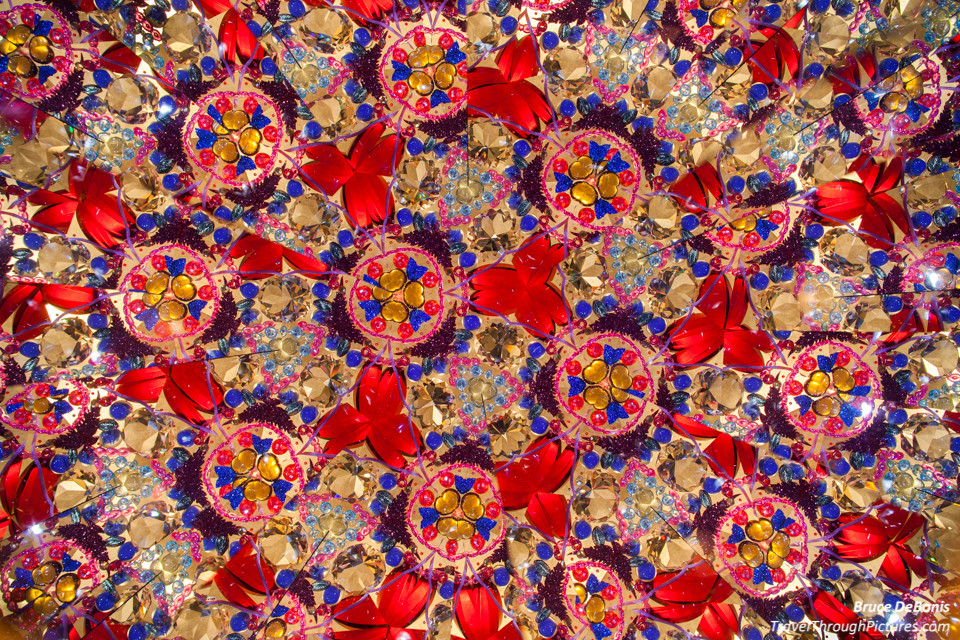
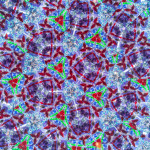
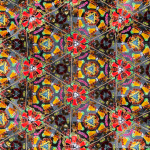
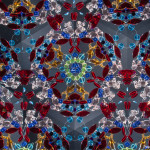
Back then, I wanted to photograph what I saw in them but it is virtually impossible. The eye holes on all kaleidoscopes are way too small. Just Google “Kaleidoscope Images” and most are crap. The good pics out there are actually manufactured in software with tricky programming and are not, in fact, actual pictures of ‘scope views. When you find real ones, they are fuzzy and awful as they were snapped with cell phone cameras. So, how do you apply our expensive DSLR cameras and super sharp lenses to shoot through these little holes? Forget it, just build your own, monster sized Kaleidoscope.
I just figured I would build my own ‘scope and make it big enough to use our big cameras. How hard can it be? I will tell you this, very straight forward, it is NOT EASY. Most of the difficulty was finding good information on how to do it. There is plenty of information to make dopey, cheap kid’s toys but not to make a good one. A good scope uses first surface mirrors and the angles must be very very precise to get a good image with accurate symmetry.
Here I take the research out of it for you. Just follow my instructions and you will have a high-quality, scope for shooting with your DSLR. But, to be totally honest, if you want to do this correctly, you must be a fanatic for details, tenacious, and have a knack for mechanics. It is not at all that hard, but you must have some talent if you want quality results.
The Components
The four major components involved to pulling this off are:
- Constructing the kaleidoscope
- Crafting and creating the viewing materials
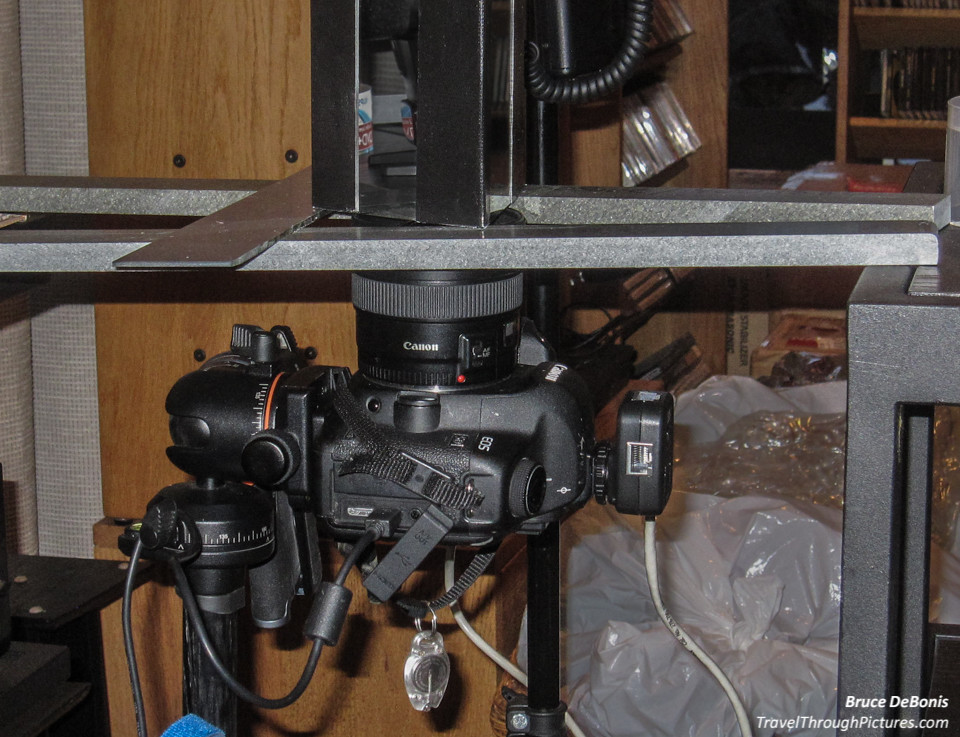
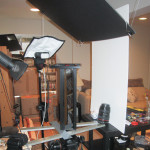
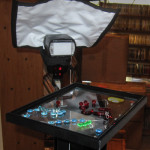
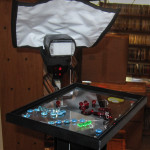
- Building a rig for supporting the ‘scope, camera, flash, lighting reflectors
- Configuring the camera and taking the pictures
Materials:
- Kaleidoscope Tube
- A few sheets of 12” x 16” first surface mirror stock about $40 per sheet (get three sheets minimum)
- Studio Pro Brass Glass Cutter, carbide steel for $15
- Duct tape
- Flat work surface with T-Square or other precision cutting guide(s)
- Viewing Materials
- Clear tray – a cheap 7” x 9” picture frame with glass about $5
- Objects – clear, colored items about $40 of junk
- Photography Rig (aimed straight up)
- Black foam board to provide a “dark ceiling”
- Colored cellophane for an alt ceiling
- White foam board to reflect flashes
- One or two off-camera flashes but you can use one if you have enough reflective surfaces to re-direct flash back onto the clear, colored junk
- Remote flash triggering cable or other method
- Tripod to support your camera pointing straight up
- Wide angle lens 20mm – 35mm full sensor, or 17mm to 20mm crop sensor
- Ability to focus up close to about 19”; if not, you will need an extension tube
- Jig to support the ‘scope above the camera
- Source of Materials:
- Delphi Glass: Mirror and cutter
- Michael’s Crafts: All else
Sizing the Kaleidoscope
The objective is make a ‘scope large enough to aim a large DSLR camera lens into it and get a nice, wide, complete field of view. I define a complete field of view as seeing a few iterations of the starred patterns. To that end, there are few major variables:
- ‘Scope aperture size: I found a triangle scope with 4” sides is just about right to encompass a lens front element.
- ‘Scope length: Longer scopes have wider fields of view but a minimum ratio of 1:4, aperture to length is required and a 16″ length works well
- Lens focal length: The Delphi mirror sheets are 16” long and a 20mm wide lens for my full frame camera worked out just right (equal to 16mm on a 1.3x crop factored camera); if you are going to use a longer lens, then make a longer tube.
I found this 1:4 ratio by taking some some measurements from a few high quality ‘scopes I own. This is not a hard and fast rule but it works; longer is always better. Now if this works for a small ‘scope with a small hole for your eye, then what must be the focal length of the human eye for this to work? Hmmm…. see my Additional Reading section at the bottom of this post for more.
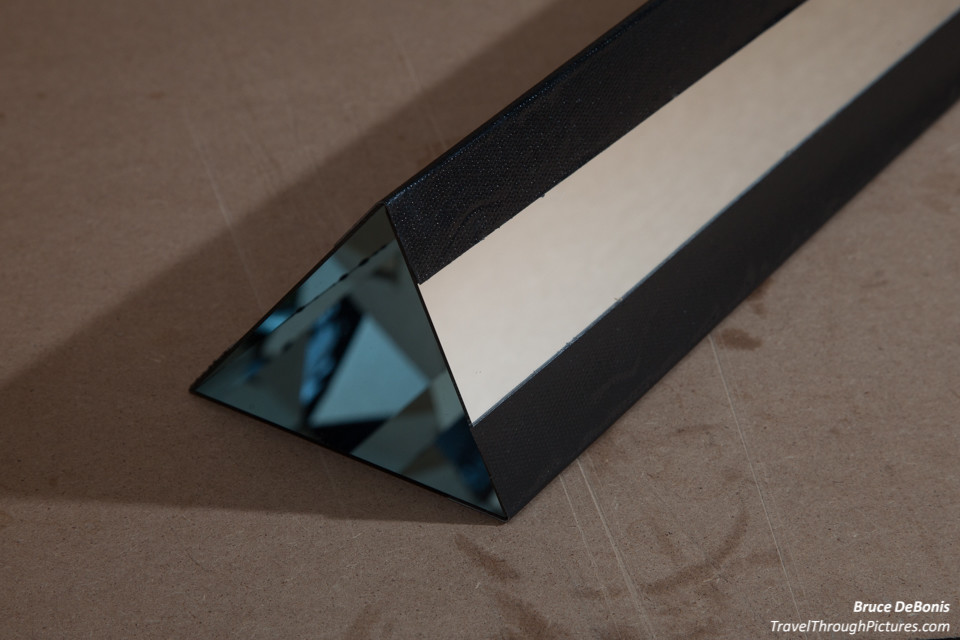
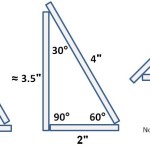
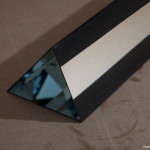
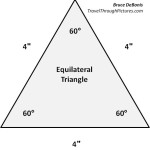
The Delphi first surface mirror I recommend is 12” x 16” per sheet so with just two cuts, you will get three 4” x 16” sides to make a perfect equilateral triangle ‘scope. Just perfect. Be aware that some sheets may be a bit wider than 12” and carry the clamp marks used by the factory. If your sheet has this, then you must make another narrow cut and remove this excess section.
First Surface Mirror – not a typical household mirror

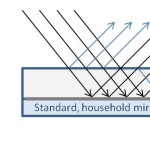
You MUST use first surface mirrors. A first, also known as front, surface mirror is glass that has its reflective silver on the front viewing surface. A typical household mirror has the silvering on the back of the glass and this just won’t work in a Kaleidoscope. See, as light passes through glass, it actually starts reflecting off of any boundary such as the air/glass interface. If you use a regular household mirror in your ‘scope, the image will have ghost doubles and triples and light loss. This light loss will result in very dark images beyond the primary center image. At home, you look straight into the glass making these destructive effects invisible.
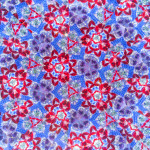
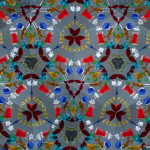
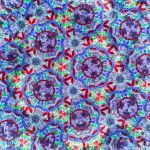
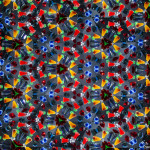
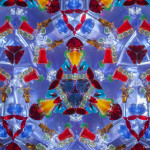
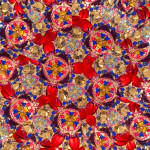
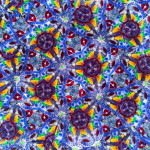
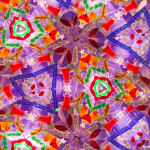
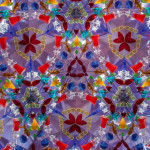
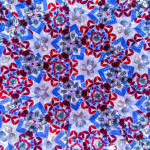
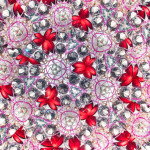
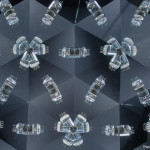
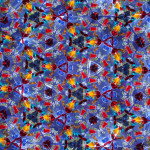
The best and least cost source of these mirrors is on-line from Delphi Glass. I purchased two sheets of 12” x 16” and wrecked most of it as I messed up the cutting. I used a cheapo Home Depot cutter with a soft wheel and made a mess of things. I did shoot some of the pics above in the carousel with the deviant glass, and if you look closely, your brain will tell you “something is not right”. Keep looking and you will become aware of the chopped images and broken symmetries. Get a good Carbide cutter from Delphi as it will save you frustration and money; it is only about $10 more in cost. I then ordered two more sheets of glass and the appropriate cutter.
Optimal Angles for Symmetry – Equilateral is the equalizer
I will make this decision for you: Make a ‘scope with an equilateral triangle tube. Period. Cutting glass and assembling the tube accurately is difficult and this is the easiest shape to get right. Now skip down to Cutting the Glass, but if you want to get technical, here goes….
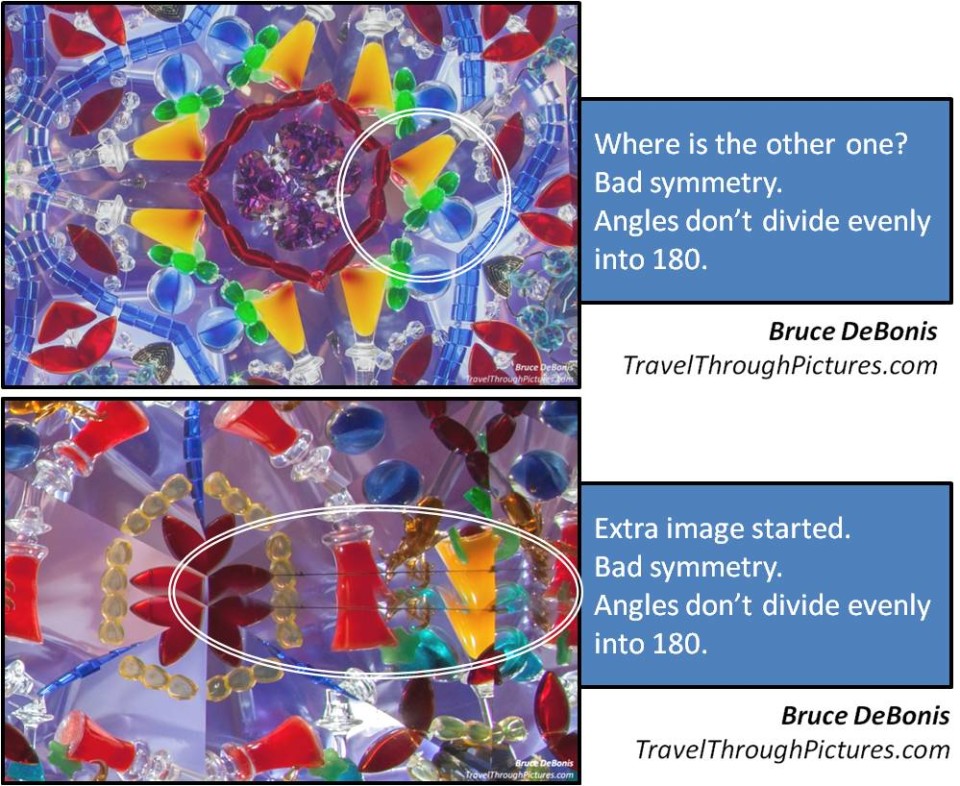
To achieve symmetry that extends to the horizons of view, there is some math to ponder should you be ponderer of geometry: all three angles in your ‘scope must be evenly divisible into 180. If not, the sides of the image won’t match up. Barf! This hurts! Ya, I know, I tossed up two good beers when I first discovered the asymmetrical ganglion I shot after I had spent money and built a bad ‘scope. This math derives only three triangles that preserve symmetry:
- Equilateral 60°x60°x60° (all sides equal length)
- Right, Isosceles 90°x45°x45° (one right angle with two sides of equal length)
- Right, Scalene 30°x60°x90° (one right angle, sides of differing length)
Notice the numbers 30, 45, 60, and 90 all divide evenly into 180. When an angle does not divide evenly, then either another image “bleeds” into the frame or another is chopped prematurely.
The easiest ‘scope to make is the simple Equilateral and requires just two cuts to a single sheet of glass. If you have glass left over, try one of the other shapes. Or better yet, taper the scope and get a 3D image of a sphere! Oh yea, I am doing that next… stay tuned for another blog piece on this.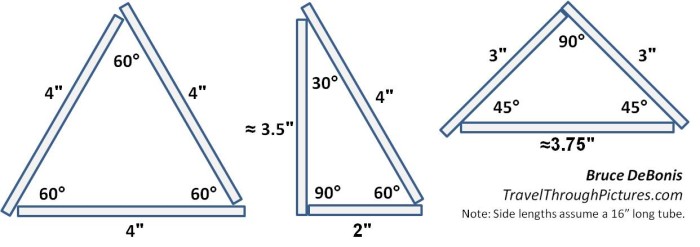
Bad Symmetry
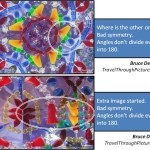
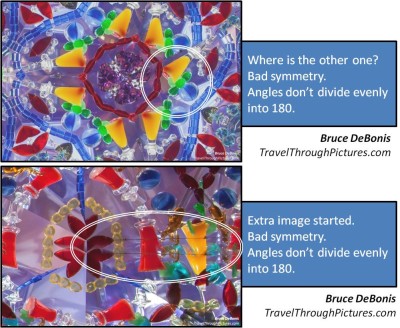
Here are shots from my first attempt where I didn’t get the panel widths correct and the resulting angles were all wrong. I used an el-cheapo cutter from one of the big home stores and made a mess of things. None of the three side panels were of equal width and while I don’t know what the final angles were, I could plainly see the symmetry was just not correct.
Good videos that describes the effects of mirror angles:
Triangle Calculator if you want to cut custom glass sizes: Click here for Triangle Calc
 Cutting the Glass – very tricky
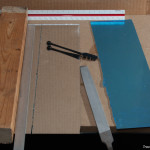
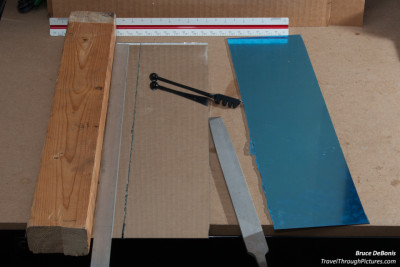
Lay out your glass on a flat, hard surface and use a T-Square or other good guide. You must measure and cut with high precision. Failure to measure accurately or score a curved line will result in lousy symmetry.
As I noted above, get a quality carbide cutter. Your cut, or score line, should look like a fine hair. If it looks crunchy or like a line of salt, you either pressed too hard or your wheel has worn out. A crunchy score may result in a wayward break and a ruined piece of glass. Note in my picture of my first ‘scope, if you look carefully, the awful, crunchy seam between mirror plates.
Practice on some other pieces of glass. If you don’t have any, buy a cheapo mirror. Do it. Don’t screw up two pieces of $40 first surface glass like I did. Cheapo mirrors from one of the big home hardware stores are also thin and more like the ‘scope mirror glass. Resist the temptation to start cutting. By the way, get the thinnest, cheapest mirror to practice on as the Delphi glass is just 1 mm thin. Thin glass is easier to cut that thicker glass.
Keep a strong vacuum handy as even the best cuts will shed some tiny bits and shards of glass. Don’t do this in your kitchen or near food preparation.
Here are a few videos by Delphi that are invaluable. Watch these before you start
Construction – more tricky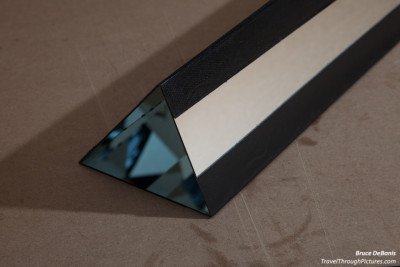
The angles are what make images great and full of matching symmetry. You have to get the angles correct and taping them together properly makes or breaks the mirror images.
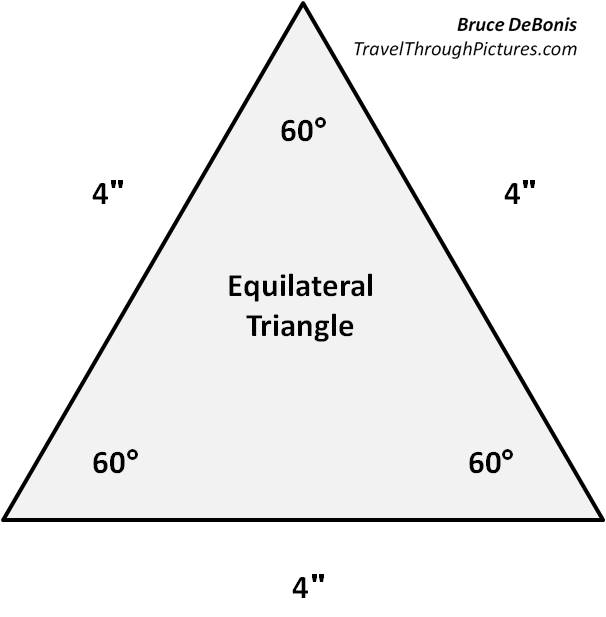
I displayed, above in the graphic of triangles, my recommended glass dimensions, and construction technique for building a Kaleidoscope suitable for photographing with your large DSLR lens. You can make the ‘scope as large or as small as you like, but I use dimensions that are both compatible for DSLR photography and require just two cuts from a standard 12” x 16” sheet of first surface mirror from Delphi.
Notice in the three triangles above, I depict one mirror side always overlapping another. I recommend this approach to assembly for the following reasons:
- It will lay the sharpest edge, the top edge, against the surface of the adjoining mirror to allow the fewest gaps from cut imperfections,
- Allow you to slide an edge inward to improve the angle if needed, and
- It is impossible to align the sharp, cut edges of two mirrors against each other.
Delphi glass will have a blue, plastic film over the reflective surface. Leave this on! Turn it over and score the glass on the other side. Score and break the glass per the instructions in the videos and only then, slice the blue film to separate the pieces. Stack the glass and compare the widths. If they are not the same, don’t panic but you will have a bit of work to do when you tape them together by sliding them inward against one another. If they are tapered like a wedge, you screwed it up.
Now, lay out three strips of duct tape, sticky side up, each the length of your glass sides (16” each). Take your first side, blue side up and lay it down on the strip of tape taking up just half the width. Now it starts to get tough. I then “rolled” the glass up on the hard surface and “folded” the tape against the thin side of the glass. I then pressed this glass against the back side of my cutting table making a glass/tape “L” and then laid the next piece down pressing the side against the other mirror’s blue surface first, and then down to the tape. Be careful that the ends are aligned. Lay them back out flat and now pulled the blue film off these two panels. Put these aside.
The third glass panel is trickier even still but you get the idea. Attach it to the remaining piece of tape and pull off the blue film. Now attach that remaining taped glass piece to the other two. First take the two-glass piece and fold it up making sure the edges are correct. Then attach the new section and roll the tape from the other glass over the last piece and you have your triangle. Check to ensure the sides of the glass overlap as in my drawing.
Remember, it is not the width of the side that gets you image symmetry, but the angles. And to get the best symmetry, you need to get the angles exactly correct. For this, I recommend printing out my handy Angle Checking Tool and stand your tube up on the printed image to check your angles. If the triangle is out of whack and you followed my recommendations for overlapping the edges, you should be able to carefully push a panel and have the tape give way a bit. Be careful. You may have to razor the tape a bit and re-tape when correct.
Make sure the glass ends are flat and equal. This should be easy to do as the Delphi glass is 16” long and therefore precut. For the widths, just follow my recommended measurements as I denote them and you should be fine.
The shooting rig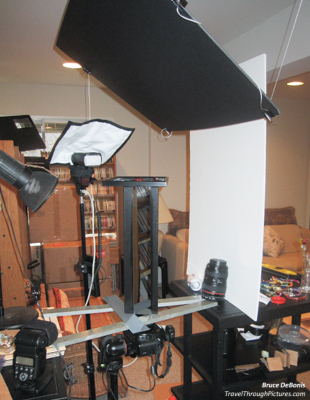
I am not going to write much about this, except make the following points:
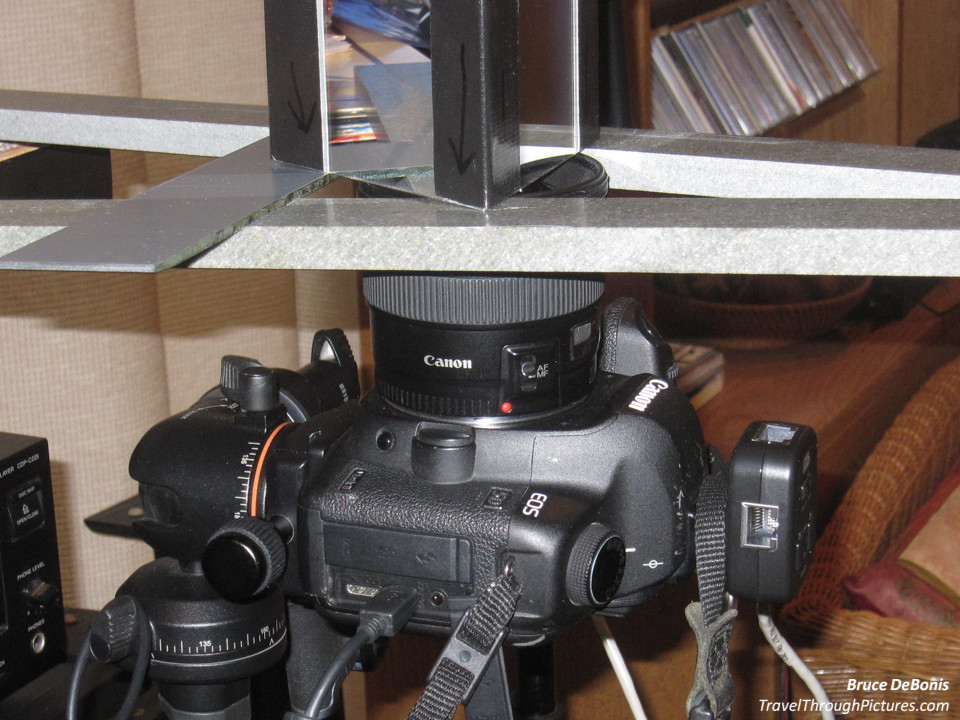
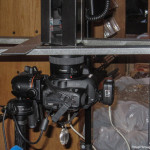
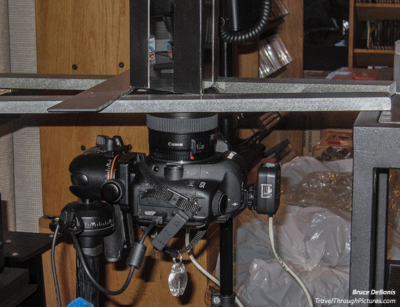
- Aim the camera straight up
- Support the scope by its three corners
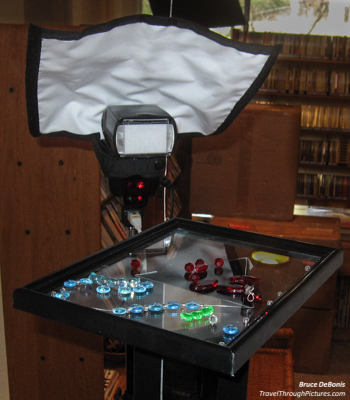
- Place the glass tray (cheapo picture frame with glass, the frame keeps the beads from rolling off)
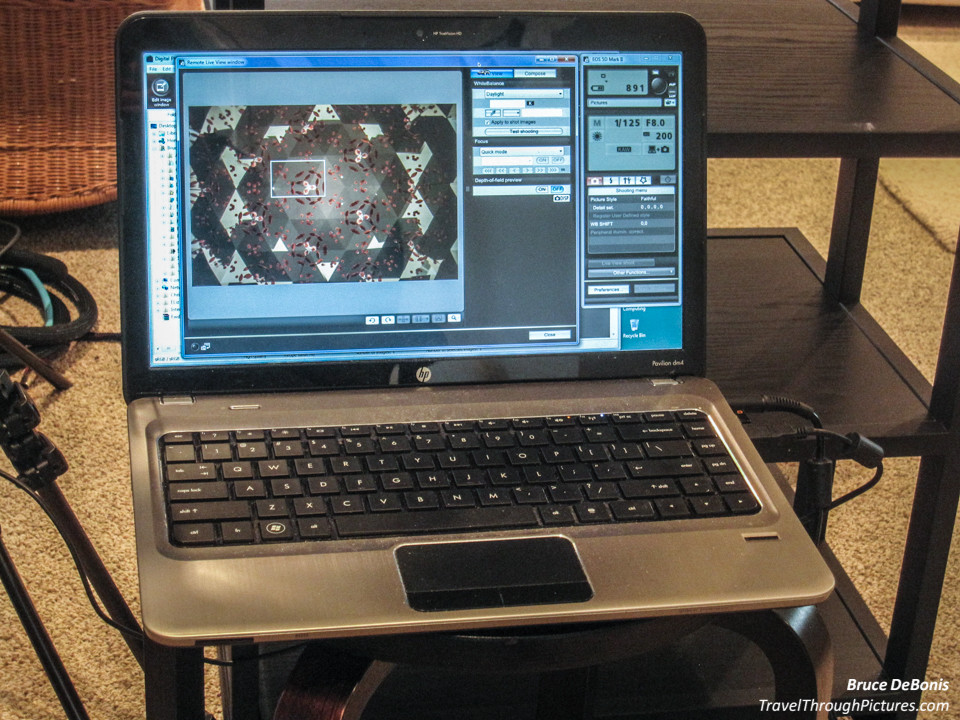
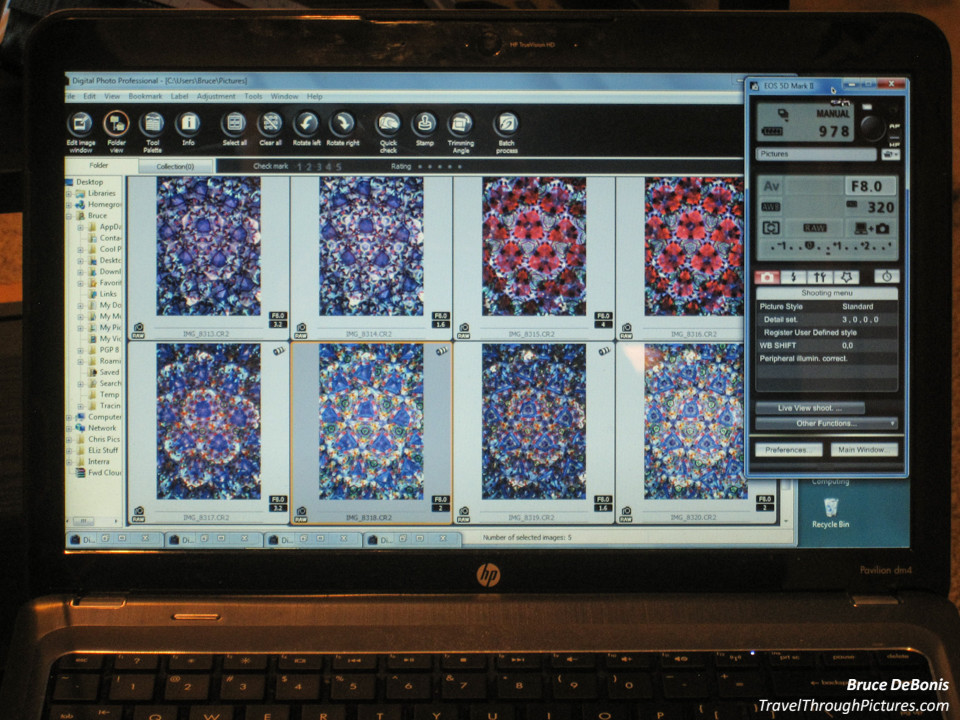
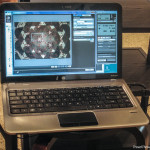
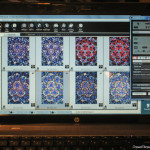
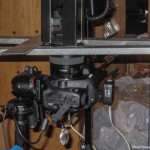
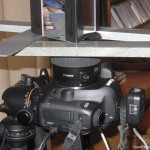
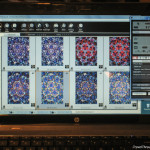
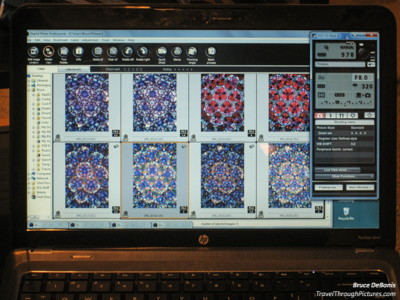
Align one of the scope sides with the bottom or top of your camera otherwise the patterns will look crooked. Alignment is really tricky but you can do this by shooting many test shots while attempting to put the primary image in the center. Tethered shooting makes this much easier as you can see your results on a PC screen. If not, well good luck as you will have to lay on your back or constantly move your memory card back and forth to your editing PC. I tried using a hand mirror to see the back of my camera and while it works, it is a royal pain. Tethered shooting is the way to go here. Canon provides this software free and you see it in use in the picture below. LightRoom also supports tethering for a whole host of cameras, but I never used it.
 Camera Settings
I shot both in manual and automatic and used my 20mm prime lens almost exclusively. You really have to experiment here as the amount of ambient lighting and how opaque or clear your viewing materials are will have a big impact on settings. For most of my shots here, I used these manual settings with my flashes:
 Mode: Manual
- Aperture: f/8 – this aperture setting is what Canon lenses are optimized for and you get your best sharpness, least vignetting, least distortion, all across the entire field of view at f/8; this is true for most of their lenses, by the way.
- Shutter: 125/sec – this is my camera’s fasted flash sync speed; check your manual for your particular model’s fasted setting.
- ISO: 200 – this is the slowest setting where I get the best results. Higher ISOs don’t look so good to me and given the tons of detail in these pictures, I wanted a very high-quality capture.
- Flashes – 1/16 power but this is where you will have to experiment with placement, distance, reflective white boards etc. etc. This is the biggest exposure adjustment you will make.
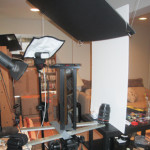
- Black foam board hung from my ceiling with tape and strings, angled to not reflect the flash and provide a black background to the colored junk. You can try other materials such as colored cellophane.
- White foam board on the sides to reflect the flash
- Flash aim is NOT down on the colored viewing materials as it shoots too much light down into the tube and overexposes bits. Aim the flash down low from the sides to light up the gems and beads but not go down into the tube. Experiment with flash placement as the differences between configurations is pretty dramatic.
- Towel wrapped around base of ‘scope to prevent light leaking into the lens from the spaces between the lens and ‘scope.
 You can try shooting in various automatic modes and see what happens. If you have bright ambient light, your shutter speeds will be slow but it shows more detail in the beads and gems. Then try both! I got some good results by shooting my flashes in manual and letting the camera produce a long shutter as this gave nice lit up gems with a natural look.
Regarding depth of field, you will need deep focusing to catch the edges of the frame as the light is bouncing back and forth resulting in a growing distance. Most good, wide-angled lenses should work edge to edge at f/8. I did, just to be safe, focus a millimeter or two beyond the closest point to maximize the useable in-focus depth.
Other Lenses & Post Processing
I have a few lenses and tried them all but I found my Canon 20mm 2.8 USM worked best. It is a very good lens but not one of Canon’s premium “L” line. Still this is a fantastic lens that focused close up easily without an extension tube and had a deep depth of field that kept everything in focus. If you want to zoom in to an area, then do it in software by cropping and not using a zoom lens.
My Canon 24-105 lens was a pain to use for a few reasons:
- At 24mm, the lens has massive amounts of barrel distortion.. just awful. And while you can fix this in LightRoom using LR’s lens profile tool, it doesn’t look good when adjusted.
- The distortion is way less at 35mm and gone at 40mm but I had to tape the lens to hold the length; holding the camera straight up causes the zoom to drop back to 24mm and 40mm is just to much zoom.
I tried my new Canon EF 100mm f/2.8L Macro IS thinking it would be great given the macro capability but 100mm took the view in too close. I took two shots and ditched it.
These pics needed very little post processing except for three common adjustments:
- Remove barrel distortion using LightRoom’s lens profile adjustment to take out this common issue with wide angle lenses
- Lighten the picture as you move out from the center; there is light loss as the light bounces from mirror to mirror so the picture gets darker away from the center. I used LightRoom’s new radial filter that worked magic.
- Lower the highlights, or bright spots, as sparkles and light areas of the beads and gems would overexpose; they can shoot light straight down the tube to the camera.
What Next?
I have the materials to make a tapered ‘scope. This will construct 3D images that fold in on themselves. Stay tuned.
There is huge opportunity to improve the images by using different viewing materials and improve or change the lighting of them. There is plenty of art to be made with the rig I built. Just time, patients, imagination, and a few embarrassing trips back to Michael’s can keep it new. Your junk drawer at home can have fantastic items for ‘scope viewing.
I tried shooting items such as ribbons and other opaque materials but didn’t have much success as I lost some patients required to get it right. If you try opaque materials you will need to get the lighting correct or they will black out and watch your focus as these materials can have depth and be outside your depth of field.
Additional Reading
Now after dicking with this stuff for a while, and having a few Pilsner Urquells in me finished off with a glass of Bailey’s on ice (my liquid desert), I wondered what is the focal length of the human eye? Don’t all photographers stumble across this big question? After all, most ‘scopes have tiny holes to see through and the field of view would then be determined by your eye’s own optical construction. Hmmm…. for a good overview of this, click here for Roger Cicala’s write up at Lens Rentals (great source of used equipment by the way):
Hint: Your eye is around 50mm lens equivalent on a pro full frame camera or 35mm on a typical crop sensor DSLR. Well sort of… read Roger’s work.
Other links in no particular order:
- Wayne Schmidt: Best discussion on mirror and ‘scope designs I found. Thanx Wayne!!!
- Don Doak: Master artist and craftsman with many ‘scope patents
- Kaleidoscope On-Line Book: Good source of history and some technical information
- Kaleidoscope Museum
- Technical Paper that clarified issues with angles for me
- Brewster Kaleidoscope Society
The Equipment:
- Canon 5D MkII
- Canon 20mm 2.8 USM
- Canon Speedlight 580 EXII
- Canon Speedlight 430 EX
- ExpoImaging Rogue FlashBender Large Positionable Reflectors
- Pixel Ethernet Flash Triggers
- Manfrotto 190 CXPRO4 tripod
- Vanguard GH-300T Pistol Grip Ball Head
- White and black foam board
- First surface mirrors
- Duct tape
- Small picture frame with glass
- Carbide glass cutter
- Glass and plastic gems, swizzle sticks, various pieces of crap
- Canon tethered shooting software running on a laptop
- LightRoom 5.7
