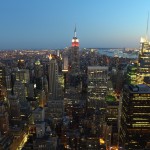
I wanted to get a cityscape at night. You know, like the ones you see in the magazines. If you can pull it off, your friends all go, “Oooooo…. Ahhhh…… “ Night shots always look best on a computer screen as the screens are lit from behind and make the building lights appear like real, glowing lights.
Why I chose to go there
I like tall buildings
When to Go
Nighttime. I checked when the official sunset time was and figured I would get there about 45 minutes before that. Well I was wrong…. The best light, actually the best no light, comes about ½ to one hour after official sunset so I stood around and shot a bunch of useless pictures that ended up in the trash. Too late and your sky will be black and you lose any detail in the architecture. Also, make sure it is a clear night with low humidity if you can – cool weather seems to be best for these types of pictures.
Where I Stayed
I used Priceline.com and found a three star in Midtown Manhattan. Avoid the theater district as it is pretty dead at night and not a New Yorker’s area of town. It is pretty hard to go wrong with this approach to NYC hotels.
Lens choice: Canon 20mm f/2.8 USM Prime (no IS!!)
For my 5D Mk II, I wanted to use a wide angle lens but I didn’t know what to use as I have very little experience with wide angle equipment. My 24-105 f/4 IS L would have worked fine at 24mm, but nothing is going to stop me when I am looking for an excuse to buy something, so when I arrived in NYC, I went straight to B&H and talked to a sales agent. He recommended the Canon 20mm f/2.8 USM… so I purchased it right there for around $550.00. He also recommended stopping it down a few stops for extra sharpness.
Now I broke all my rules here as I purchased something without doing some research first. After my weekend in NYC, I checked the reviews on this lens and found they were less than stellar. I will let you be the judge on lens quality based on my pics posted here, but overall I am very pleased with this lens. If I had done my research before hand, I probably would not have purchased this lens and really don’t know what I would have ended up with. But I learned a lesson here, despite what some say, this lens worked out pretty well for me and I never will read and believe reviews like I did before.
Fight the Crowds
I should have brought my tripod with me as there were more than a few folks up there with pods. If you do bring a tripod, make sure you can position the camera high above the crowd a few feet over your head. But if you are dope like me thinking you don’t need a tripod for multi-second exposures, you are a lucky dope because the RCA building has stone pillars that are chest high and you can rest your camera on them. But then the challenge will be to get to one through the great barrier of the unwashed crowd. And I do mean a few of them haven’t washed in long long time. One word of advice: push. Yes, push politely, but push. One dear Spanish speaking man was giving me a problem so I used my elbow – a very polite elbow (actually kind of an elbow push-thing spot on to the Adam’s apple).
Once positioned in front of a stone pillar, I quickly realized that just setting the camera there would aim the camera too high above the city. So I held the camera firmly and tilted it forward on the beveled edge and prayed. It worked! Actually, I can’t believe it worked even without image stabilization but it did.
Setting the Exposure
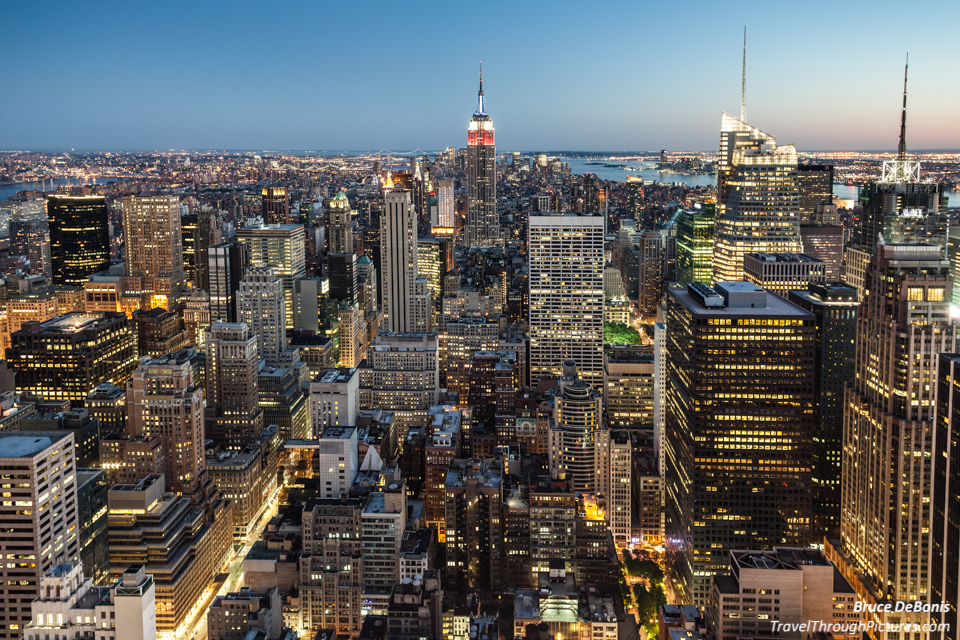
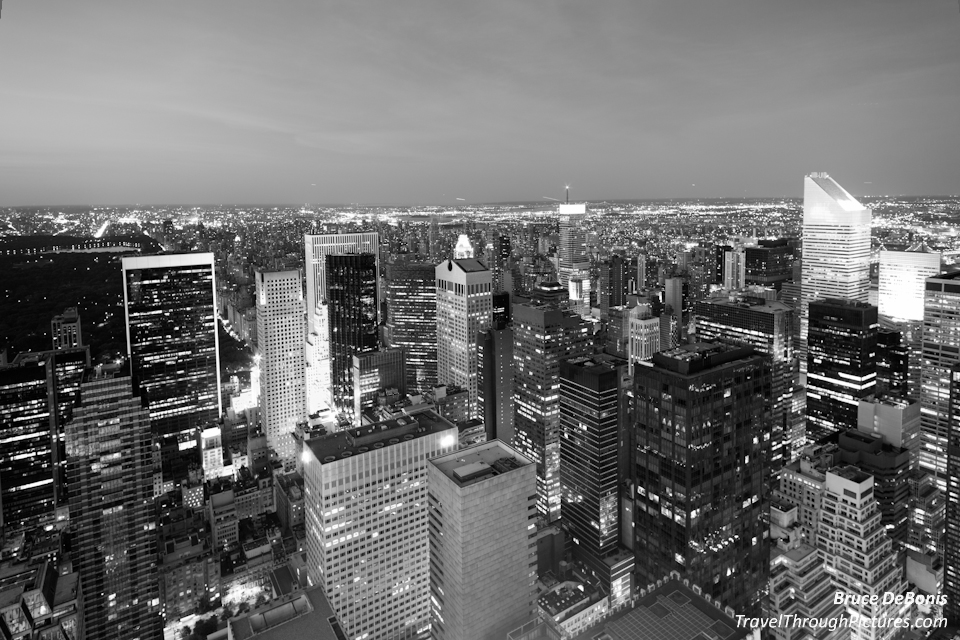
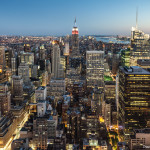
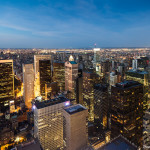
Look, I had no clue what I was doing but I do know that letting the camera do anything automated in these night situations never works. Just doesn’t. So I put the camera into Manual, set it for the lowest noise ISO at 100, and positioned the aperture at f/5.0. Why 5.0 with a nice wide 2.8 lens at night? Well the sales rep said to stop it down a bit for extra sharpness so I guessed at 5.0. The variable now was the shutter speed and I just started shooting experiments; after all, electrons are free. The shot to the South was at 4 seconds, and the one to the North was at 6 seconds. The reason for the difference is that I shot the North last and therefore it was a bit later and darker. 4 and 6 seconds… jeez… I can’t believe they came out…or did they… or could they have been sharper with a tripod? …. sharper with another lens? Hmmm…. I really hope the good photographers are a neurotic mess because if they are not, then I am severely handicapped.
Be Patient, Experiment, and Learn
Because I arrived too early, I was up there for a few hours waiting for the sky to darken and NY to turn on the lights. You would think with all that time I would shoot a bunch of experimental shots at different camera settings but I didn’t. I only messed with shutter speed once I had the other settings established. This was dumb as I should have tried other aperture and shutter speed combinations but I didn’t do it. I was actually terrified that I couldn’t hold the camera still enough so I shot a ton of pictures at the same settings to ensure that this blind squirrel bumped into a nut or two. And I can tell you, with the pushing crowd against me, I bumped into quite a few nuts – just gross.
I highly recommend taking experimental shots particularly at different apertures as this is the way you learn your lens. All lenses have a sweet spot for sharpness, and it appears from my experiences, that Canon lenses seem to be sweet between f/5.6 and f/ 8.0. But really, just stopping any lens down a bit will improve sharpness most of the time.
Post Processing
I only shoot RAW these days due to the great opportunities for post processing and I shot these pictures when I was using Canon’s free DPP software exclusively. I get great results for basic adjustments with DPP and was generally satisfied with the DPP tool. Then I purchased Adobe LightRoom and was amazed at how I can improve on what I thought were good shots. For shots that are good overall, both software tools work very well but if there is trouble with your shot, only LightRoom has the tools to fix it and fix it well.
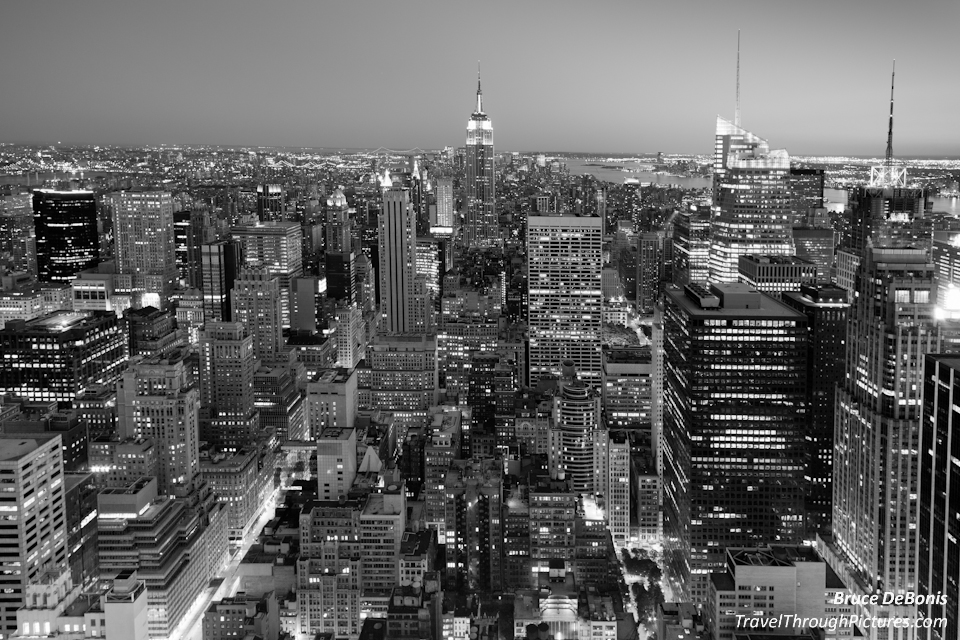
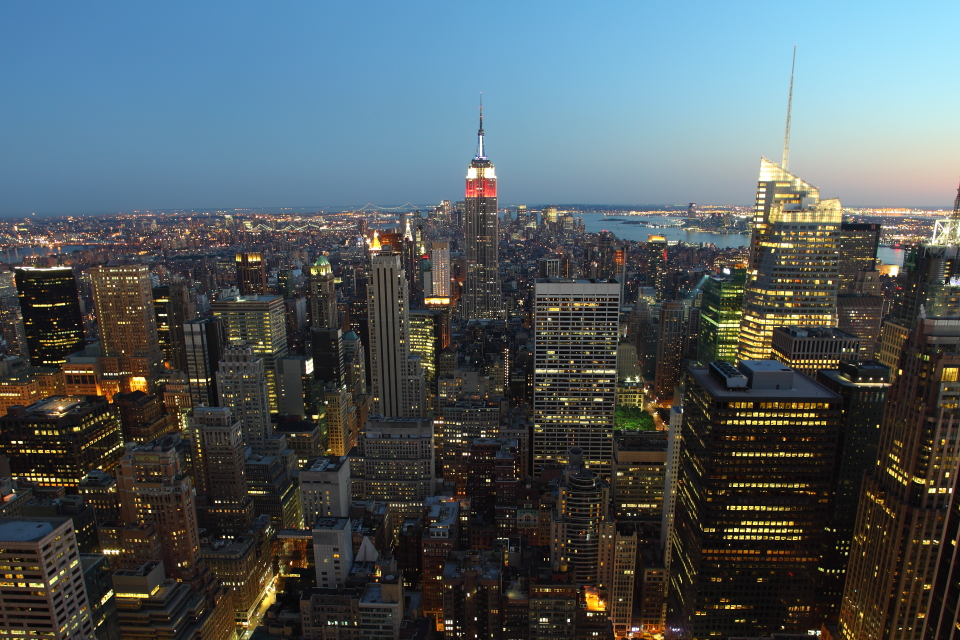
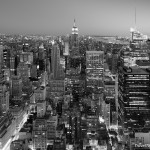
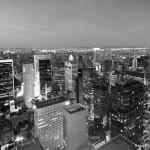
For these two NYC scenes, I won’t go into all of my tweaks, but I do want to compare DPP with the shots I processed in LightRoom and in particular, point out Adobe’s lens correction feature. The darker color picture without my watermark, was my best effort using Canon’s DPP… I think I could have done a better job in DPP but there it is. For the other two color and the black and white photos, I processed in LightRoom and used Adobe’s lens correction feature. When you use a wide angle lens, the field of view is bent like looking at a reflection in a shiny ball. This looks really bad when you are shooting a subject with many straight lines like buildings. I was amazed at what Adobe’s lens correction profile for my lens did to straighten out the curved mess. I then used a few more lens perspective tweaks to get it just right. The DPP processed picture has no lens correction and you can see how the building bend and curve away from the center (now to be fair, I did not try the DPP lens distortion tools at that time).
For the black and white image, I tweaked the color setting a bit to get the lights to pop. Color settings in a black and white image? Yes! If you notice in the color images, most of the lights are yellow/orange. When you process black and white in LightRoom, you have access to color sliders and I just bumped up the yellow slider and the lights grew brighter! A dimmer knob that controls all of Manhattan!
The Equipment:
- Canon 5D Mk II
- Canon 20mm 2.8 USM
- Shoulda had a tall tripod
- Sharp elbows


2 Responses to “New York at Night…. Ooooo, Ahhhhh”