Backyard Photography: The Universe!!!
The Mission: Photograph the Universe!!
Sure, why not? Your DSLR and lenses have more optical power than Galileo ever had. You know that Galileo guy, that deluded nut that tried to figure out how stuff like the universe works and was convicted by the Inquisition as “vehemently suspect of heresy” and spent the rest of his life under house arrest. Should you worry about the men in pointy hats coming for you as you point your camera skyward? Well if the modern, perverted concept of conservatism gets any more power around here maybe…… (Oops! Did I just make a political statement? Sorry.)
Not only am I no expert on astral photography, but I can’t even claim to be an enthusiast. But one night, after way too many beers, I aimed the camera up and took a few pretty cool shots so I thought I would share them with you. No, these pics here are not great but I was way surprised that I was able to come up with anything acceptable. So, I figured I would post them here to give you some encouragement.
Where to go: Your back yard
I live near Philadelphia and the city can light up the night sky with an eerie pinkish glow at times. Not sure why this happens but it sure doesn’t make me feel at all comfortable but you still can take good shots of some of those lights in the sky. My shots of Jupiter were taken just a few miles beyond the Philadelphia city limits in the early evening.
When to go: Nighttime
If you can’t figure this one out, stop now, pick up another hobby.
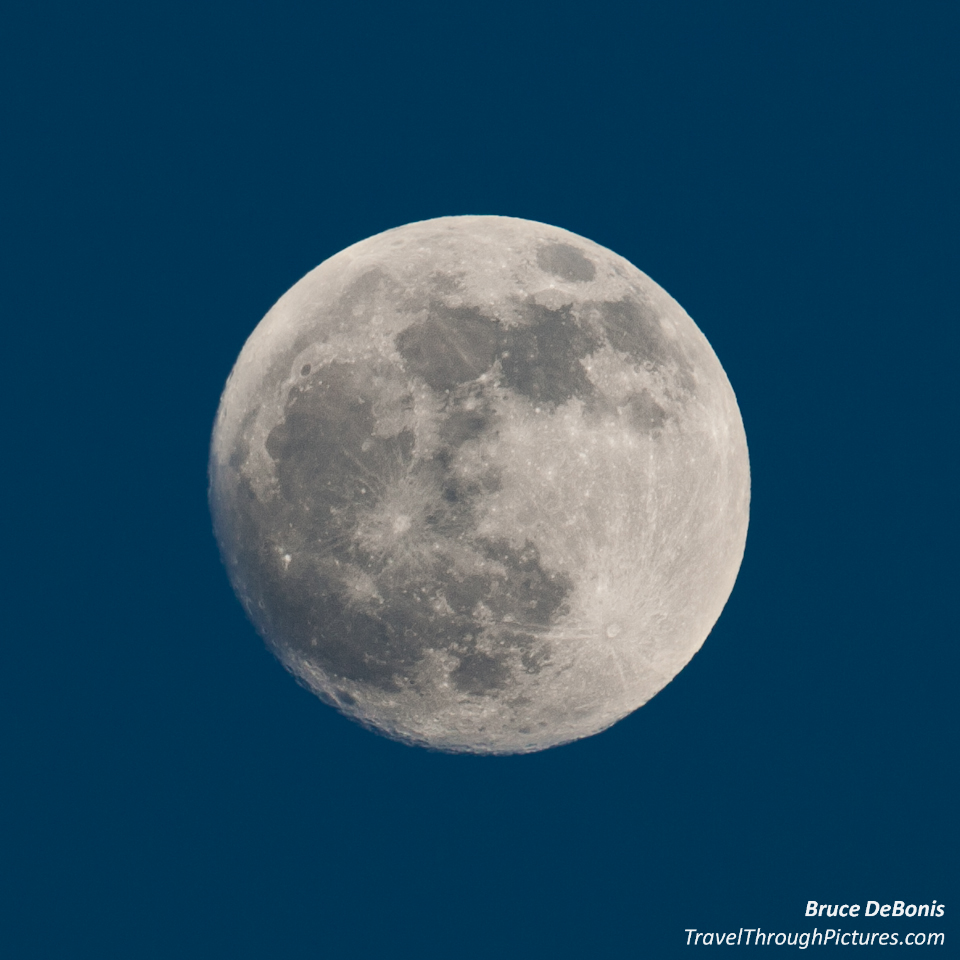
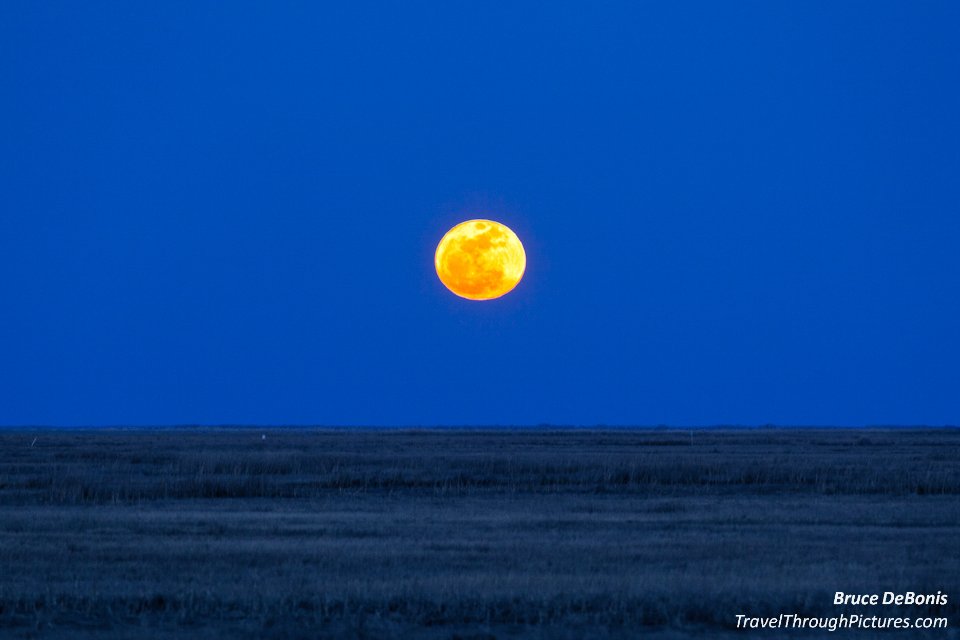
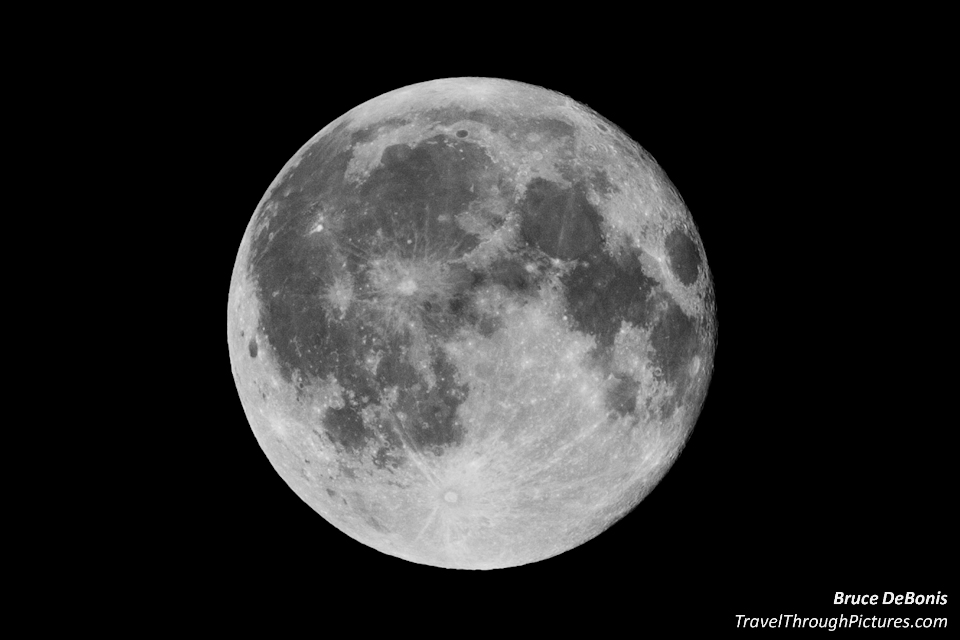
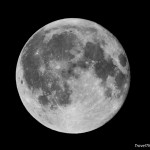
You will notice that one of the images is of the Super Moon I took on March 19, 2011. This was when the Moon was at its perigee (closest to earth) and appears 14% larger and 30% brighter than when it is at its apogee (farthest from the earth). Don’t worry, you can catch the next one, but you will have to be patient as the maximum (or minimum?) perigee only occurs every 18 years or so.
How to do it: Aim up
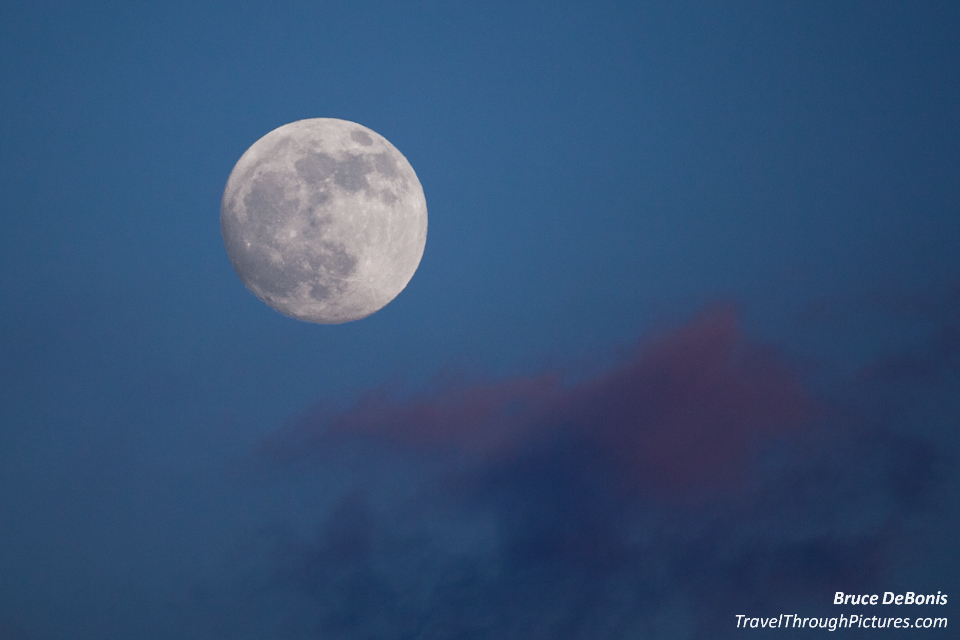
First, a couple of things I didn’t realize about shooting the moon. For one thing, window glass can be very cold…er..sorry, that is another pressed ham story all together. The moon is actually way brighter than I ever thought possible in the night sky. I thought that I would need a long exposure to do it. Wrong. That moon is bright! So below are a couple of mostly obvious steps to use to shoot the moon:
- Watch the calendar for a full moon and clear weather
- Use a tripod
- Shoot in live view and set shutter delay for two seconds to lessen shake
- Try both autofocus and manual focus (Canon allows you to expand the live view by a factor of ten that can allow for very accurate manual focusing)
- Set ISO at 100 to limit noise
- Put your camera into Manual Mode
- Stop down your lens a few stops from maximum aperture for sharpness
- Try various shutter speeds to get the correct exposure
- Try a new aperture setting, then repeat prior step
- Keep reframing because this thing moves!
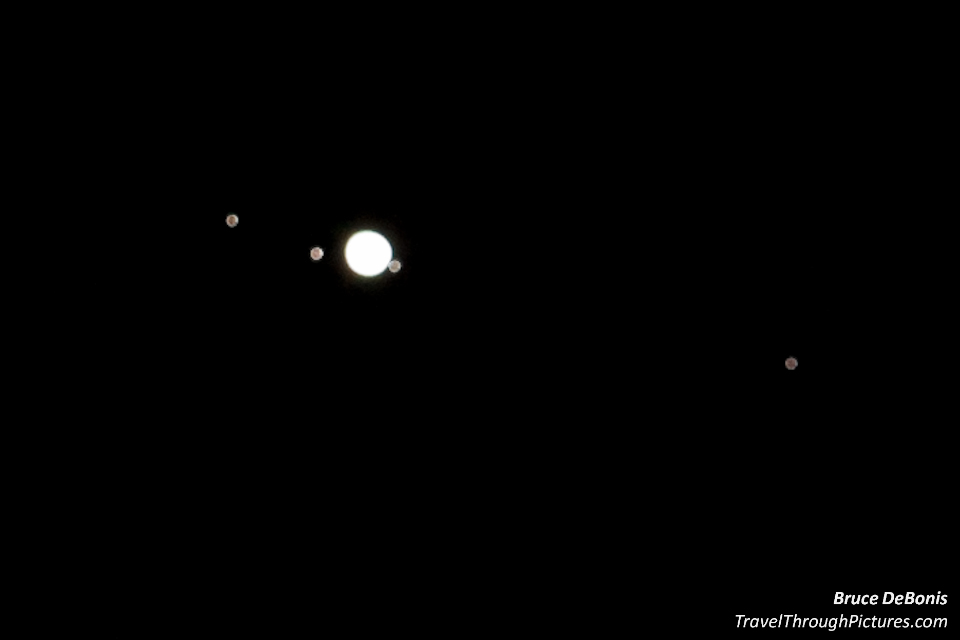
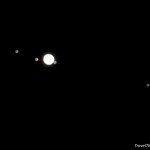
For Jupiter, I never would have even thought I could get Jupiter’s big moons. Never except that I received an email from a friend who said Jupiter was very visible in the early night sky and thought I should go out and snap a few. I ignored the email then started drinking a few bottles of that thought distortion stuff called beer. After beer number three, the tripod was out and the camera was pointing up. Problem was, I had no idea where Jupiter was. My poor, sympathetic wife was with me thinking she made some big mistake a few years ago and asked me how I was going to find the thing. I told her I knew where Uranus is but not Jupiter. She then left. So I pulled out my Droid with Google Sky maps, held it up to the sky, and in a few moments found Jupiter! Wow this technology stuff is really cool… but you knew that.
I took shots of Jupiter over two nights. The first night, I got pretty awful results, but I saw those darn moons!!! Holy Crap!!! I just could not believe it. Now Jupiter is not as bright as the Moon but still way more than I thought possible, so I set my lens at full, wide aperture which was a big mistake as the pics were not sharp after I cropped them down. Even with the 21 mighty MEGApixels of my 5D Mk II, cropping down this far will show even the slightest imperfections in your technique. So the next evening, I stopped down the lens a few notches and this improved the sharpness dramatically. In addition to my Moon instructions, just try a bunch of different aperture and shutter settings to get it right. Too slow a shutter speed and the planet motion with blur the photo while too fast will mean your aperture is too wide to get maximum sharpness. So experimenting is in order.
A quick note on shooting Jupiter: I could not get the planet’s color bands and the moons in the same exposure. When I got the correct exposure to get the moons, the planet was overexposed. When I stopped it down to get the correct exposure on Jupiter, the moons disappeared as they were too dark to be picked up. I don’t know how to get both with one shot without superimposing two images together so if you know the secret, drop me an email. On the first night, I picked up Jupiter’s color bands but I had the lens aperture at maximum so it was not sharp. The next night, I just forgot to stop it down and expose for the planet which tells you there may, just possibly, be a disadvantage to beer and photography. So now, I jot down some notes of what I want to do ahead of time; but do whatever you need to do to improve your memory, just don’t stop drinking the beer.
Teleconverters: Love ‘em and hate ‘em
I shot two of these with my 70-200 f/2.8 IS II and a 1.4x teleconverter giving me 280mm. Can you tell which were shot this way? One of them was the Super Moon. That 70-200 lens is amazingly sharp but that teleconverter definitely degrades the sharpness. And when you crop 100%, meaning an image is pixel-for-pixel, any flaws will be visible.
If you have a teleconverter, give it a try with and without it. This type of photography, where you are cropping down to 100%, will show any disadvantages to these things. Let me know your thoughts on this and what your results were with and without the teleconverter and what lens you were using (thoughts are only appreciated with the photos to back it up!).
Post Processing: Gotta tweak!
Try messing with contrast before exposure. You don’t want to lighten up the image too much as noise and gunk will appear in the dark sky. For the Moon, try de-saturating as this will improve some apparent contrast although you will lose the golden glow if present.
The Equipment:
- Canon 5D Mk II
- Canon 70-200 IS f/2.8 II lens with Canon 1.4x teleconverter
- Canon 500mm IS f/4
- Tripod
- Beer (three is the absolute minimum for best results)

2 Responses to “Shoot the Moon! Shoot the Universe!!”