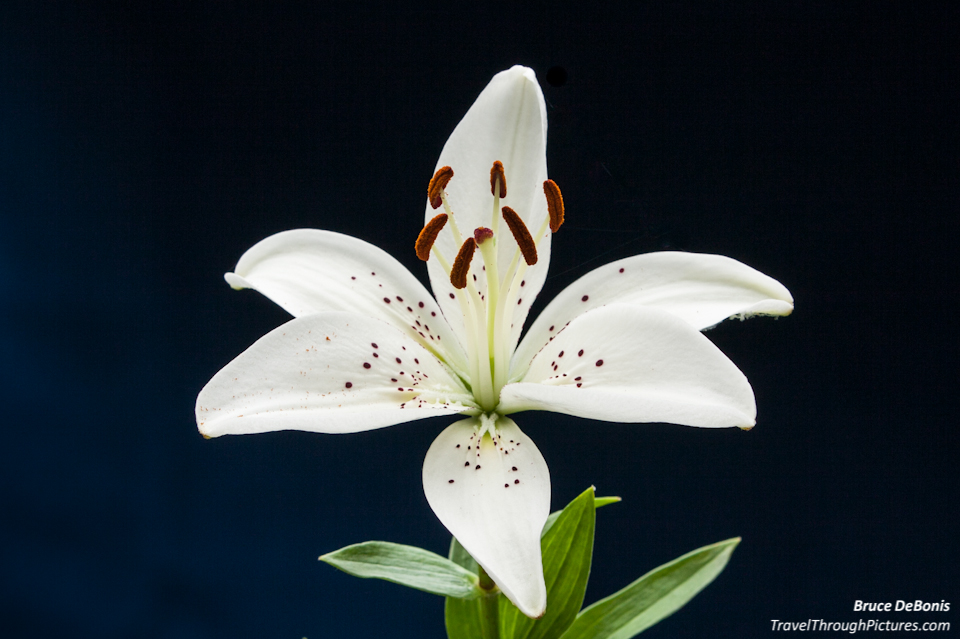
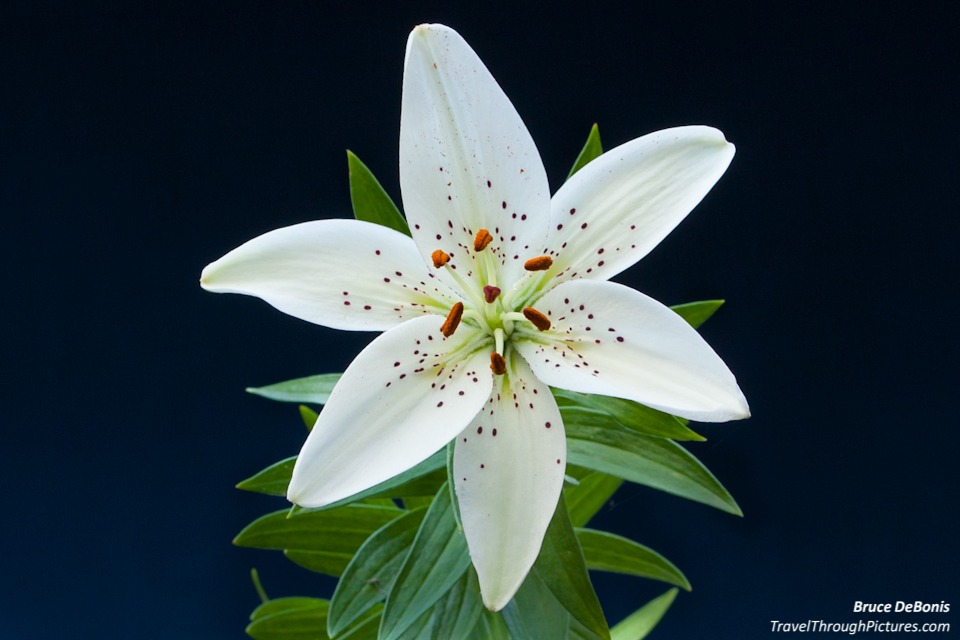
Cheesy Home Studio, Color Balance, & Flowers
Boy, if only I had a home studio. Lights, reflectors, half-nude models walking around, paparazzi demanding my time, crappy Euro-disco music blasting….. oooooooh… that would be great.
Well I don’t have lights or reflectors as they can cost some bucks. Half-nude models are always walking through my head but not in my home and I guess they cost money too. No paparazzi either. I guess that leaves me with the monotonous, nauseating pulse of machine-made music.
What to do? Grab a blanket! No, not the Michael Jackson kind, but an honest-to-goodness blanket.
My home studio!!
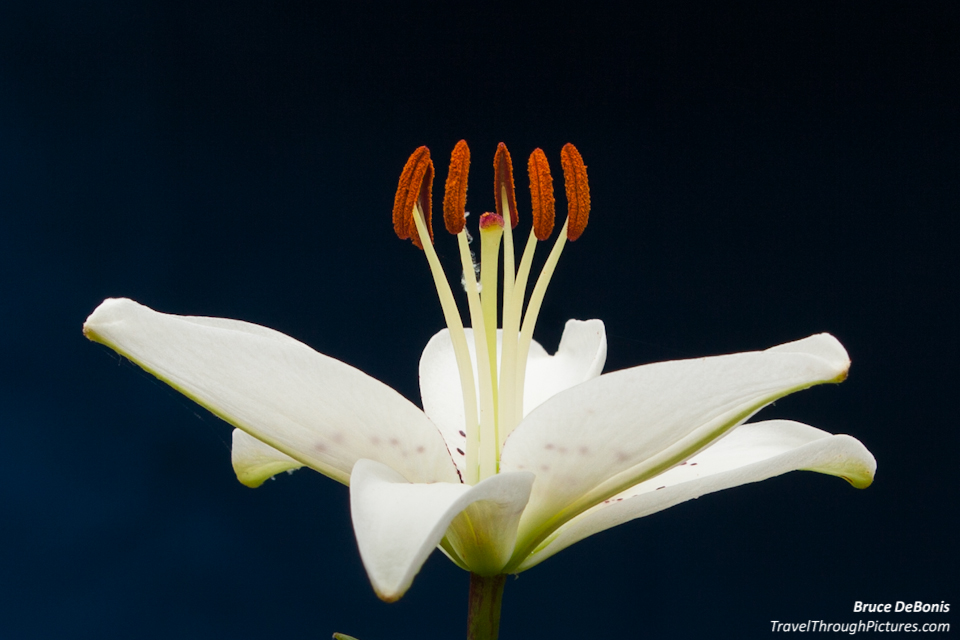
The pictures here of my cheesy home studio are pretty are self explanatory. But to head off the wave of questions about the finer details, here ya go, my secrets:
- Get one blanket (I like a solid color, avoid prints like balloons or teddy bears)
- Scrounge up two nails
- Buy two carpet hanging clips
- Hang blanket
I know, this can be extremely complex and technical, but hang in there, re-read the above bullets over and over and I promise you, you will get it and be on your way to working in a real home studio.
Make sure your flowers are not real dead
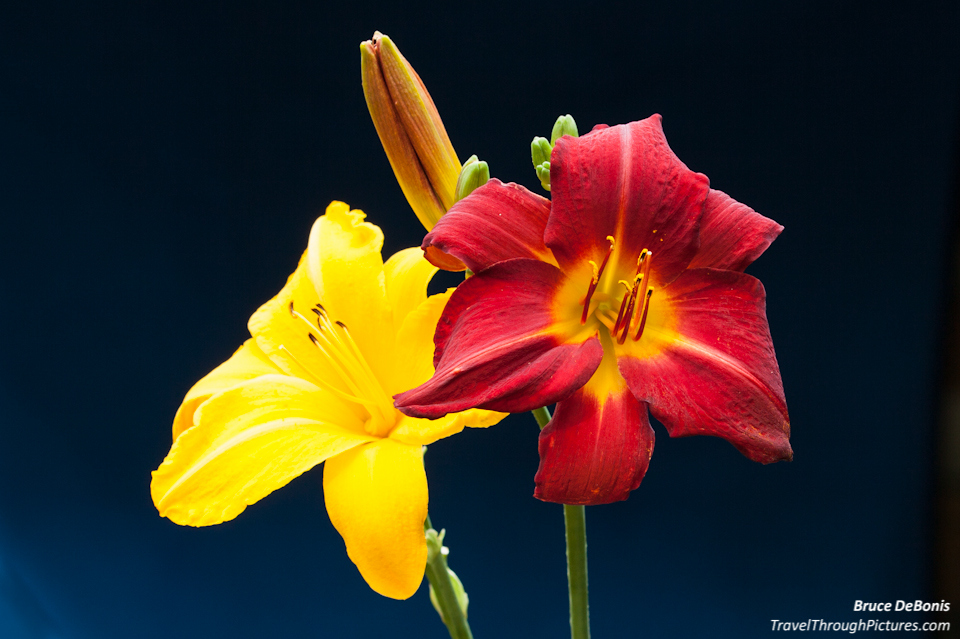
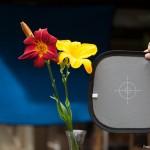
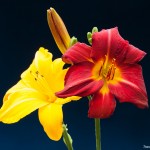
Boy this blog piece sure is getting technical. How dead your flowers are can have a profound effect on how your pictures look. The yellow and red flowers here are way too dead. They are so dead that they look awful. Being able to recognize the amount of death in your flowers is one of the many things that separate professionals from amateur hacks like me. I am working really hard to fill this void in my technique.
Depth of field (DOF) the friend and enemy
In these pictures, I wanted the flowers to be in focus from front to back but I don’t want to see the wrinkles and fuzz in my background (my blanket). Narrow apertures, denoted as larger f/numbers, will give you deep DOF and get the flower nice and sharp but the blanket may look awful. Wide apertures, denoted as smaller f/numbers, will blur your background thus smoothing out the blanket, but can make the front and or rear of your flower out of focus. You gotta get DOF just right.
DOF is affected by the distance the camera is from your subject, lens focal length, and of course, aperture. To get this correct, I recommend using a DOF calculator like an app I use on my Android phone called “Depth of Field Calculator for Photographers” by Allan Zhong. There are many others out there on net and are easy to find. Another tip is use a tripod so you can use slower shutter speeds and really experiment with different camera settings.
Experiment
Make it your motto day and night.
Experiment and it will lead you to the light.
The apple on the top of the tree is never to high to achieve,
So take an example from Eve, experiment.
Be curious, though interfering friends may frown,
Get furious at each attempt to hold you down.
If this advice you always employ, the future can offer you infinite joy
And merriment.
Experiment and you’ll see.
Grey Card to set white (color) balance
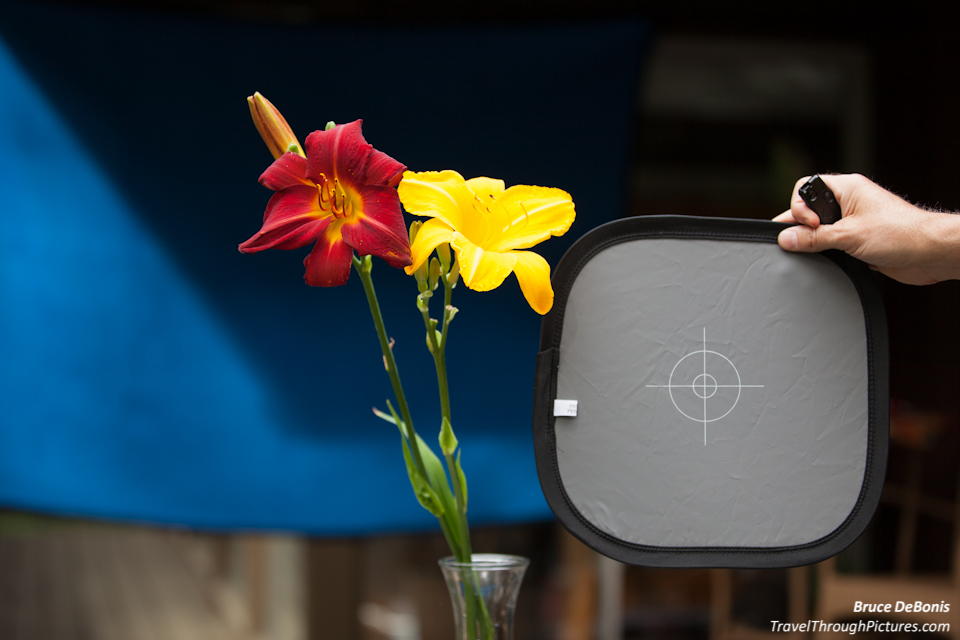
I used a Lastolite EzyBalance Grey/White Card 12” – Water Proof – Scuba Capable card to set white balance. Let me be blunt: this thing is not grey and has a slight color cast. Don’t buy this product. I no longer use it.
While I don’t really need it for scuba, this thing looks like a great idea as it twists up into itself and zips into a small flat pouch. Grey on one side, white on the other. Cool. Problem is that it has a slight color cast to it even though is looks a perfect gray. I shot some tests with it along with another inexpensive paperboard grey card in the same scene and each will render a different result with the Lastolite product being incorrect.
Why use a grey card?
Grey cards are for setting color accuracy or to be technically correct, white balance. For some reason that I don’t understand, digital cameras have big trouble figuring out color. Part of the problem is that every lighting situation is different and has a different color cast. Pure sunlight is the standard but clouds, shade, and time of day all change the color of natural light. Home lighting is just bizarre with the strange color casts of fluorescent, incandescent, and now these whacky EFL lights make getting accurate color in your photos darn near impossible.
The only real way to get accurate color balance is to show your camera a neutral reference point and that is a truly colorless grey card. See, grey has no color in it, just black and white. If there is a color cast in the light, your card will reflect that cast and your camera or software can compensate for it by applying the opposite color to neutralize it. Neat. (Note: to be technically correct, grey actually does have color in it. It has equal amounts of red, green, and blue.)
How to set white balance and use a grey card
There are a few ways to set color balance and I will briefly describe them here:
- When shooting RAW, just take a picture with a grey card somewhere in the picture. I find this the easiest way to set color balance when you are shooting RAW as I do. Then later when you are processing your pictures in software, just click on the grey card in your photo using your white balance eye dropper, and your software will automatically re-set the color balance appropriate for the lighting situation. Save this color balance and apply it to all of your pictures. You can just place the card anywhere in the picture, and, as long as it is bathed in the same light as your subject, it will work magic. The challenge with this method is your lighting may change when clouds move in or lights are turned on or off. Keep and eye out for this change and just shoot another scene with the grey card in it. See your software manual for using this tool as all software has this very common and important feature.
- If you don’t post process and just shoot JPGs, take a picture with the grey card filling the whole picture. Then, using the menu system in your camera, select the picture you just took and then press the “set white balance” button and camera will then use that picture to set white balance for all pictures that follow. That is why you have to fill the screen with the card so the camera knows what the heck is supposed to be grey. I find this method a bit more time consuming and since I shoot only RAWs, I don’t bother with this method. See your camera manual for these instructions as most DSLRs have this capability.
- This is stupid and I don’t own a grey card. Ok, I get it, but don’t fret, you still can set a decent white balance in one of two ways:
- Use the white balance presets in your camera. These will be denoted something like “sunny” or “cloudy”. Frankly, I think these do a lousy job and you are better off using the “auto” setting.
- Use the white balance eye dropper in your software. This actually works very well and you just click the eye-dropper on something in your picture you believe to be color neutral like a grey stone, white socks, or a white or grey T-shirt.
One picture above has incorrect white balance
After I posted this blog entry, I noticed that I goofed on one picture above and did not set the white balance in post processing. I was going to correct my mistake, but decided to leave the picture in the portfolio above so you can compare it with the others. Can you find the one with the incorrect white balance? That incorrect balance was what my 5D Mk II balance thought it should be in the Auto White Balance setting. This is why you really need to address white balance because even a very expensive, state-of-the-art digital camera can’t do it correctly.
The Equipment:
- Canon 5D MkII
- Canon 70-200mm L f/2.8 IS II
- Manfrotto 190 CXPRO4 tripod
- Manfrotto 222 pistola head
- Blue fuzzy blanket
- Cole Porter
- Lastolite EzyBalance Grey/White Card 12” – Water Proof – Scuba Capable (Don’t buy this)

