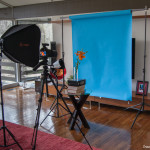
Home Studio Madness!!!! Awright, I got sick of using my infamous blue blankie as a background. I just couldn’t get the wrinkles out. I need a regular, cheapo, studio backdrop to take the occasional family picture or snowy day flower. Time to upgrade! Time to spend money! Wooohooo!!!!
The infamous Blue Blankie and my other home studio favorites:
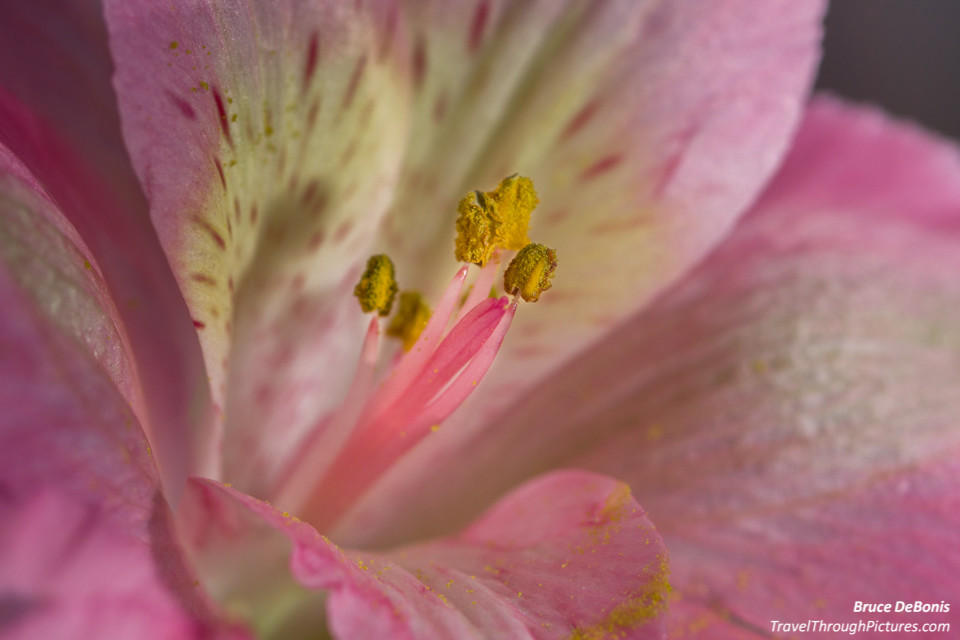
- Amaryllis & the Blue Blankie
- My beautiful niece and brother in-law and a brown sheet
- Hummers & the Blue Blankie
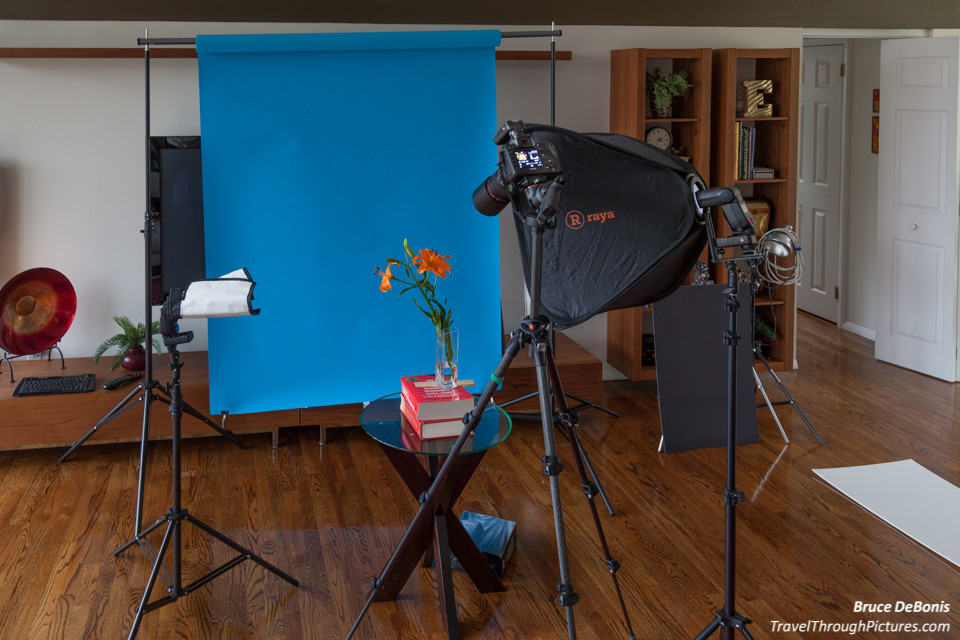
I broke an old rule of mine: do as much on-line research as I can. This time, I going to talk to a ~gasp~ a salesperson. I have been reading up a bit and knew I needed a backdrop and some flash diffusers like a flash umbrella, but that was about it. I just hopped in my car and drove to the B&H NYC superstore. Wow, this place is a mecca for photo video nerds of all kinds. Sheesh!!! Just an unbelievable store with everything! Every name brand, every model, and every size. And the staff all have professional backgrounds in whatever you are considering buying. I just went to the studio section and asked to be helped by a portrait photographer. This guy was great, he showed me samples of his studio work… business head shots and such….. Ok, now to squeeze his head for information and advice. These guys are NOT on commission, thank you B&H. My request was simple: I want a cheap, minimal home studio setup. I didn’t want cheapo junk, but one step above that. With a little chatting, I let him know I had a tripod, two Canon flashes, a third crappy manual flash, and a blue blankie. His first piece of advice? Ditch the blue blankie. I now know I got the right guy who clearly knows his stuff. We talked and I ended up overbuying… oh well. But this is going to be fun learning how to use this stuff!!!
The inventory and my rational:
1 – Impact Background Support System – 12′ Wide $104
This is to hang either a cloth backdrop or role of paper. I got the real wide one ….well just because I just did.
2 – Savage Accent Washed Reversible Muslin Background (10 x 24′, Dark Gray) $119
The consultant said he has been using a similar grey cloth background for twenty years. Good enough for me.
3 – Savage Widetone Seamless Background Paper (#31 Blue Jay, 53″ x 36′) $27.99
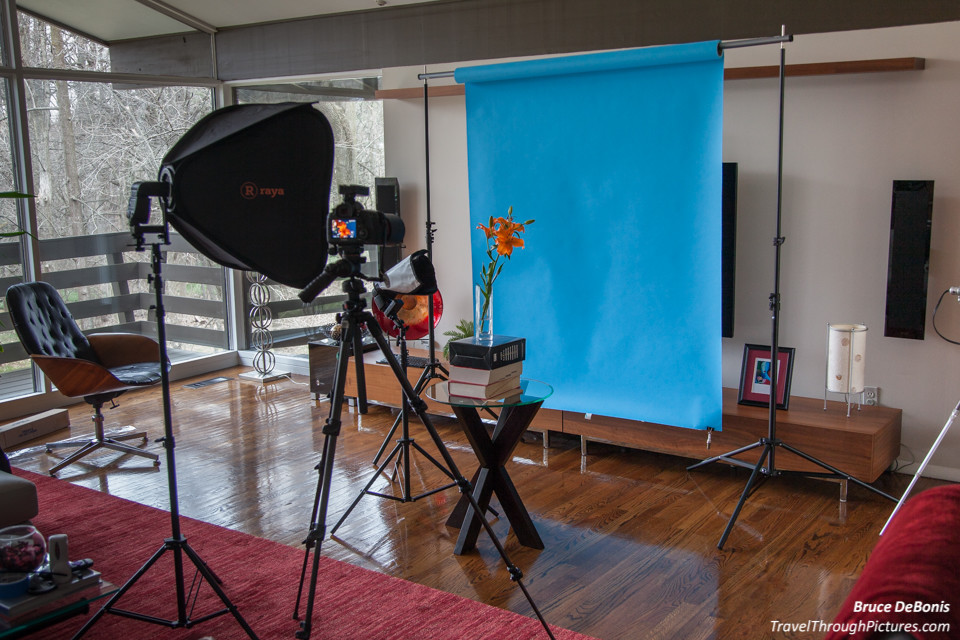
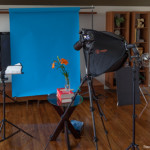
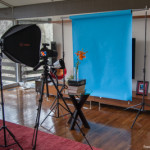
The paper roll slips onto the support beam and mimics blue sky. The consultant said there were lighter blues, but can they can wash out with flashes. If this was too blue, just desaturate the blue a bit in you pics or put light onto it.
4 – Impact Convertible Umbrella – White Satin with Removable Black Backing – 45″ $14.95
Standard studio tool for flash
5 – Raya EFS-24 Easy Fold Softbox Set (24 x 24″) $49.95
Standard studio tool for flash
6 – Yongnuo YN-622C II E-TTL Wireless Flash Transceiver for Canon (2-Pack) (2) $77.99 x 2
I was using a cheapo wired system that worked, but the wires were a real pain and I was tripping on them. Time to graduate to these new, cheapo, Chinese units. I needed four, three for my three flashes and one acts as a transmitter on my camera.
7 – Two cheap light stands, and a bracket thingy $90.00
8 – A white and a black foam board from Michael’s Crafts – too cheap to remember
Yep, I overspent. Total was $566.81. Ouch. Honestly, all you really need is the cloth background just taped to a wall, the paper roll, the light stands, the flash umbrellas and the remote flash triggers for around $250 sans flashes. Not cheap I know, but way less than I spent. I over did it. Ah…. who cares… this is entertainment!
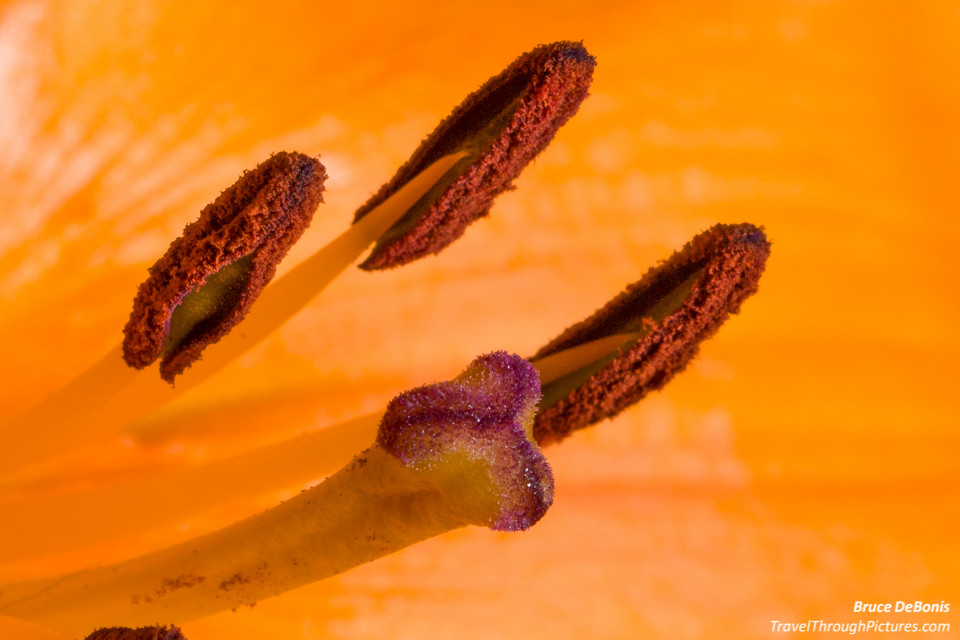
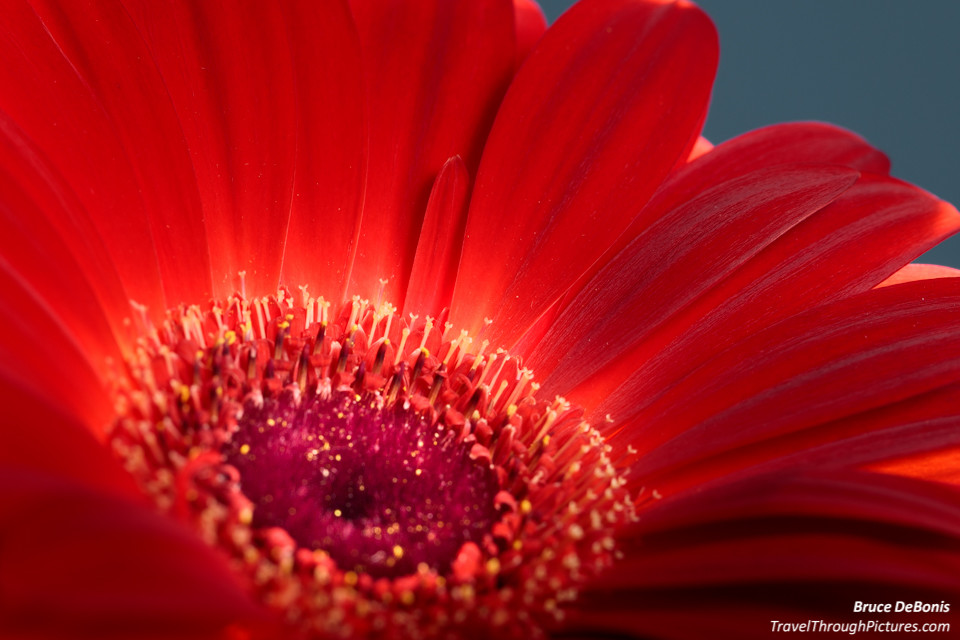
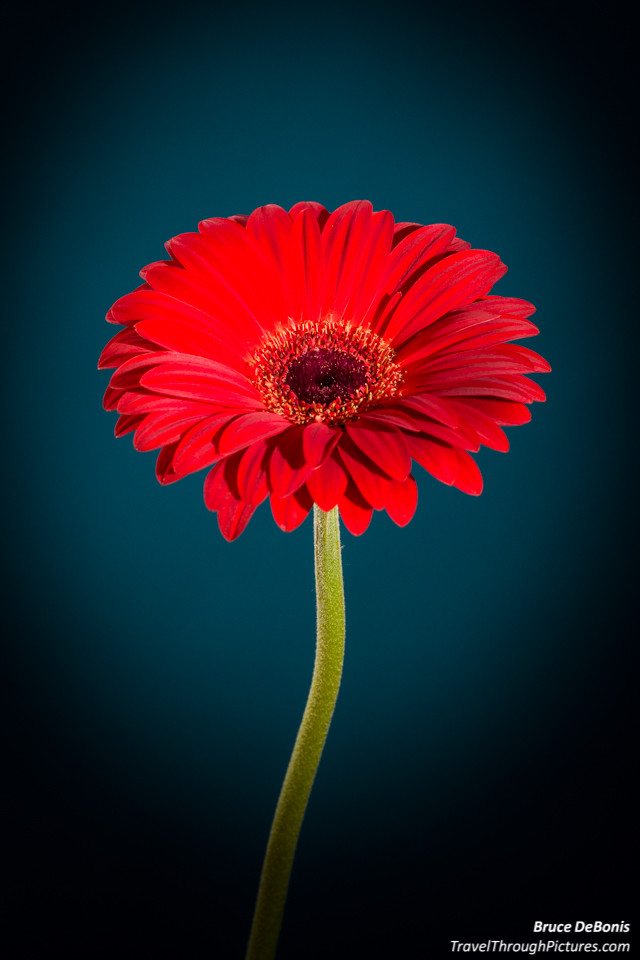
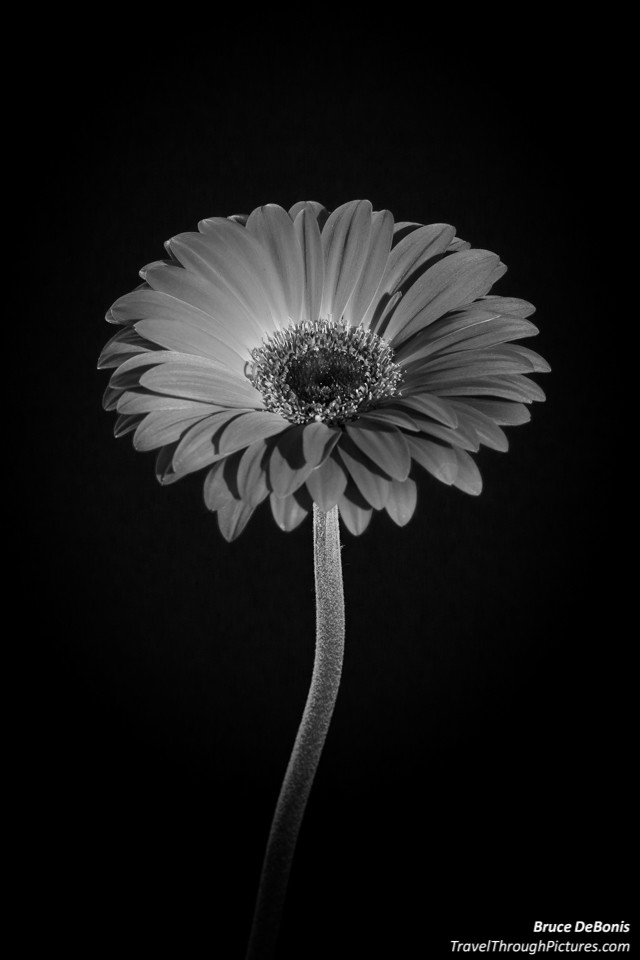
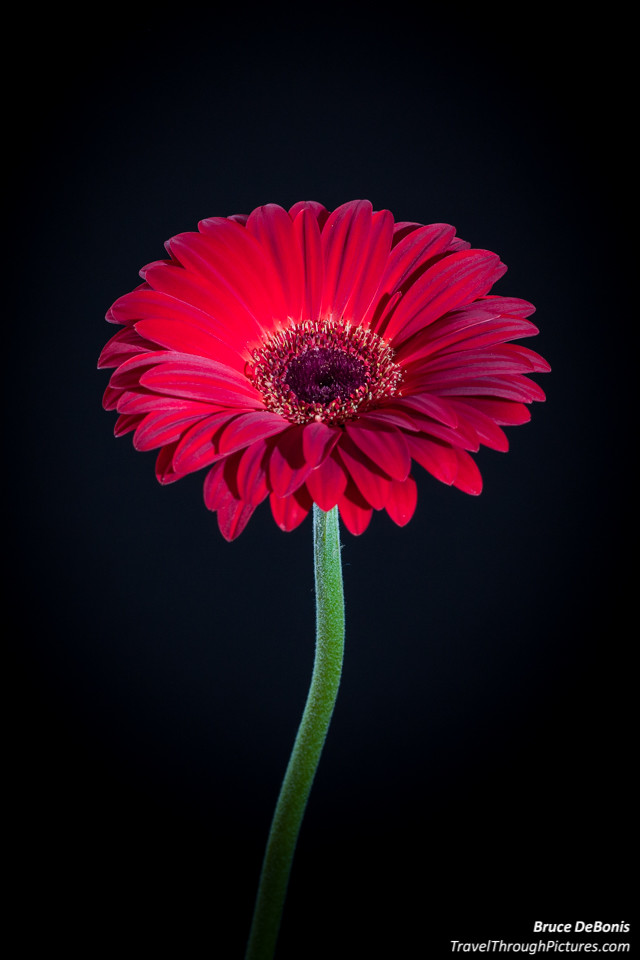
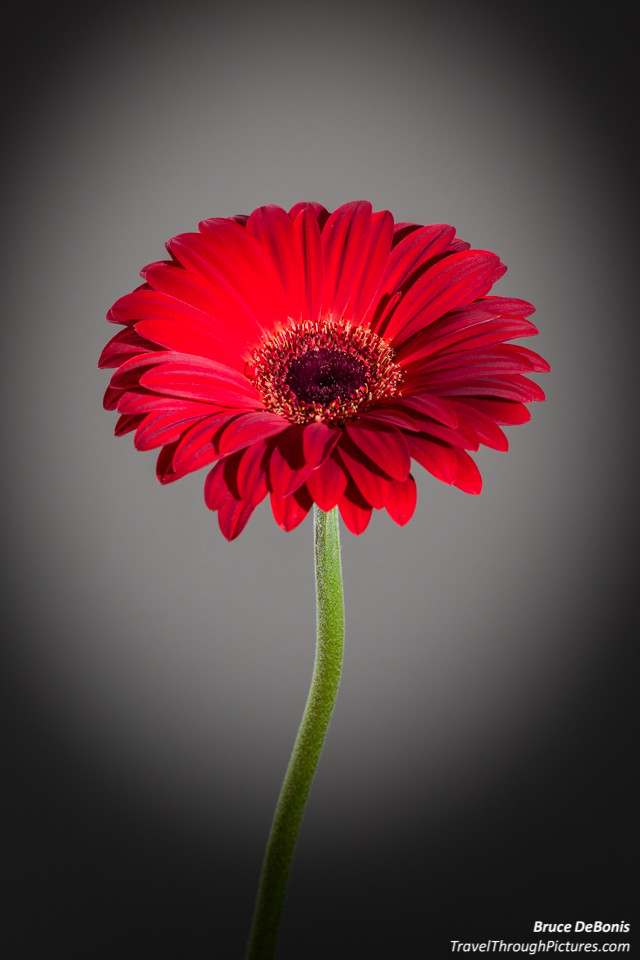
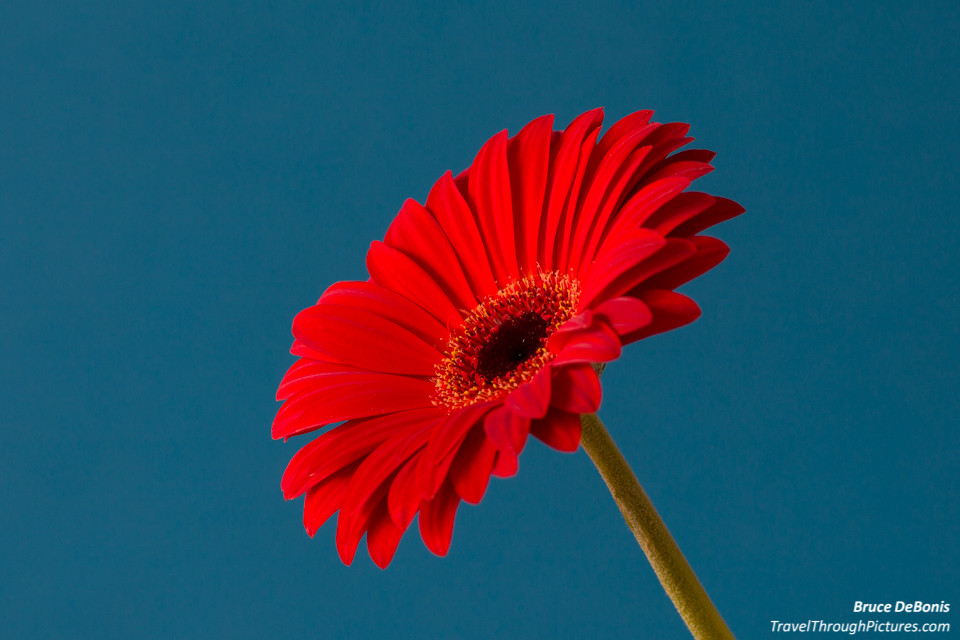
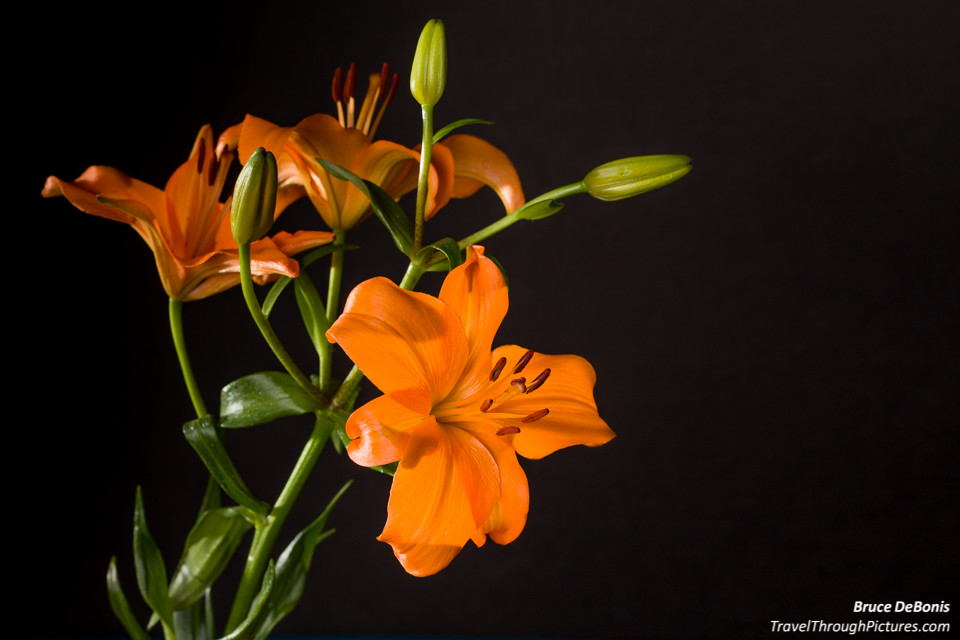
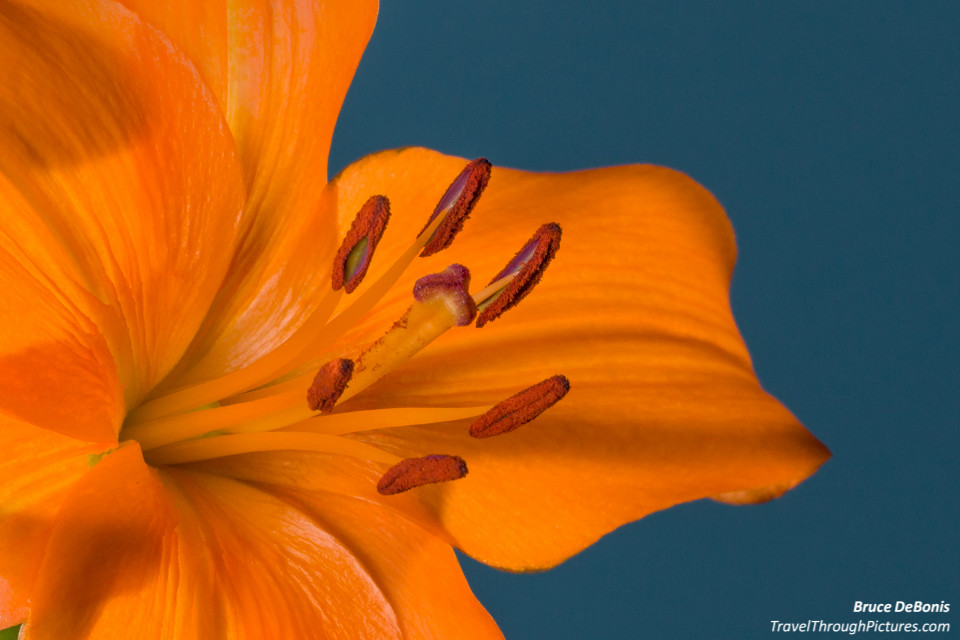
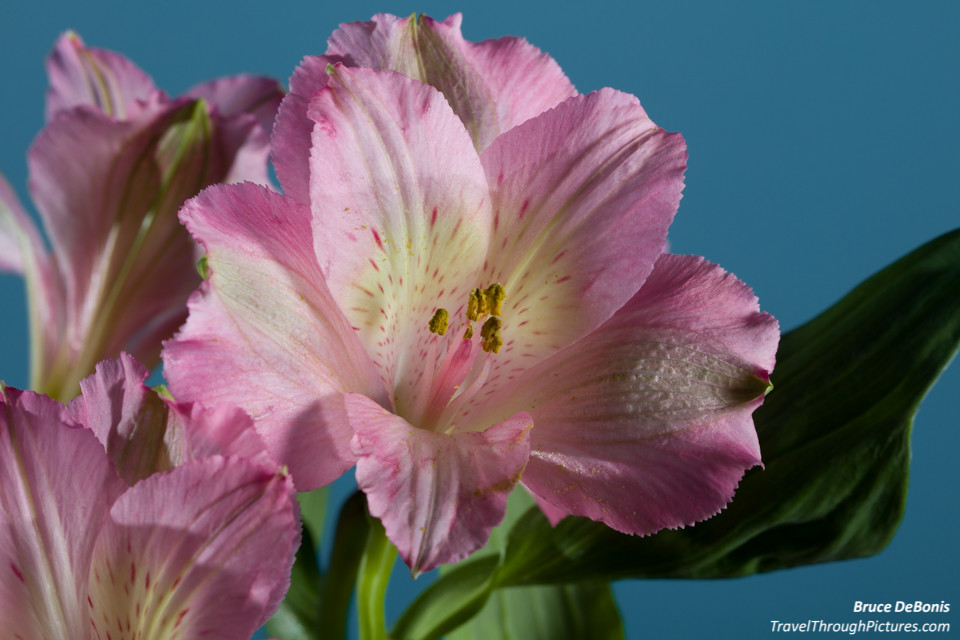
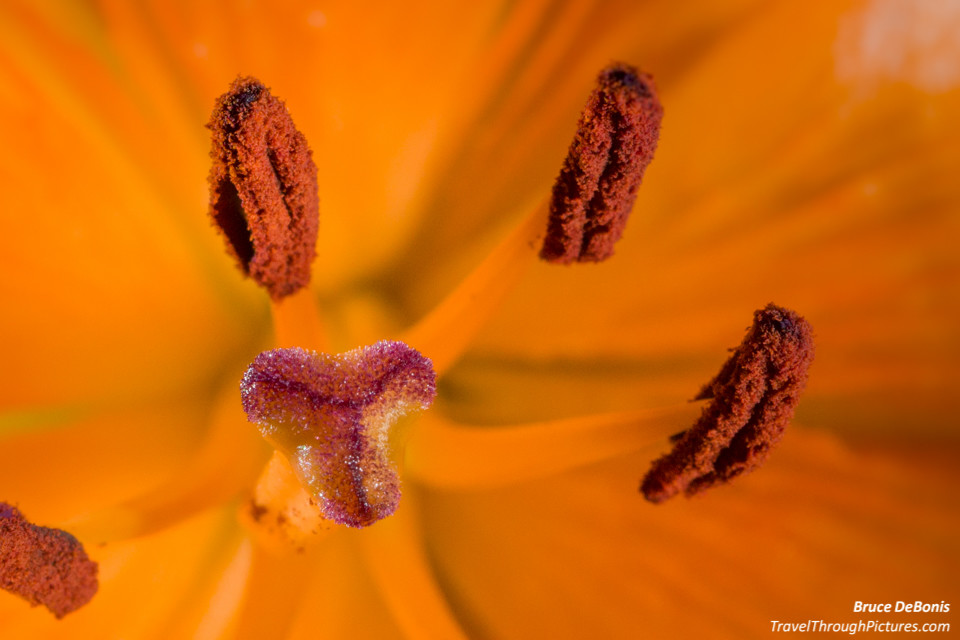
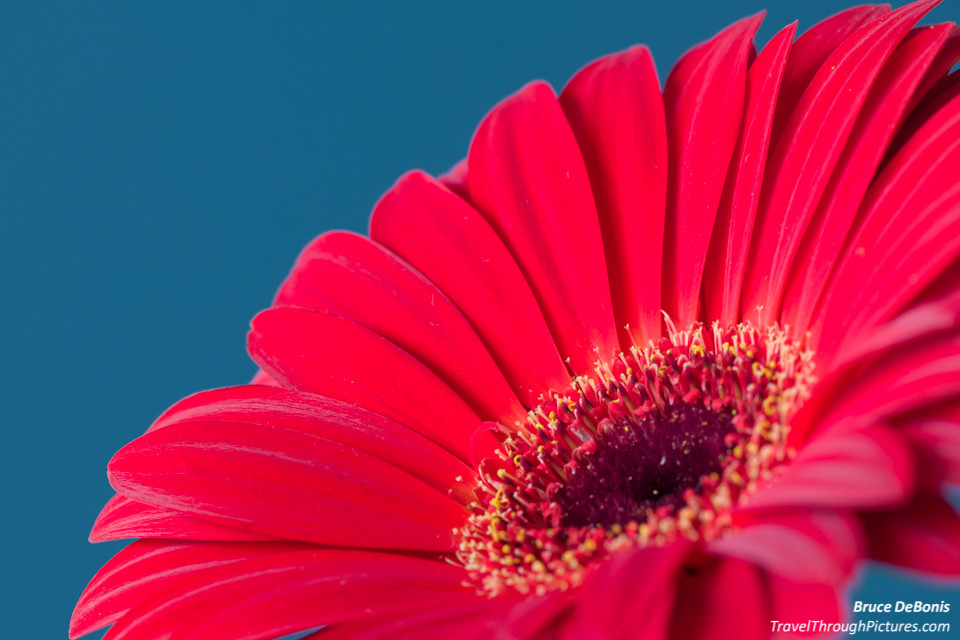
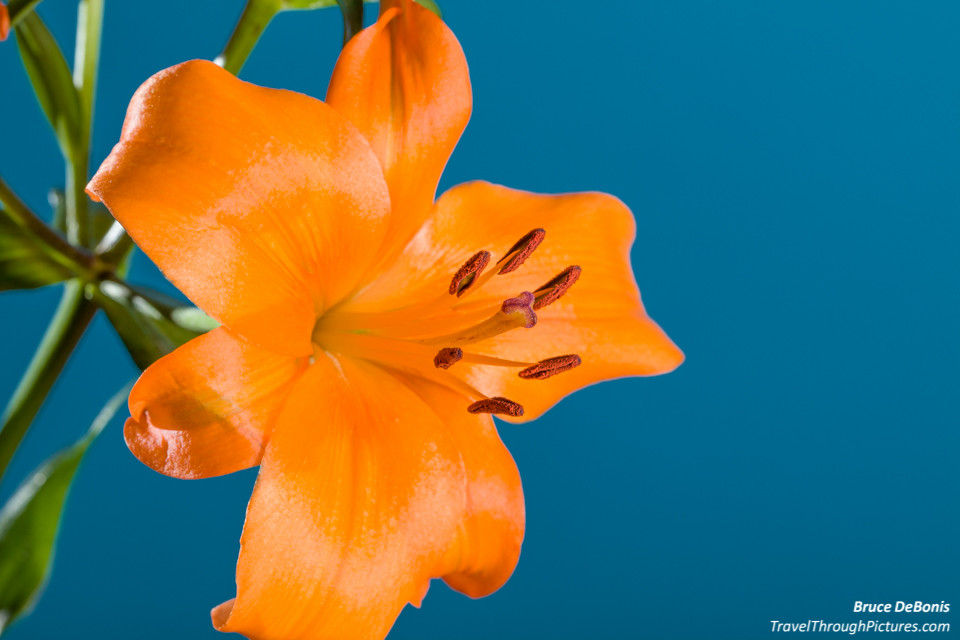
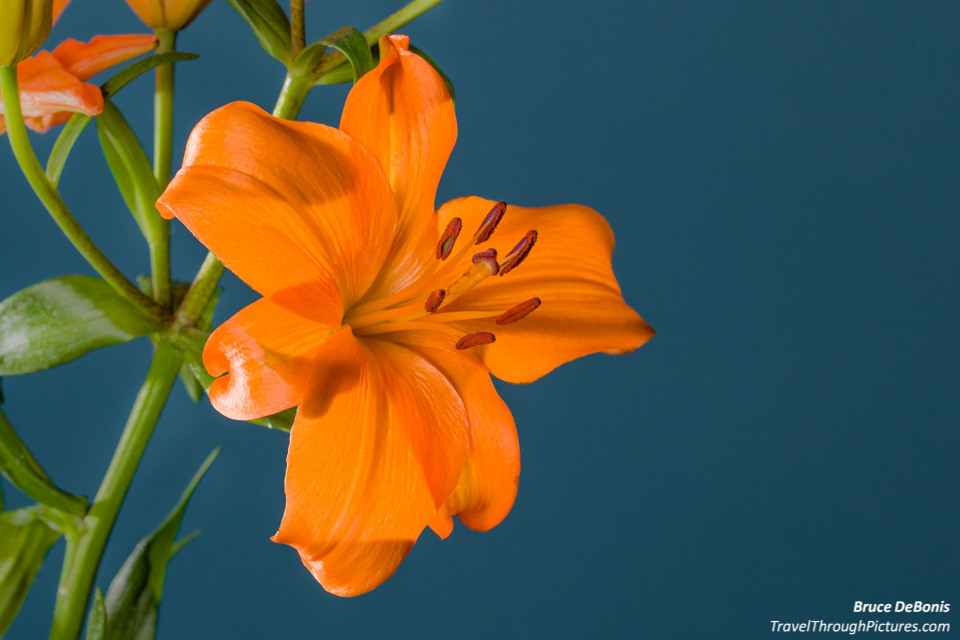
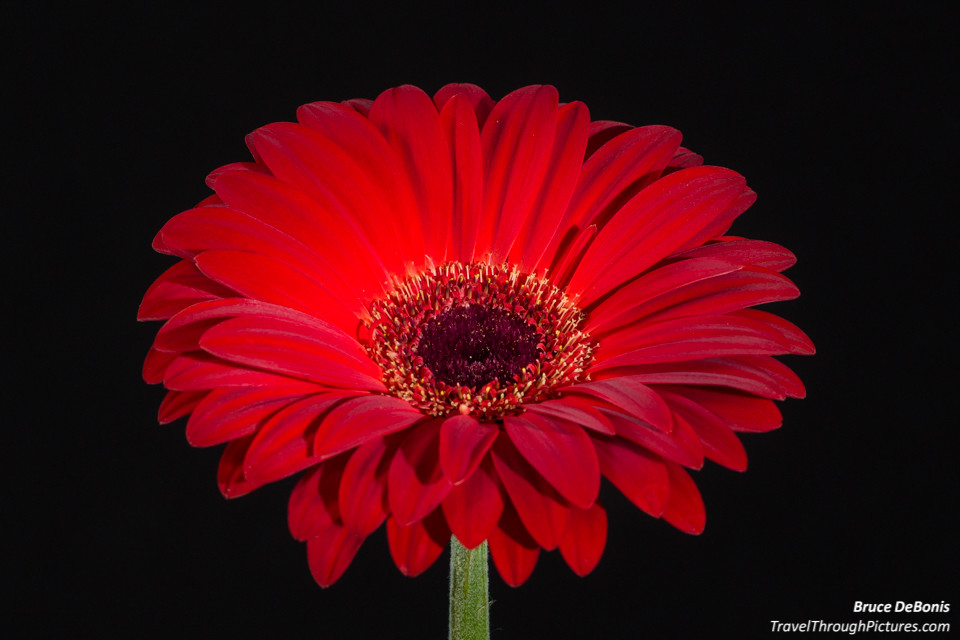
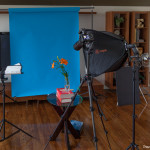
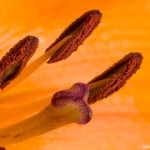
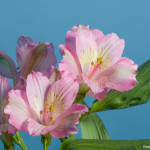
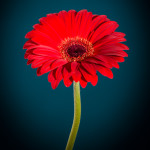
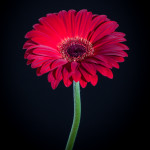
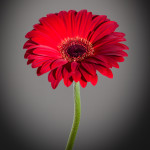
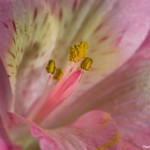
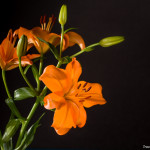
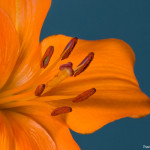
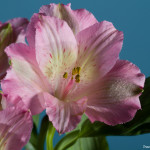
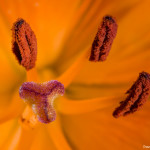
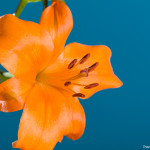
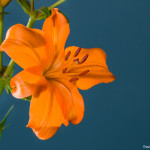
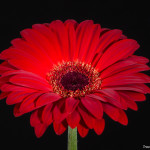
The Set Up First, I am not going to claim these are great pics. Even with the diffusers, the flash is harsh from improper placement. The trick with flashes is getting best mix of backlight and side light. Backlighting gives your subject a nice glow and makes semi-translucent flower petals pop. Side lighting can cast nice micro-shadows and contrasts that can make a photo great. I got neither. Oh well. For camera settings, I used the same as for my Amaryllis here. In general, I like to backlight flowers with a direct-firing flash usually from the side rear. I used both the umbrella and then switched to the soft box for front lighting. For flowers, just stop at your local grocery store. Cheap. I used only the blue paper background for these pictures and then held up a white then black foam board to try something different. Now to practice, practice, practice drinking more beer… and throw in some photography in between bottles.
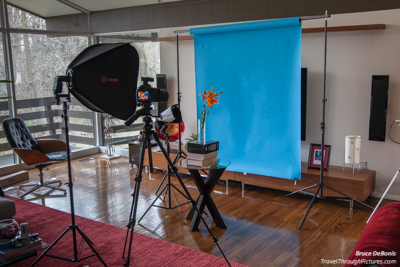
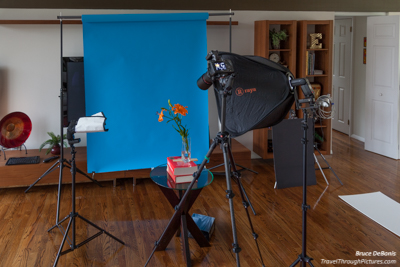
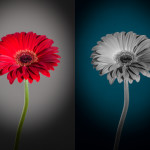
For the compound picture, I took three shots, one with the blue, professional paper background, and then held up a white and then black cheapo foam board for the other backgrounds. I then took one of the pics and turned it black and white in LightRoom where I then exported them as JPGs. I then took these four JPGs and combined them using Corel’s PaintShop Pro X8. LightRoom is great for processing RAWs, but for these kinds of manipulations, adding text, and putting mustaches on your girlfriend, you need a cheap JPG editing tool like Corel.
The Equipment:
- Canon 5DSr
- Canon EF 100mm f/2.8L Macro IS
- Canon Speedlight 580 EXII
- Canon Speedlight 430 EX
- Manfrotto 190 CXPRO4 tripod
- Vanguard GH-300T Pistol Grip Ball Head
- LightRoom 6.1
- Raya EFS-24 Easy Fold Softbox Set
- Savage Widetone Seamless Background Paper (#31 Blue Jay, 53″ x 36′)
- Yongnuo YN-622C II E-TTL Wireless Flash Transceiver for Canon
- Savage Accent Washed Reversible Muslin Background (10 x 24′, Dark Gray)
- Impact Background Support System – 12′ Wide
- Impact Convertible Umbrella – White Satin with Removable Black Backing – 45″
- A white and a black foam board from Michaels Crafts
