Color & Mood
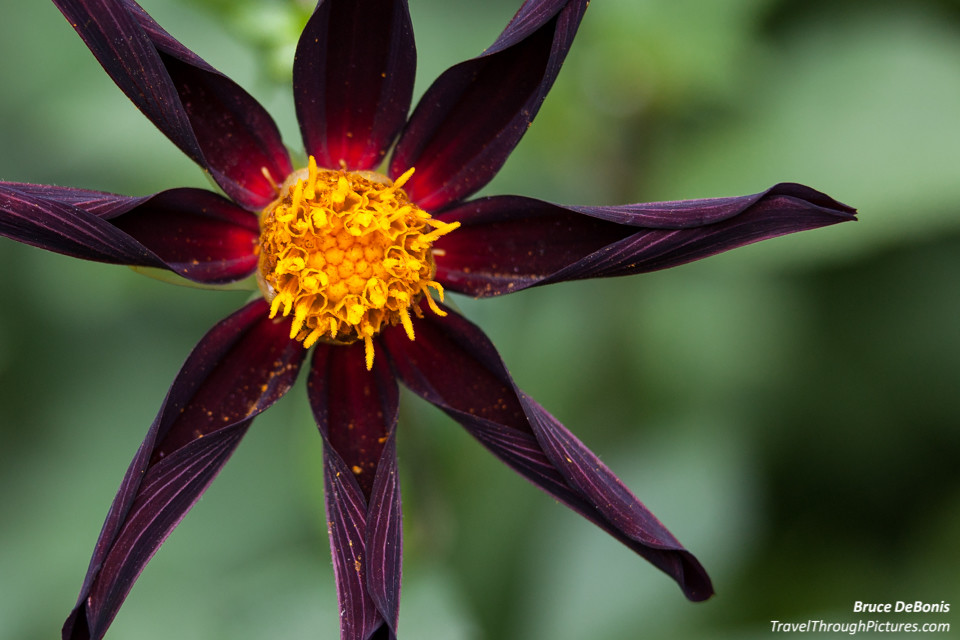
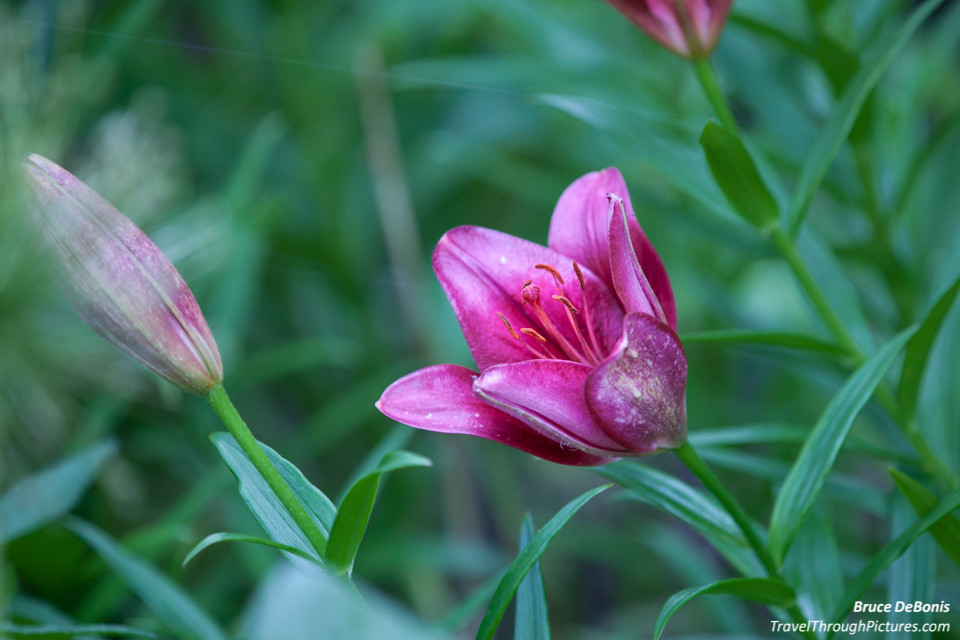
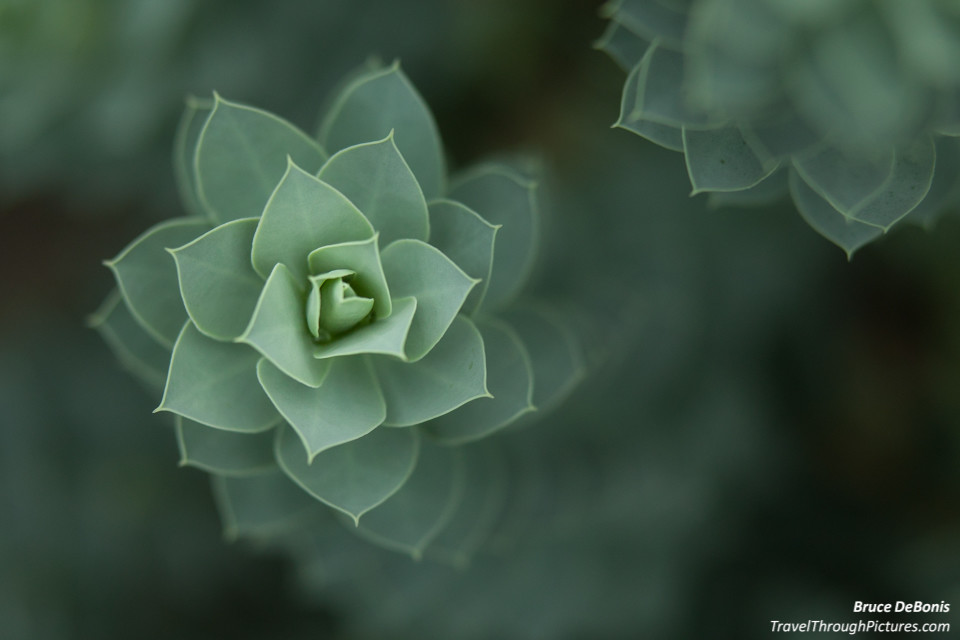
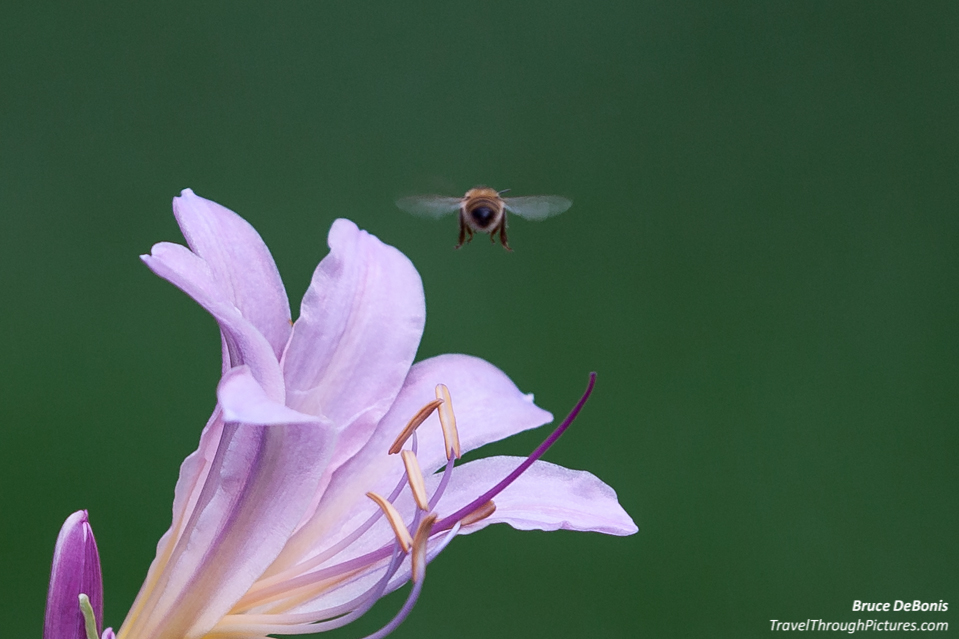
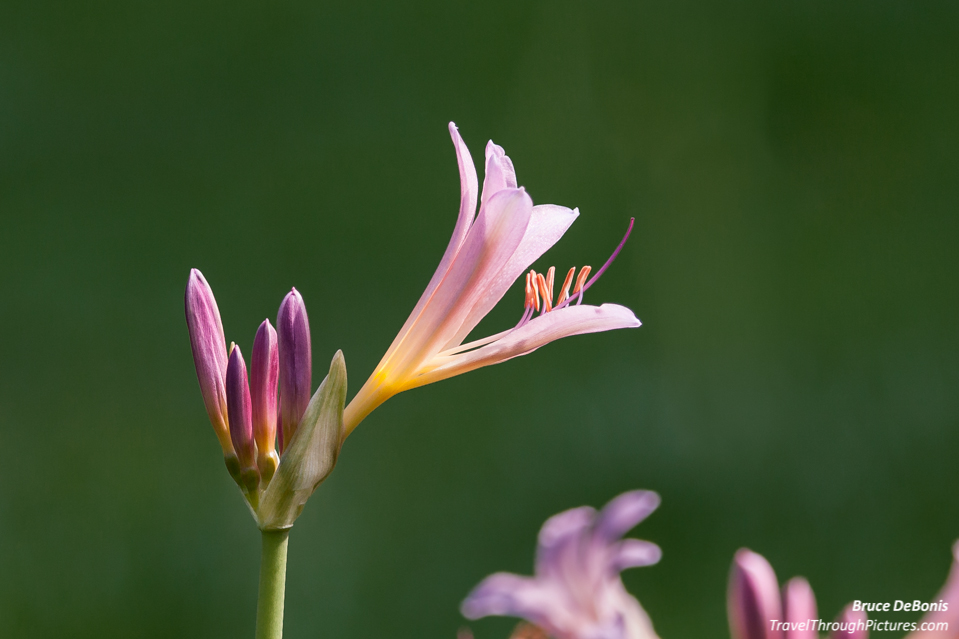
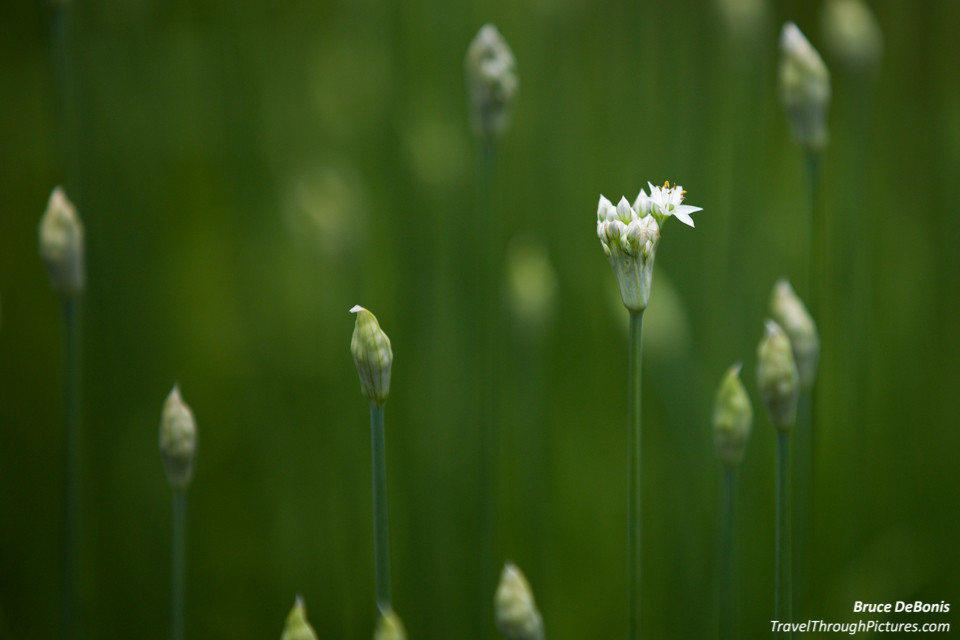
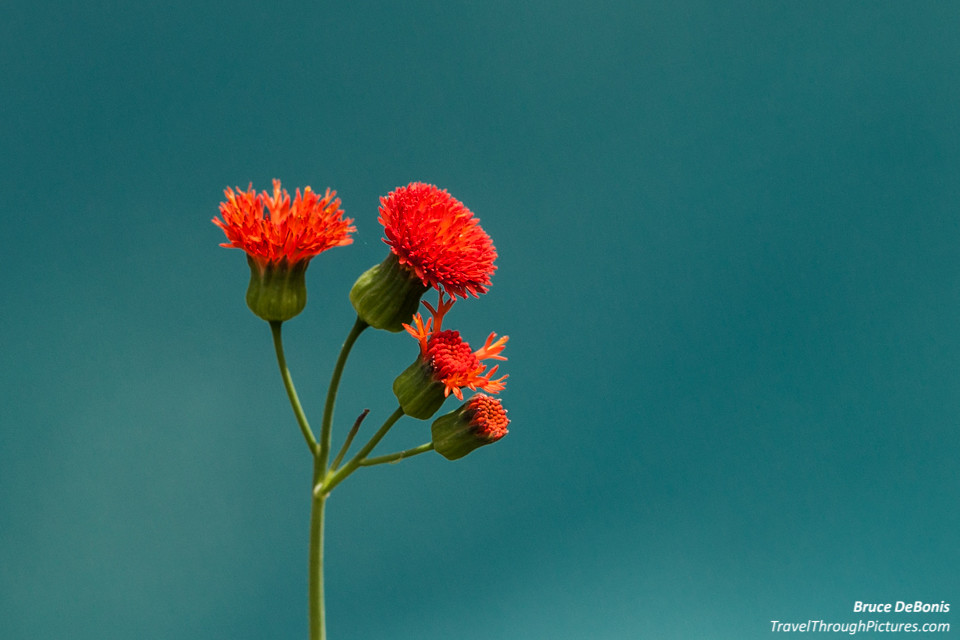
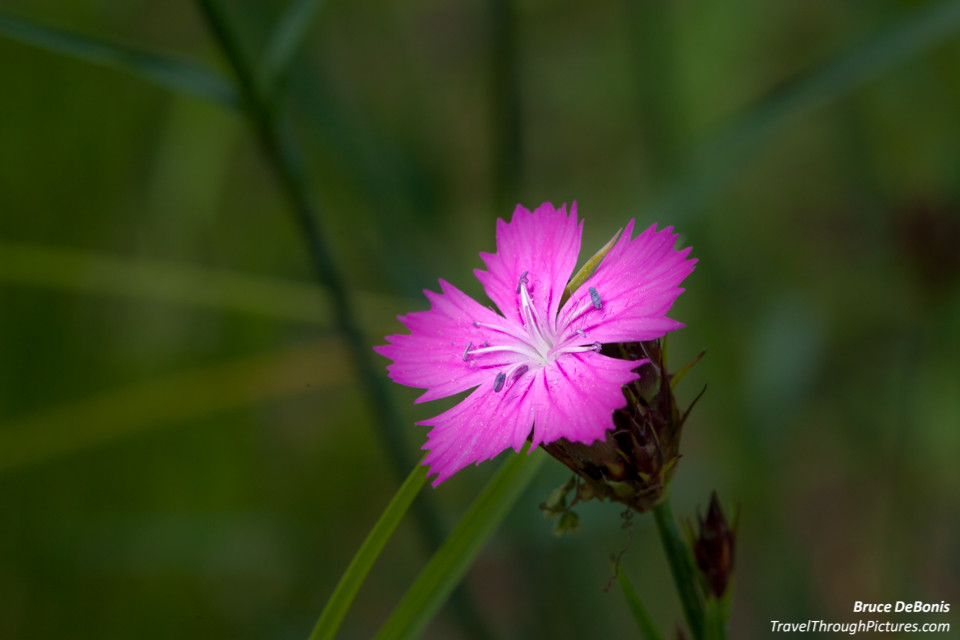
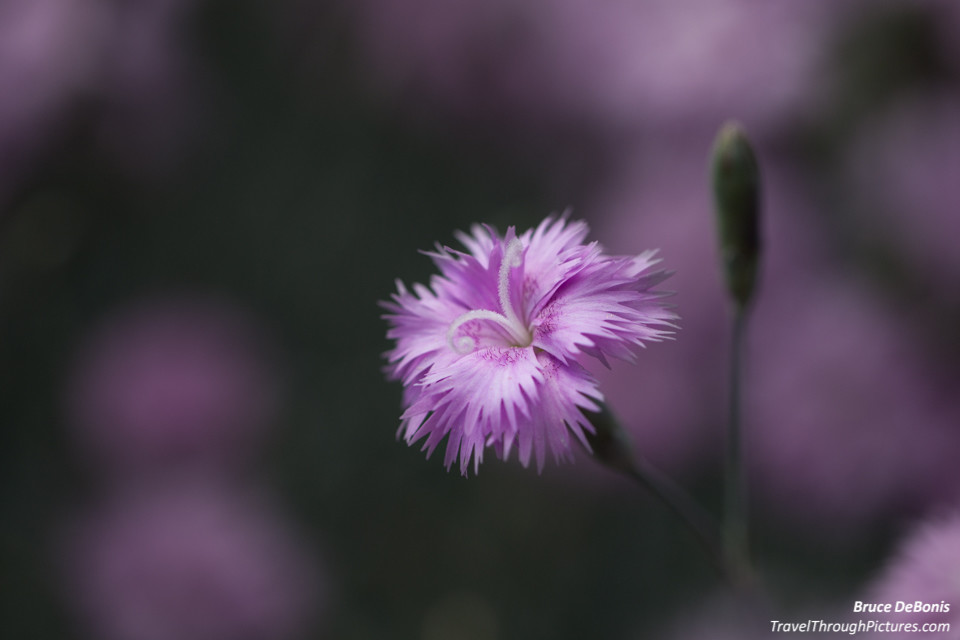
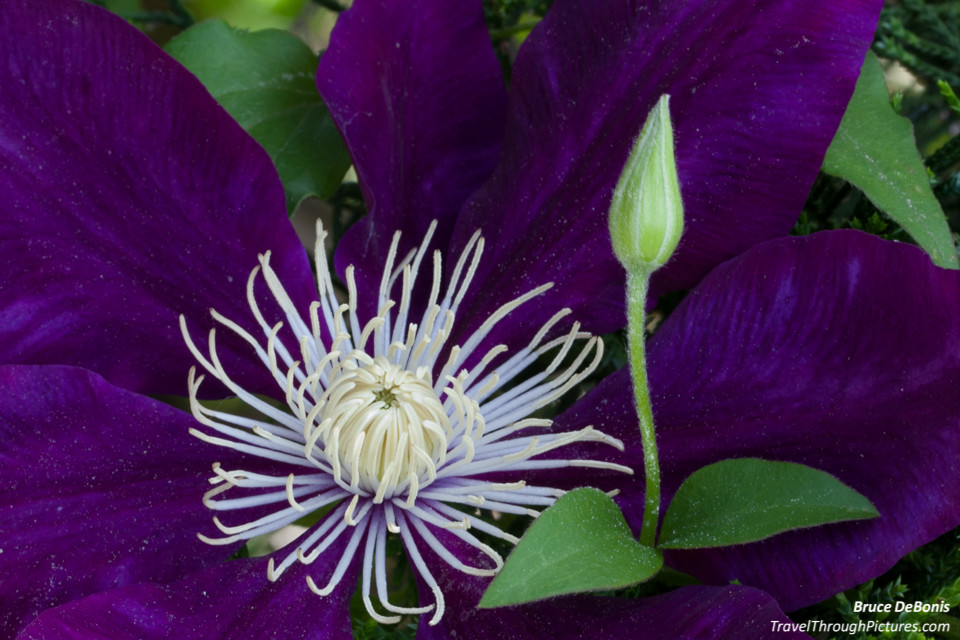
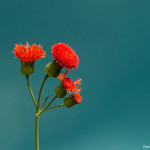
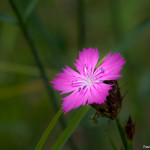
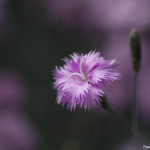
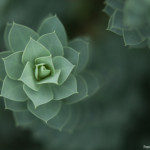
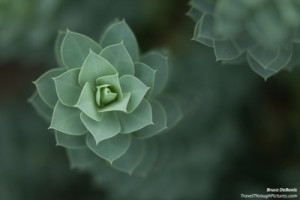
I have tons of flower pics. I love the experience of taking them, tweaking them in LightRoom, and showing them on my bright, big professional monitor. The other day I was flipping through my library and grabbed a few quick ones for publication here on my blog. What grabbed me about these few were the color and the mood. The color mercifully rescued my attention away from a terribly gloomy, overcast winter day where a haze of drizzle hid everything behind a heavy, weighted, curtain of grey. Blech. Time for a few beers and some color.
Mood: Shallow Depth of Field & Rule of Thirds
In my opinion, these are the two most powerful compositional tools you have to make art. These two can be the difference between a picture of a flower and art.
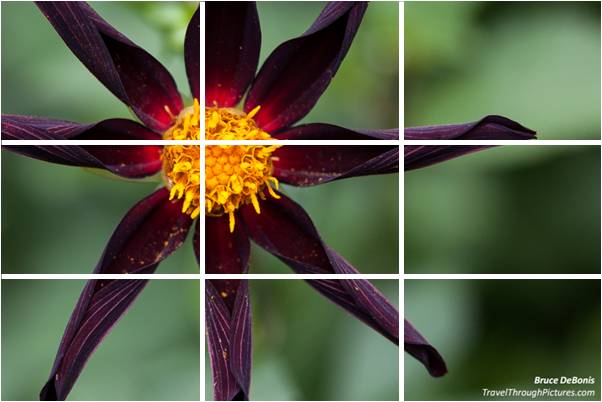
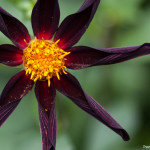
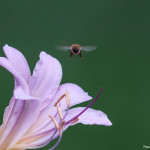
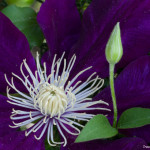
Depth of field (DOF) is how much is in focus in front and behind your focus point. A shallow DOF means the in-focus distance is small and everything else, your background, is left out of focus and becomes a blown out blurry mess of mood. To get a shallow DOF and therefore a really blurred background, you need to open your lens aperture to its widest setting, its smallest number. To be honest, to get really nice blurred backgrounds, you need to spend a bit more money on a lens and get one that opens to f/2.8 or more (smaller number). Sorry, but that is just the way it is. Start out with my standard settings here, and then open your lens all the way. If you don’t have an f/2.8 lens, you can still get a dreamy background by making sure your background is as far away as you can get it. Click here for more on depth of field. In the flower to the right, the DOF is only maybe 1/2 of an inch! Notice how the flower center is sharp but the pollen spots in the purple petals are starting to blur. This narrow focus range helps ensure the background is a nice creamy smear.
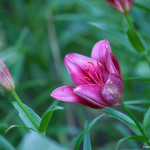
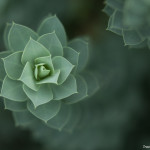
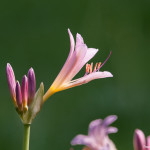
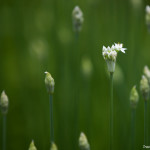
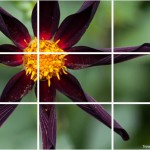
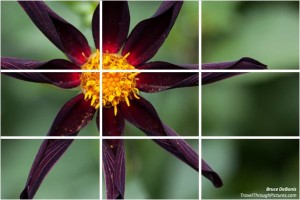 The other most important of compositional tools is the rule of thirds. Read about the rule of thirds here. You must resist the temptation to put your subject smack in the middle of the frame and move it off center. You can also align other natural lines in the picture such as a flower stem and align it to one of the rule of thirds boarders. I have to share a bit of a secret here, I tend to shoot a flower wide, and then crop it down in software where I then recompose the picture while applying the rule then. I wish I was good enough to just get it right when I shoot. I composed all of the pics in the carousel above using the rule of thirds.
Color: Cloudy Days are Best
The best day for shooting flowers is a cloudy day (click here for more on cloudy goodness). When there is bright sun, the contrasts are too extreme for our cameras to capture and we end up with areas of too much bright and too much dark. The colors can get washed out and just don’t look good. If you do have bright sun, then try shooting with the sun behind the flower, a technique called backlighting (click here for more on backlighting). Then in software later, you can enhance any missing contrast and increase color saturation just a bit to make the flowers really pop.
All the flowers above were shot on cloudy days except one where I used back lighting.
Before and After
I don’t mind showing you the mess I made in the field and how I turned out a nice photo using LightRoom software. So here is the simple set of rules I followed:
- Take the Picture
- Take the picture wide to allow for composition in software
- Start with my standard settings
- Open the aperture all the way, f/2.8 in this case
- Focus on the closest point
- Snap the shot
- In Software
- Recompose by cropping and applying the rule of thirds
- Enhance contrast a bit
- Tweak white balance ( temperature and tint) to get the color you want
- Increase saturation
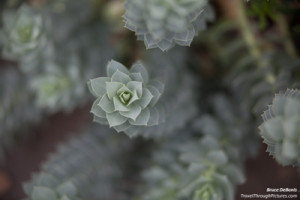
Before and After:
The Equipment:
- Canon 5D MkII
- Canon EF 70-200mm L f/2.8 IS II, with
- Canon EF 12 II extension tube
- LightRoom

