Amaryllis and Home Studio
I was snowed in. Bored. Eating chocolate. Drinking beer. Bored. Getting fatter. Not good. Beer drinking and chocolate eating are OK, but the other stuff not so much ….. I like to use my time wisely. Since I have a large block of time, a fully blooming Amaryllis staring at me, why not try some “studio” work? Sure, I know, most folks would use snowed in days for making babies or at least doing some practice, but no, I had a better idea…. this going to get hot! I am going to take some pictures!
My Home Studio
Yea right, a home studio. If you a call a blankie hanging on a wall and some cheapo Home Despot flood lights a studio, well then why not? I don’t let the stark fact that I am a flaming armature stop me from letting my inner-geek out. No studio? Then make one! Give it a try.
The Background
The sharp eyed will notice my ubiquitous blue blanket. I use this all the time and it works (even for Hummingbirds! click here). With light blue on one side and dark on the other, it makes a great backdrop. Well a decent one anyway as it has fold-creases and fuzz chunks in it and they do show up on pictures. These annoyances can be blurred over in software later so all is not lost. I tried out both the lighter and darker sides and far prefer the darker side as it makes the subject pop out more.
The lighting
Unless you invested in some real studio lighting, you really do need some good ambient sun light. I shot these over two days and the first was the height of the snowstorm where there was not much natural light. I tried using my flood lights as the primary light source and the results were simply crap. The pics were just so so without good sun and I was disappointed. The second day had some great sunlight, so I decided to shoot that flower all over again and the results were so much better.
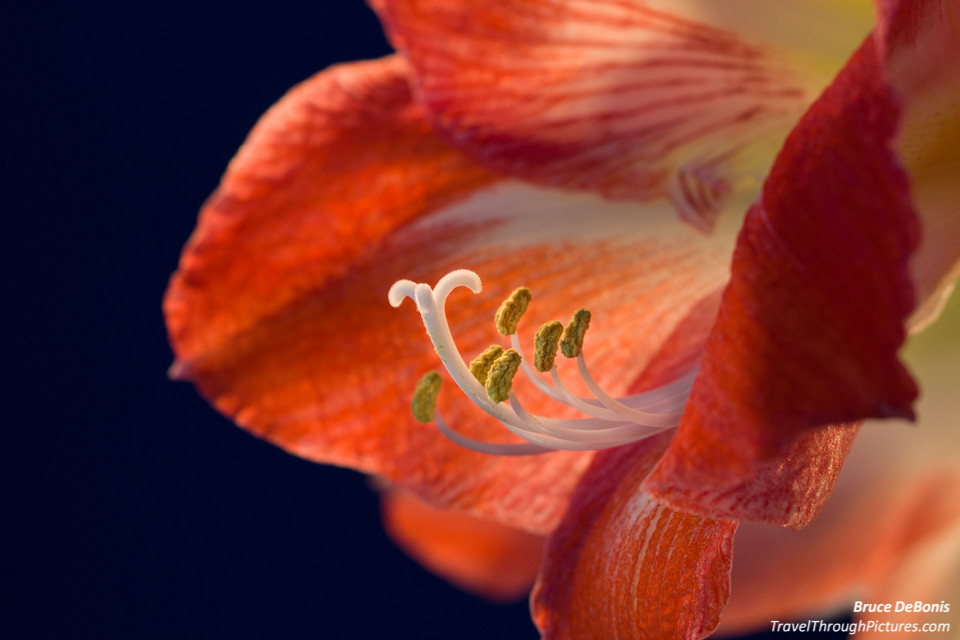
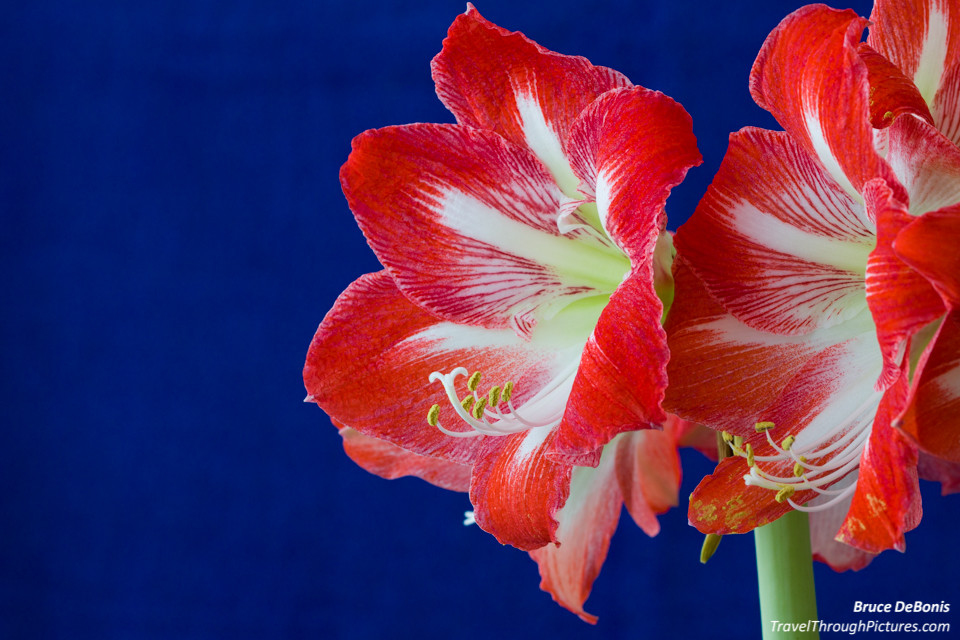
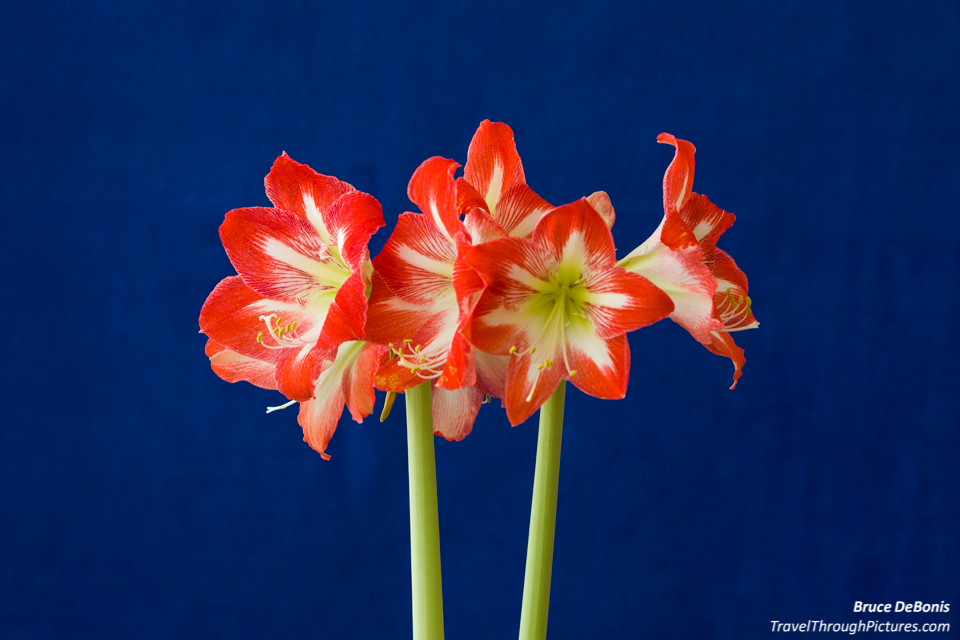
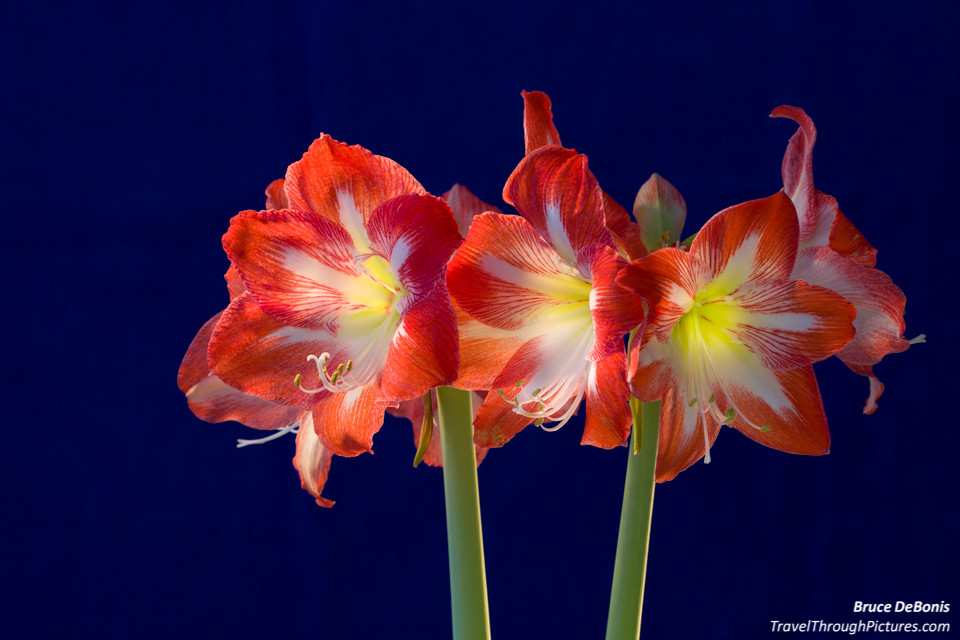
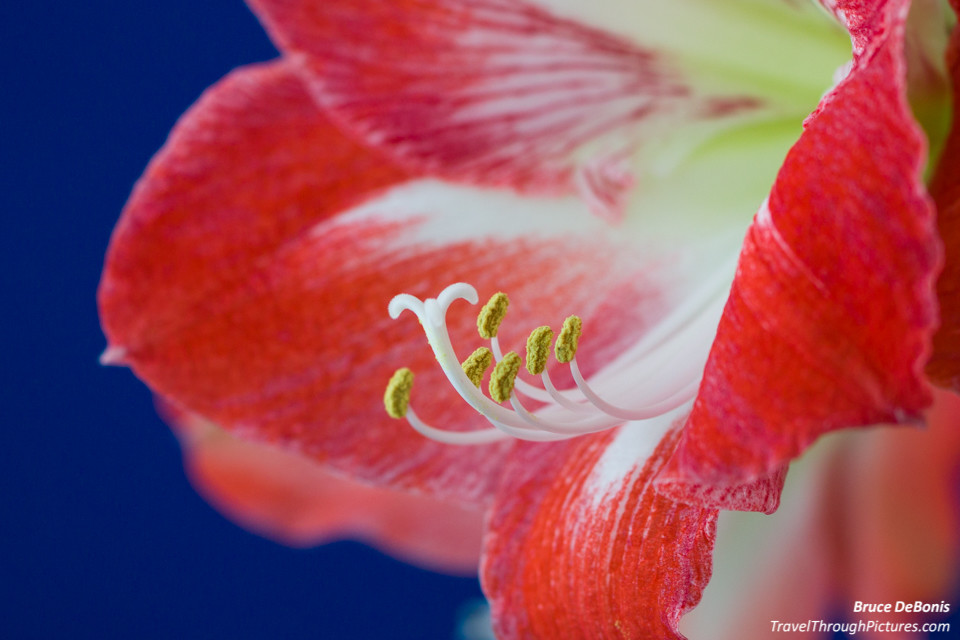
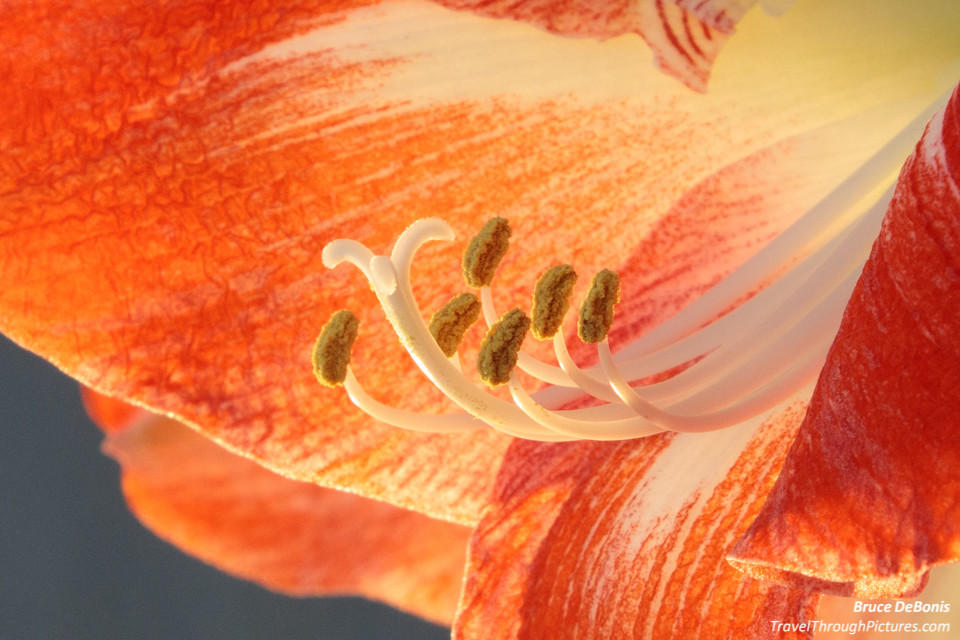
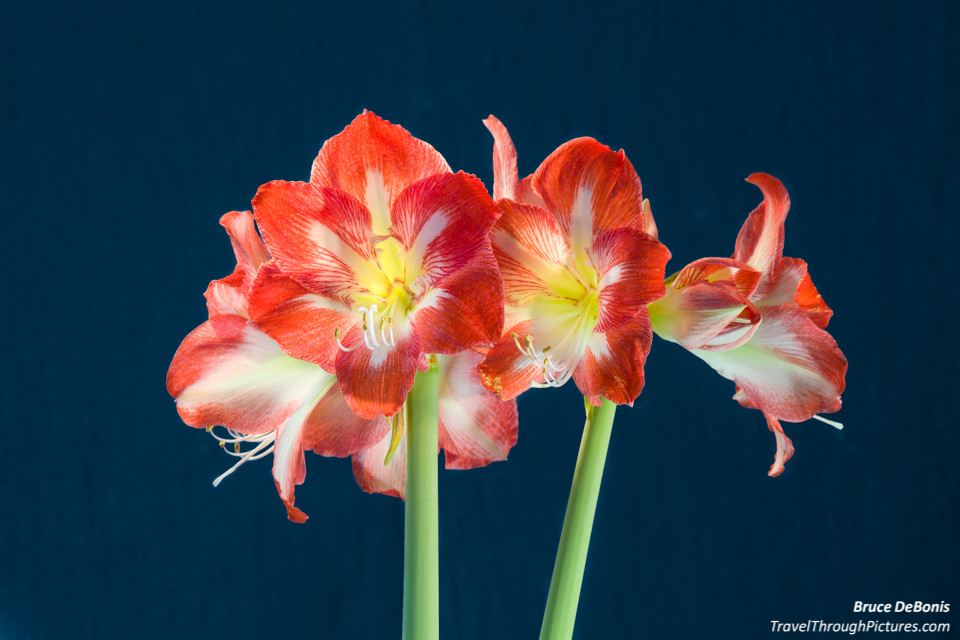
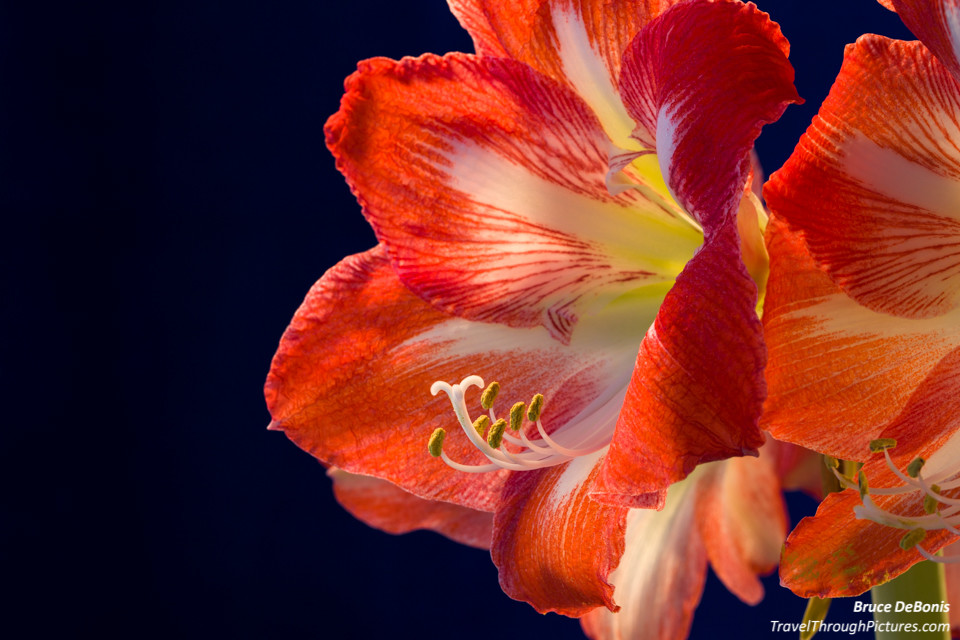
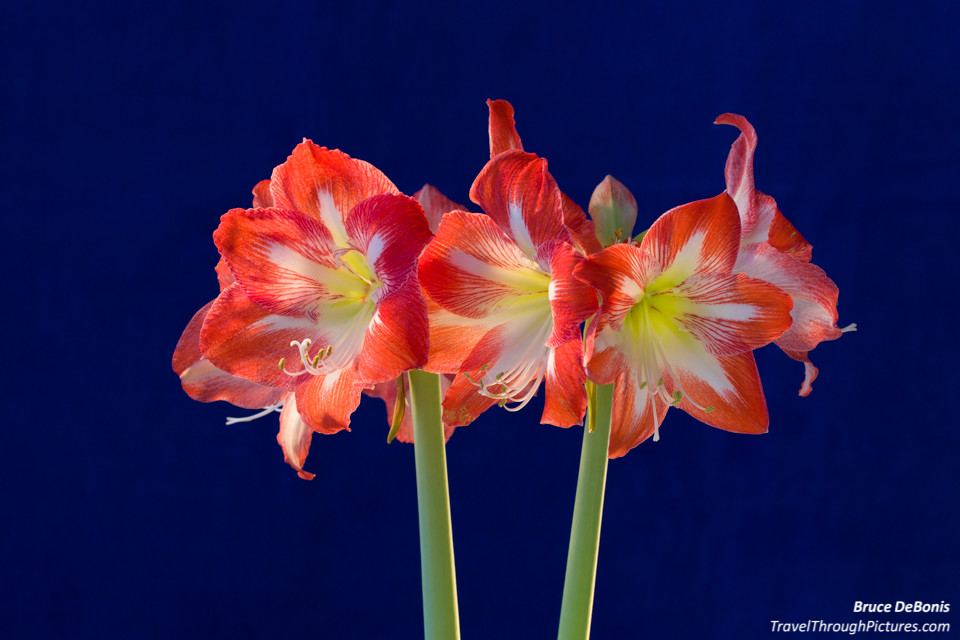
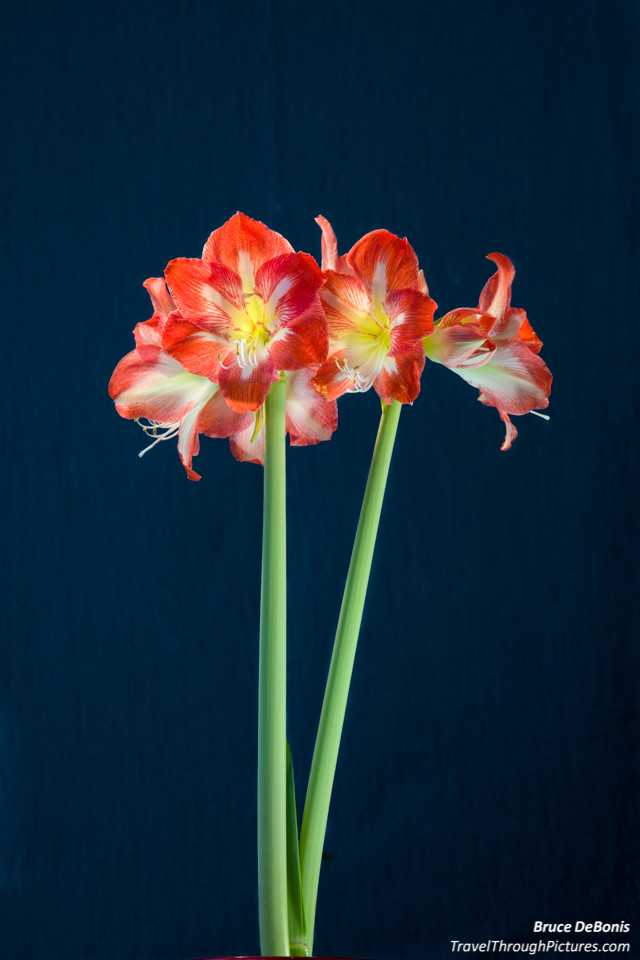
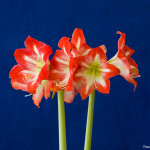
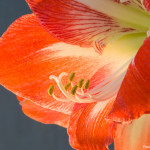
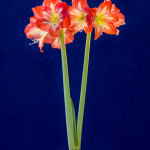
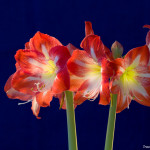
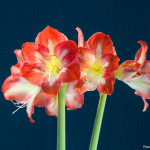
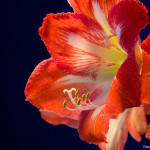
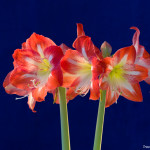
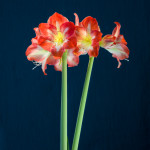
The first flower below was shot in simple, ambient, indirect sunlight in my living room and the results were nice. But notice the flower looks a bit flat and does not show detail. A good, acceptable picture; but I can amp that up by backlighting. Shine the lighting at the back of the flowers and watch what happens. Highlights appear, veins and texture pop, and contrast is increased. It worked!
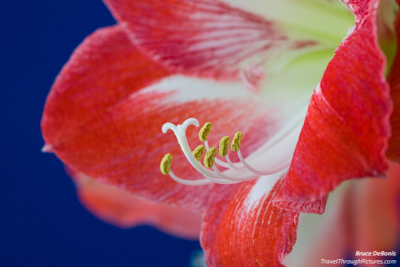
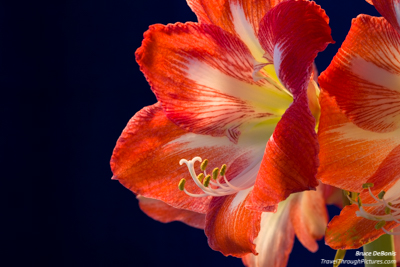
An oddity: Notice in the first pic, the background is blue while in the second with the back lit flower, it is dark. Why? Well in the first, I used only ambient light and therefore the background was lit the same as the flower and presented itself accurately. In the second, the directional flood lights lit the flower and made it brighter but it did not light up the background. The camera compensated for the brighter flower by speeding up the shutter and therefore darkened whatever was not lit up… the background. Yep, this stuff can make you crazy. A great picture is a summation of details…. great photographers think of everything! I just stumble all over it.
Setup
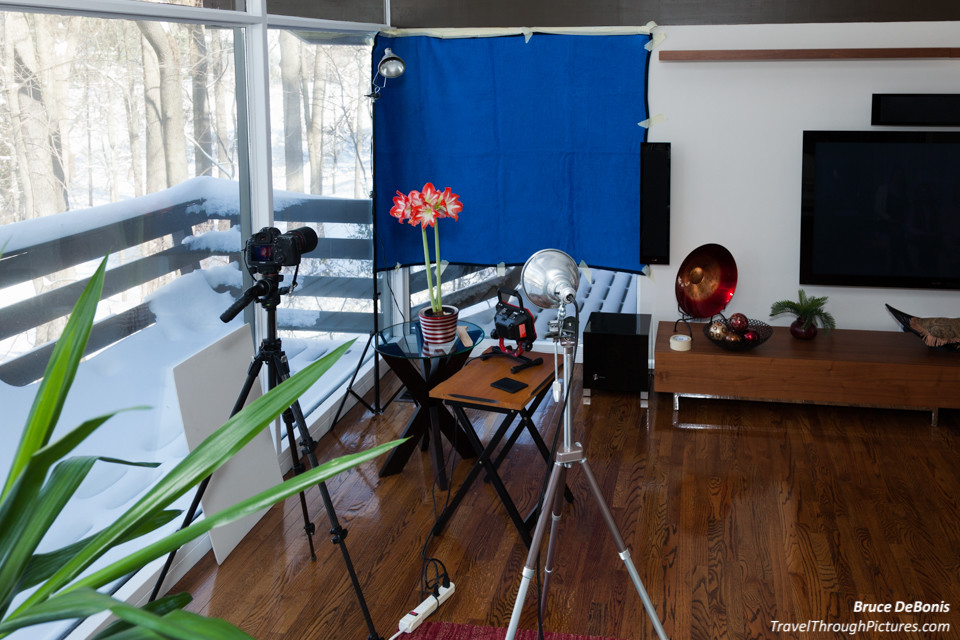
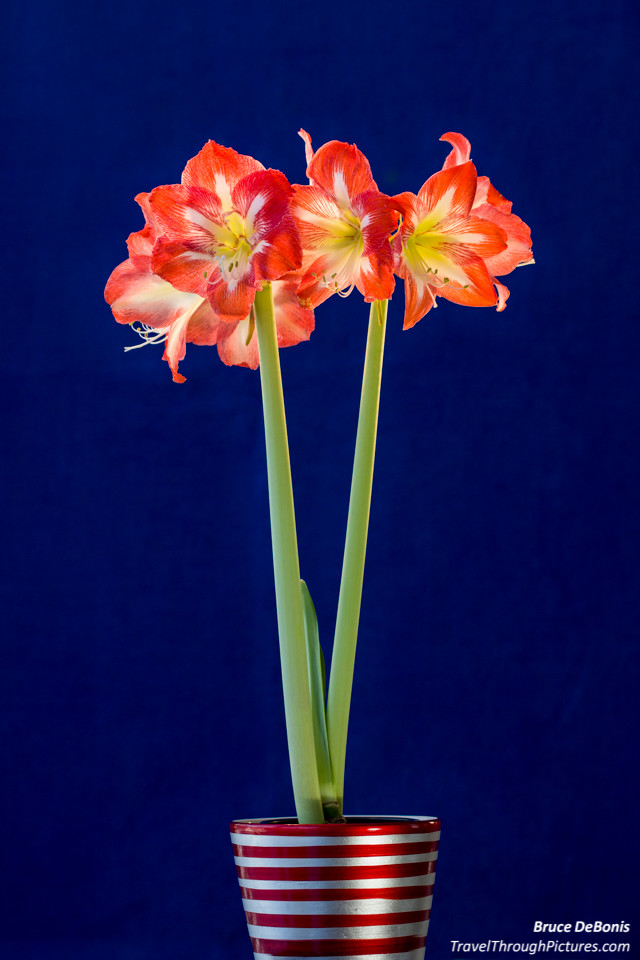
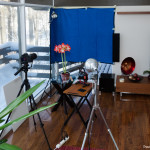
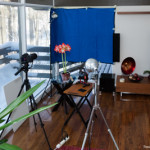
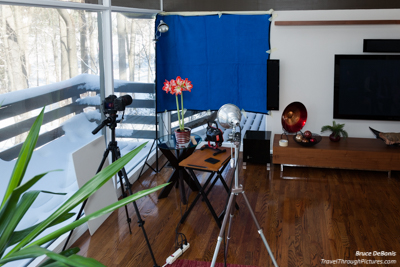 I taped the blankie to wall behind and put the flower about six feet in front of it. You want to put the subject as far in front of your backdrop as you can so the backdrop will blur out of focus and smooth out the fuzz and crease-lines to a creamy, unobtrusive blue.
I wanted the natural sun to come from the side so there would be small, micro-shadows cast on the flower thus enhancing its character and structure so I put the flower and camera close to the window and I shot along the glass with the sunlight to my left (see big pic in above carousel).
After shooting a bunch with this natural-only light setup, I decided to add some backlighting to the flowers. Click here for more on back lighting flowers. This can be a bit tricky as the flower will cast shadows on itself and make the front-side blotchy. So move the lights around to minimize these shadows. Another issue with using these flood lights from behind is the pistol and stamen become dark and won’t photograph well. For this, I made sure one of the flood lights was behind, but to the side and allowed some of the light to “peak around” and light the pistol and stamen from the side. This made for a really nice glow around them. In software later, I did have to lighten them up a bit, but overall, they came out well.
Camera Setup
Here is a summary of camera settings I used…. I only changed aperture (f/stop) to affect focus depth and background blur:
- Aperture priority
- ISO 200 (for best quality) but I did shoot some at ISO 400 (less quality but more light sensitivity) as I lost some light from the hour getting late.
- Center-weighted metering
- Camera on a tripod for greatest stability
- Shutter on 2 second delay to allow for any camera sway to settle out
- Apertures: I generally shot three shots each “pose” with the aperture wide open at f/2,8, mid-way at f/8, and very closed at f/13
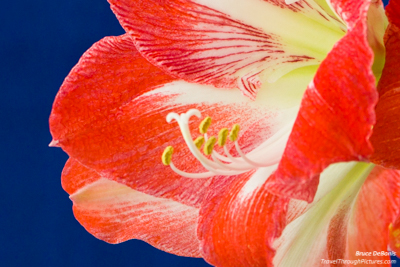 Why three shots at three different aperture settings? It is all about depth of field (DOF). DOF is how much in front and behind your focus point is in focus before its starts to blur. A wide aperture (lower f/stop number) will make a shallow DOF and a narrow aperture (higher f/stop number) will make more in focus. Why does this matter? Two conflicting reasons:
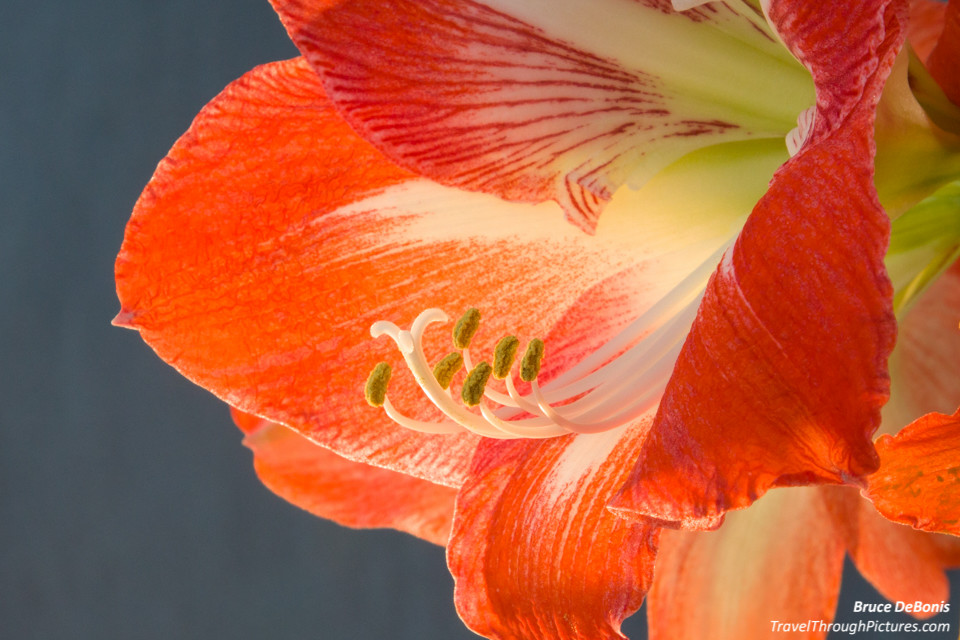
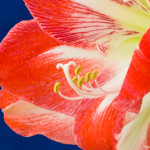
- You want your background to be out of focus for cool artistic effect. This in my case was the blankie that I wanted blurred out as it was full of fuzz nubs and creases and would ruin the pics. More blur here is better. Sometimes I took a close up of the pistol and stamen with the blossom petal just behind as the background. I wanted the petal to be a bit blurred so the pistol and stamen wouldn’t be lost in the petal detail. To get this blur, you need a wide-open aperture.
- Sometime, you want the whole flower to be in focus. This is a challenge as when you put your camera close to a subject, especially with a long lens, the front and or back of the subject can be blurred out. Now this is the opposite of what I wanted to do in one above. So…. I want the blankie out of focus, but the whole flower sharp. Too open and the back of the flower would be out of focus. Too narrow of an aperture and the blankie’s creases and fuzz nuts would be in sharp focus and ruin the shot. So, I shot the camera at three different settings and chose the one that worked the best.
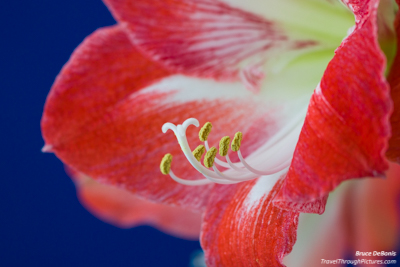
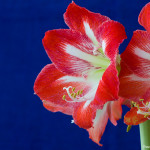
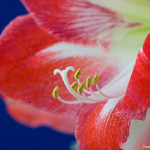
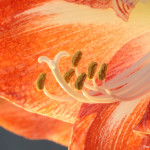
The picture above was shot too open at f/2.8 and, while the petal in the back is in focus, the stamens and pistol in the foreground are out of focus. Bad shot. I should have used f/13.
Lens Choice
For your lens, virtually any lens will work for this situation, but in general, try to use a lens 50mm or greater. Less than 50mm can cause the subject to bulge in the center, a phenomenon called “distortion”. Longer lenses will flatten out your subject and make them look more natural. Of course with a lens that is too long, you may need to back up so far you are shooting from across the street. In general, a decent walk-around zoom is fine, just watch that you don’t set it much less then 50mm.
Lens Tip
Canon’s lenses are sharpest around their midpoints. If you want the sharpest your camera can deliver, then set your aperture at f/8 and your zoom in the middle. While f/8 may not be your aperture midpoint, most of Canon’s lenses seem to be optimized here.
Note that lens sharpness is not DOF! f/8 may be your lens’s sharpest configuration, but if you are up-close on your subject the back of your subject may be out of focus. Lens sharpness has nothing to do with focus DOF.
Color Tip
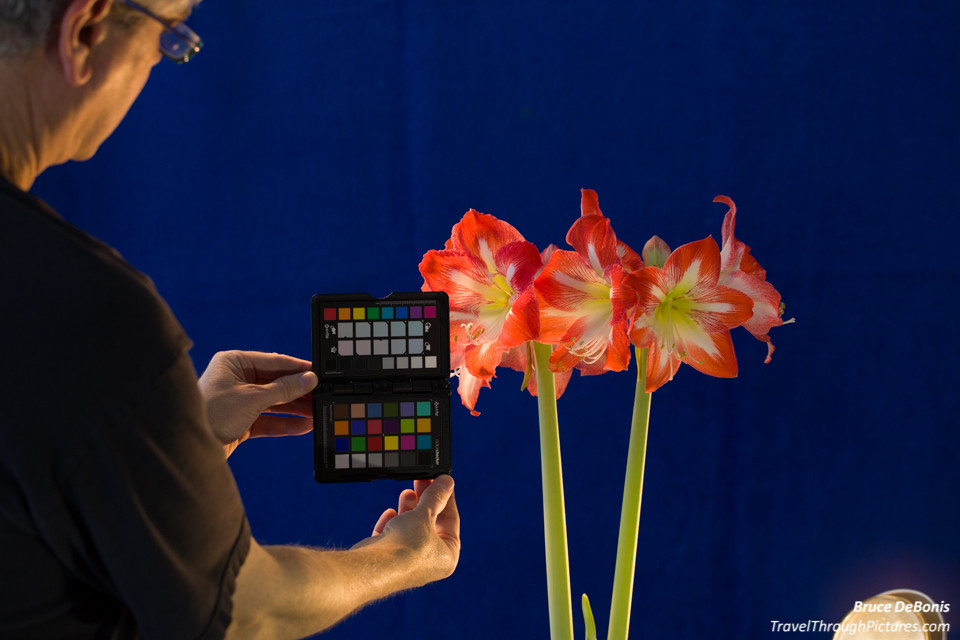
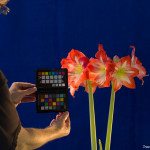
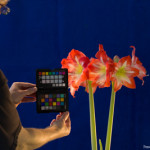
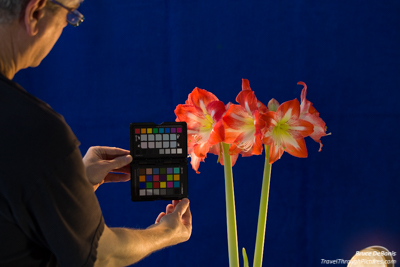 I always shoot a frame with the Color Checker Passport in a scene for color correction when process later in LightRoom software. I click my color dropper on one of the grey-color patches and it auto-corrects for color conditions. LightRoom enables me to copy this color setting to all others photos from this session. For this shoot, I just use it as another piece of color information as the combination of natural light and the changes I made to the floodlight positions made for very inconsistent lighting. You will notice the color from picture does vary, something the Color Checker can help you avoid. But you know what? I think each looks good on their own so I left them alone. While we strive for accuracy, sometimes just looking good is good enough.
The Equipment:
- Canon 5DSr
- Canon EF 100mm f/2.8L Macro IS
- Canon EF 24-105 L f/4.0 IS
- Manfrotto 190 CXPRO4 tripod
- Vanguard GH-300T Pistol Grip Ball Head
- Two generic flood lights with clamps (nothing special)
- Blue blanket
- LightRoom 6.3
- X-Rite Color Passport

