Good Lookin’ People
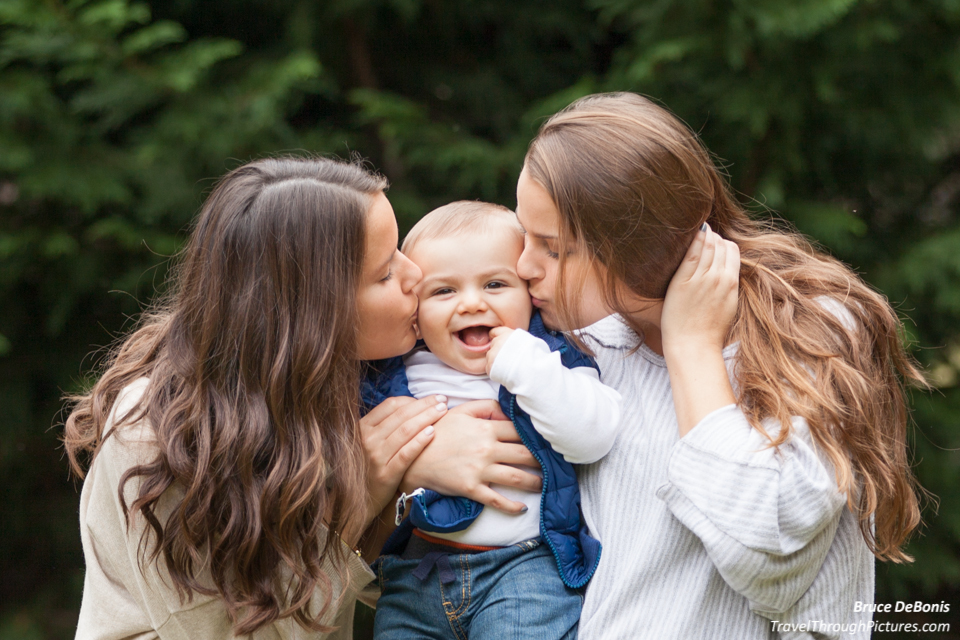
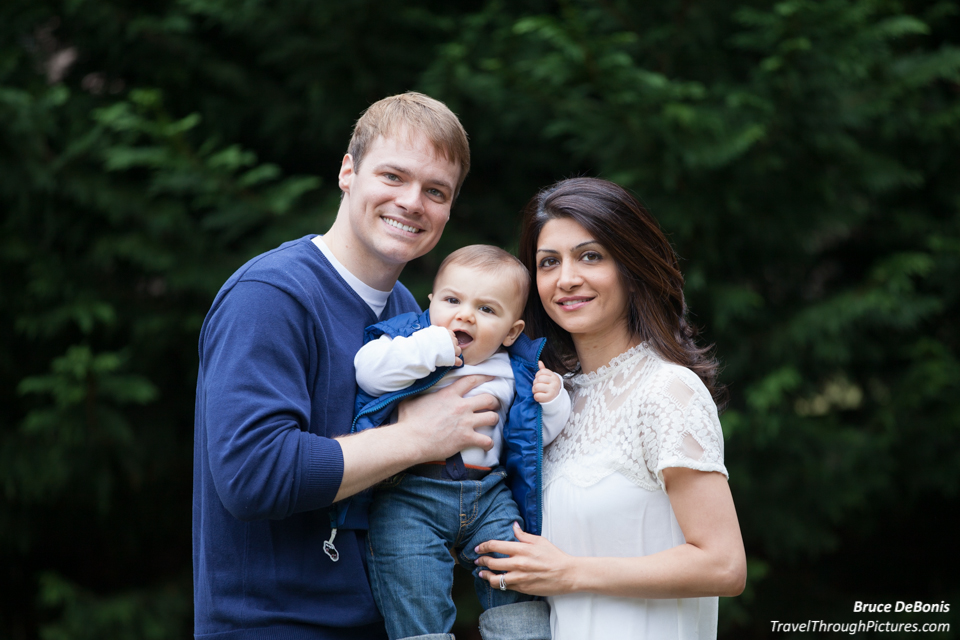
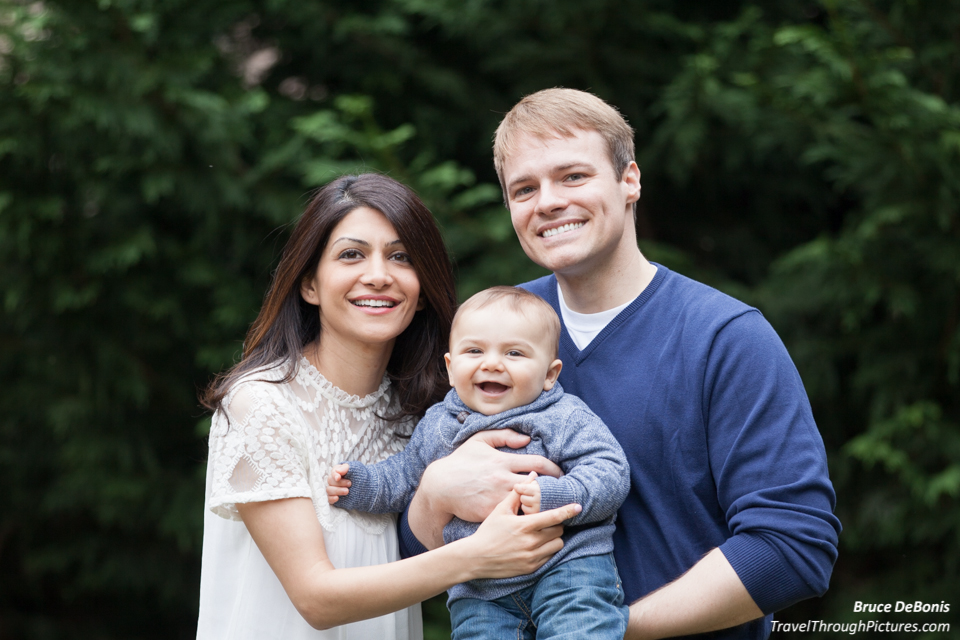
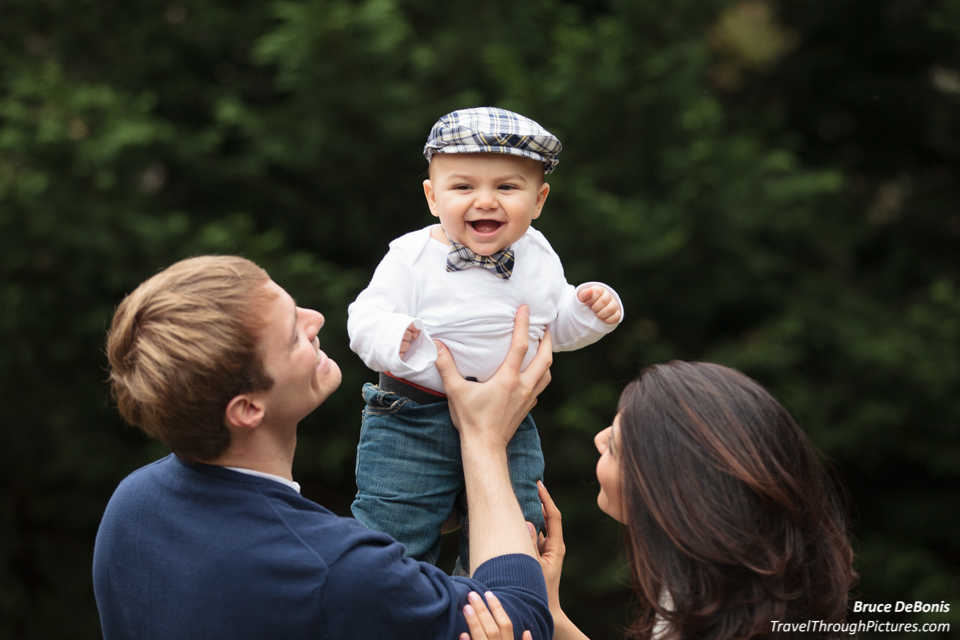
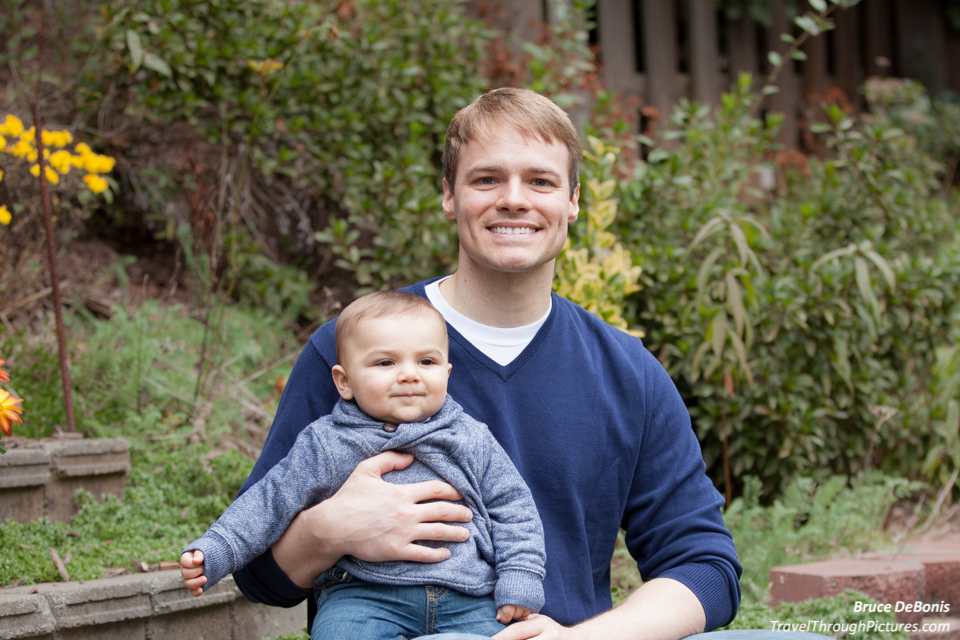
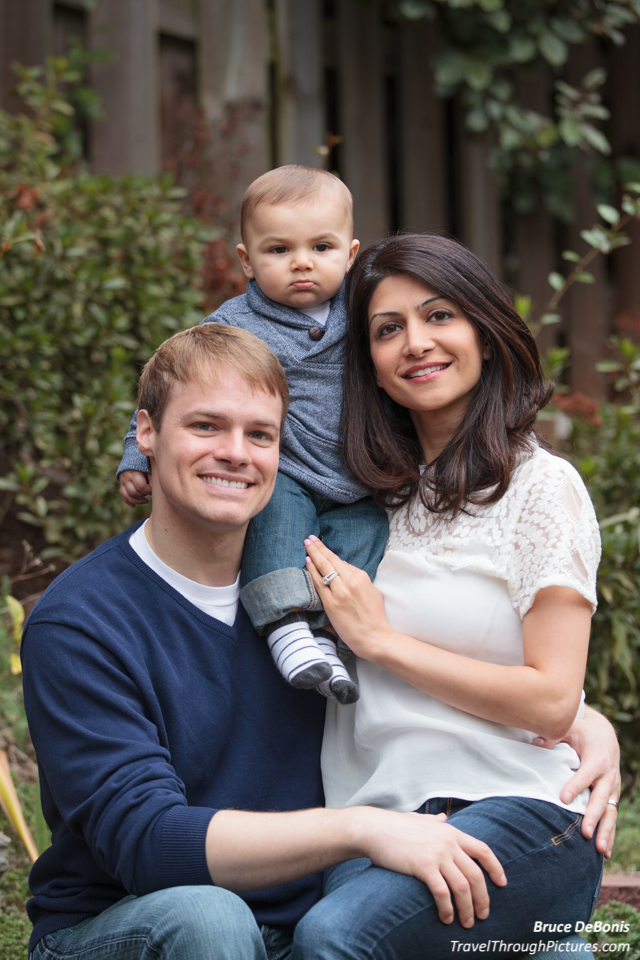
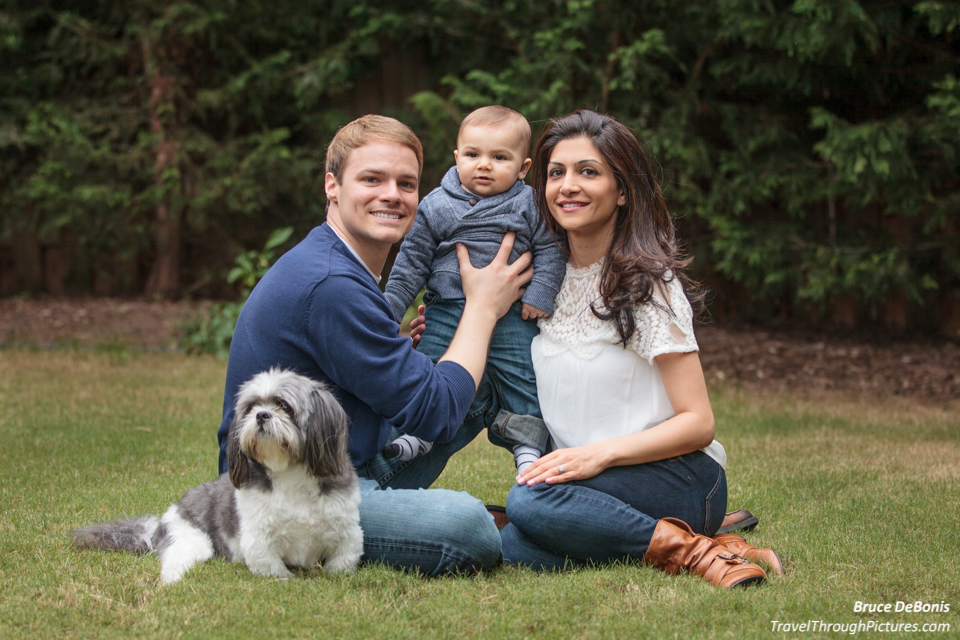
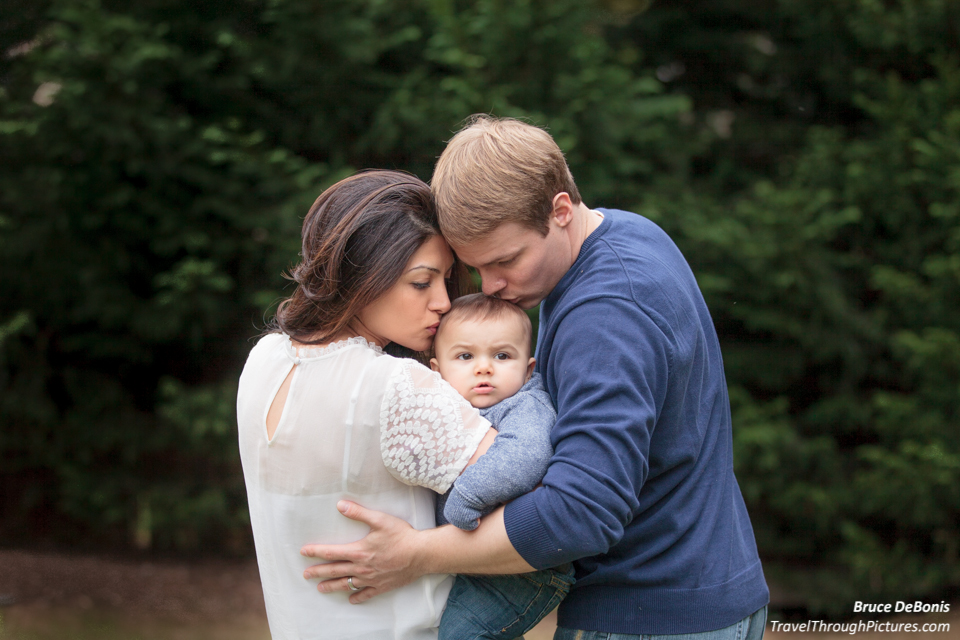
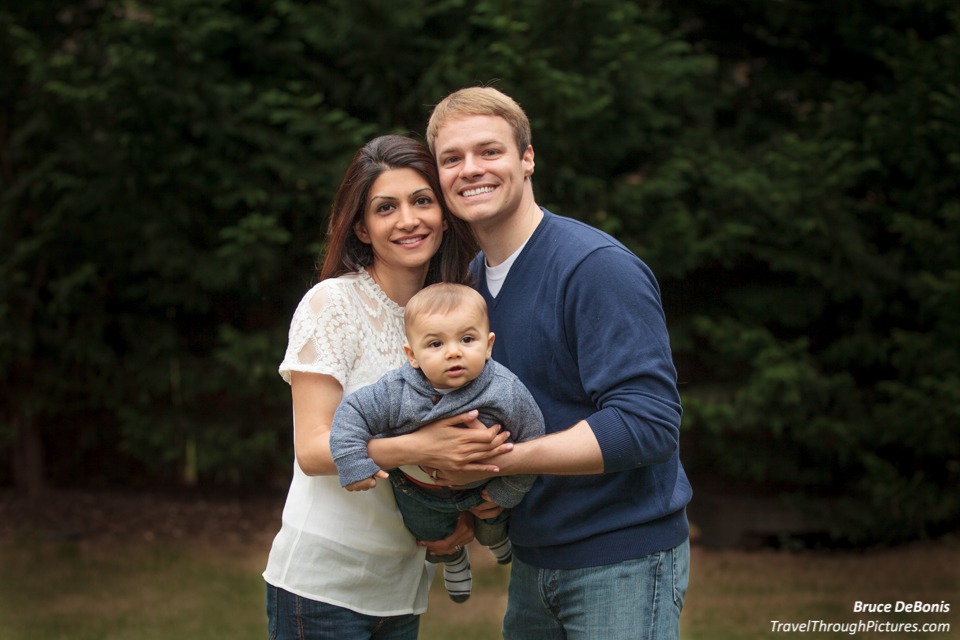
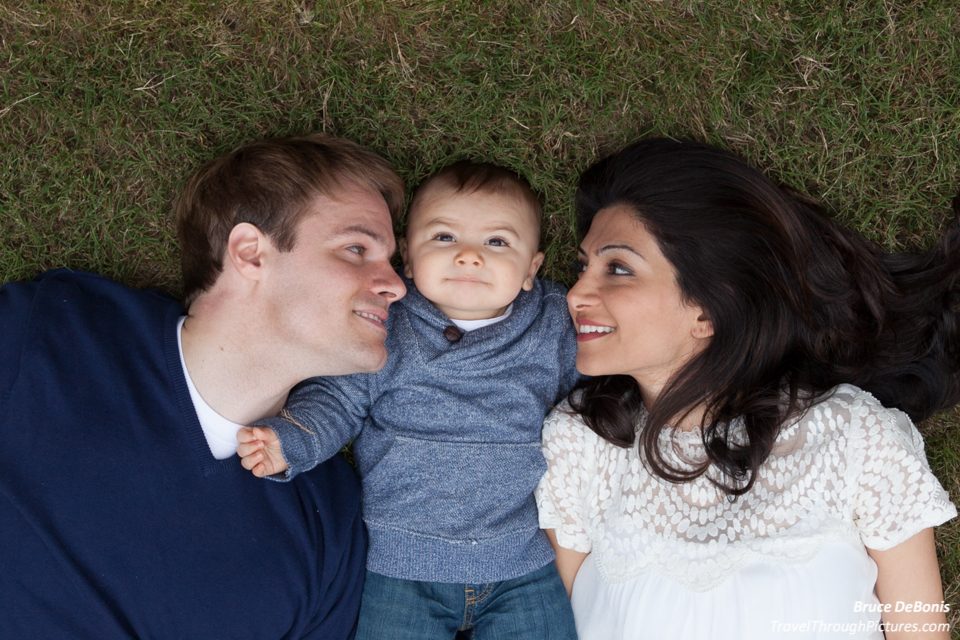
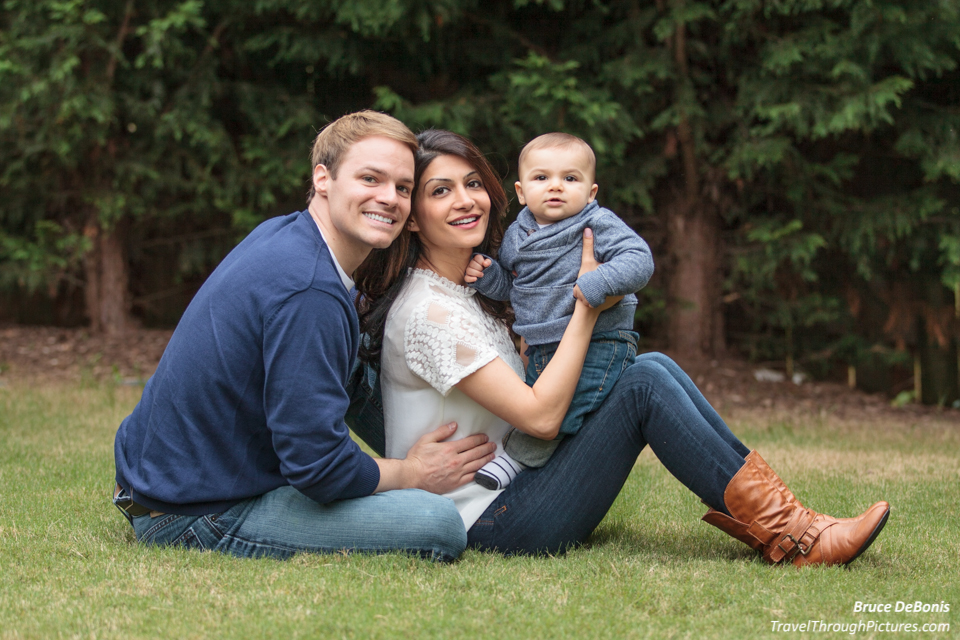
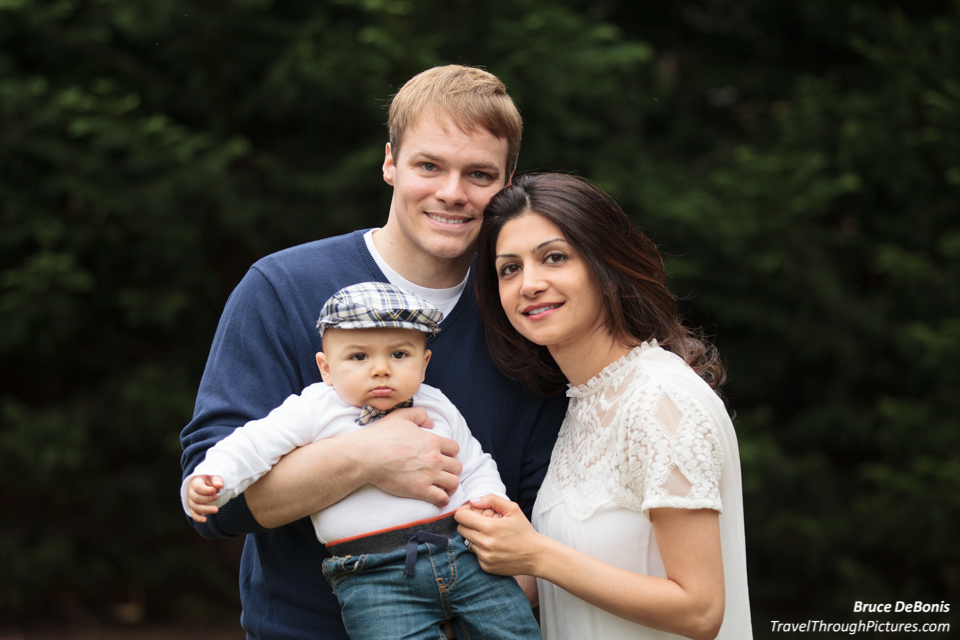
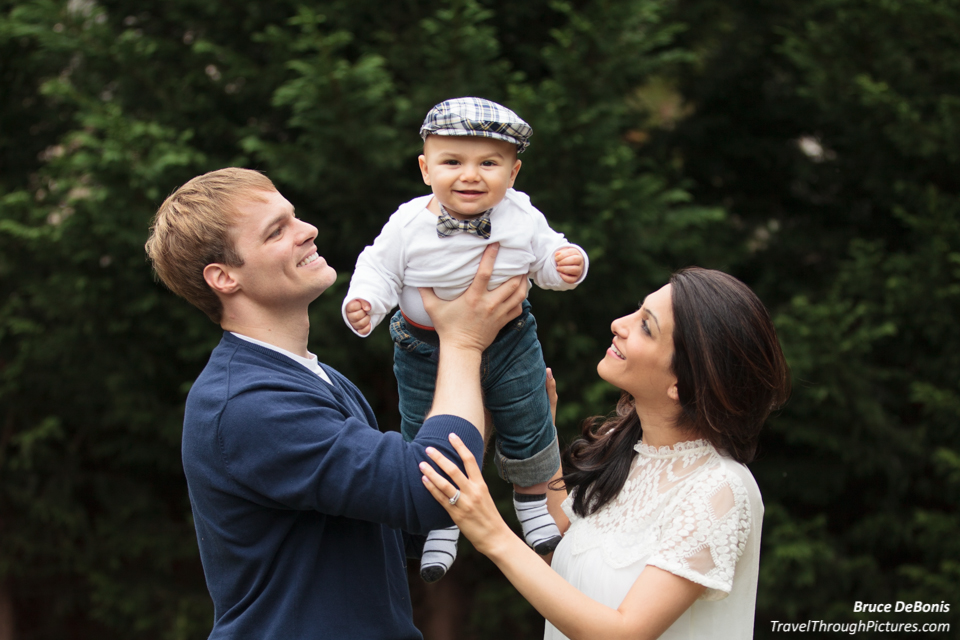
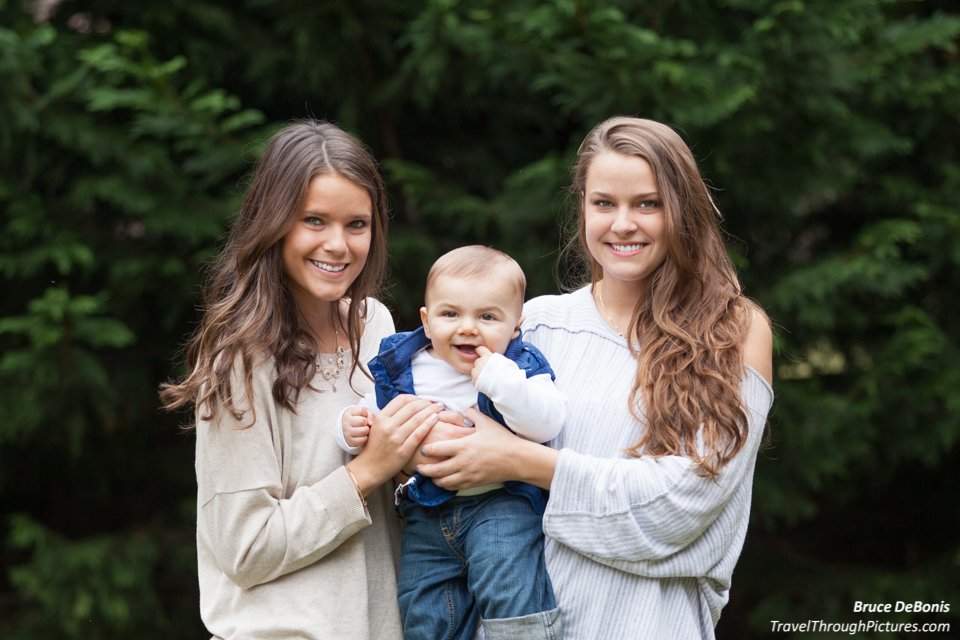
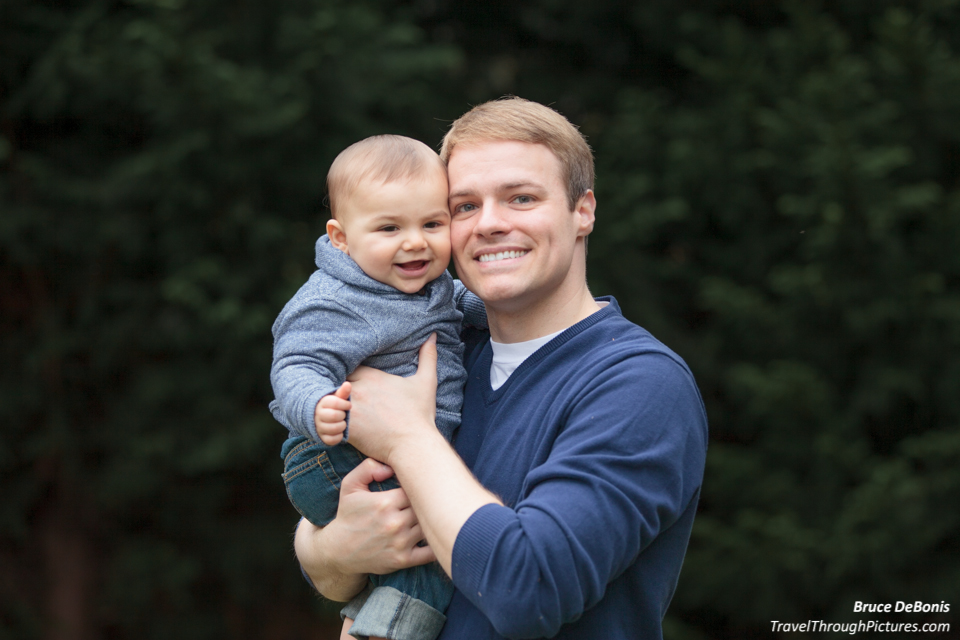
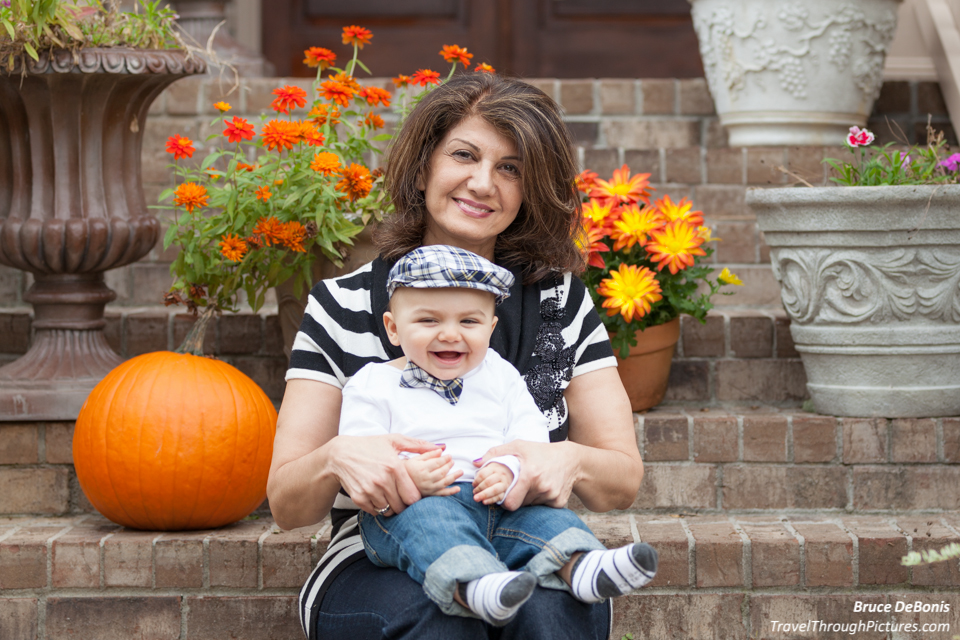
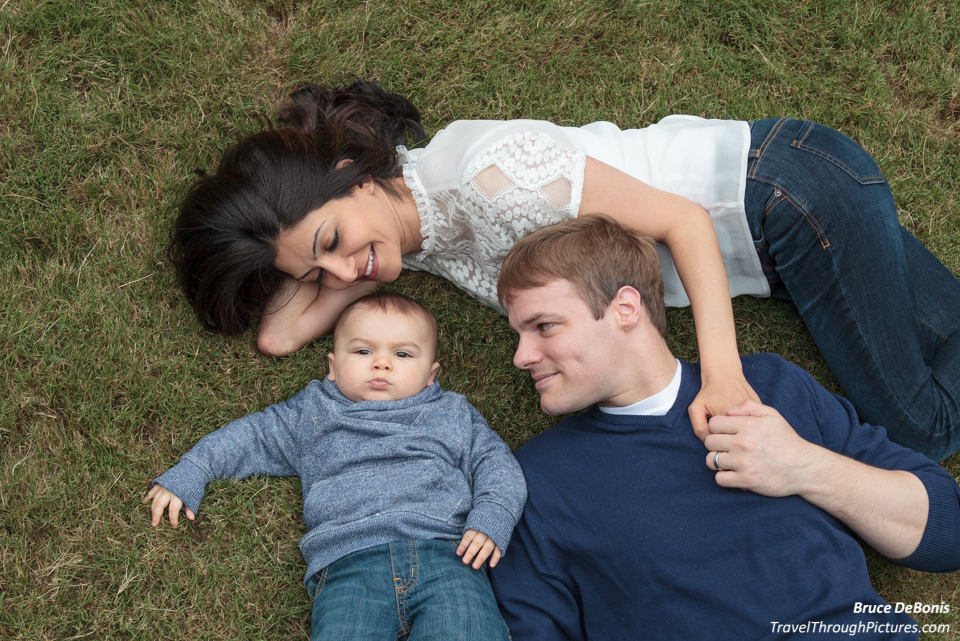
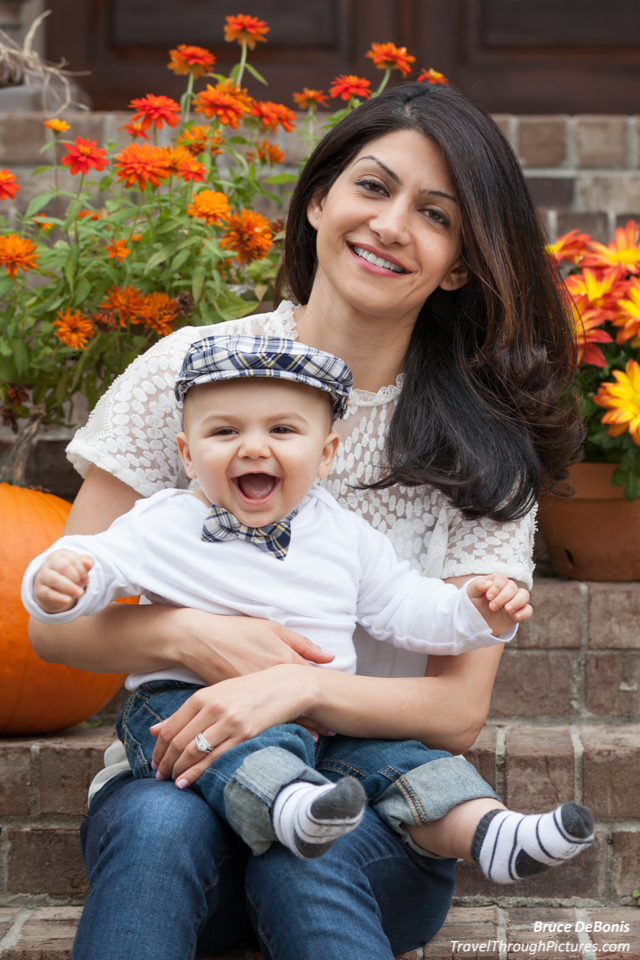
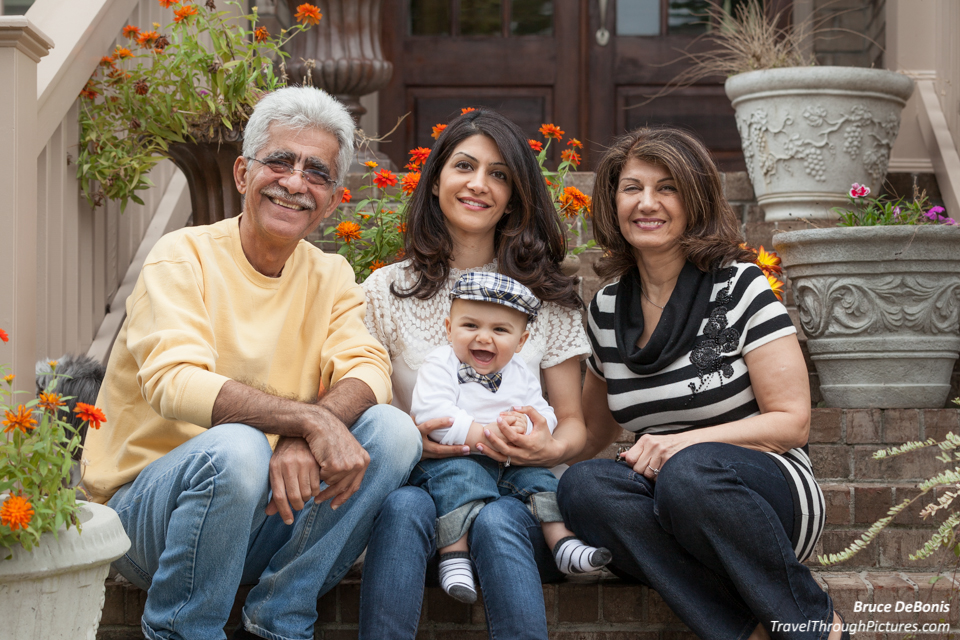
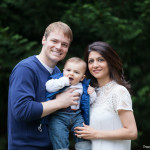
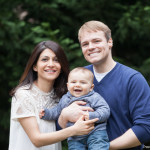
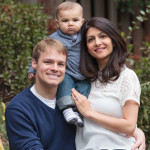
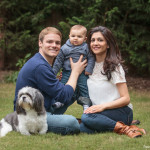
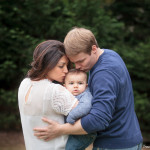
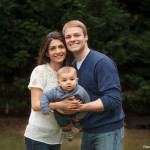
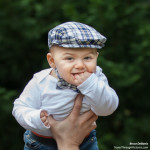
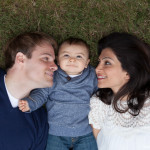
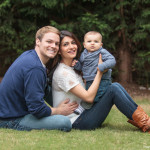
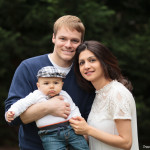
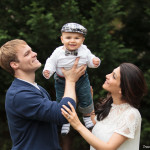
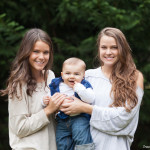
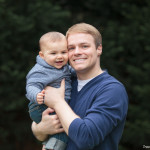
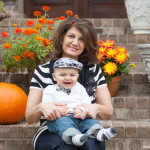
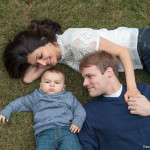
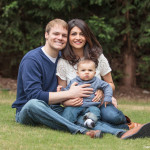
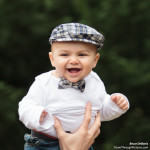
Ever wonder if you were adopted? I may have been. Do you get that “I just don’t belong” kinda feeling when you around your relatives? I do all the time and now I have the proof that my genes were hit with the ugly stick of fate. Just look at these good looking people!
A few weeks ago, my nephew and his wife wanted pictures of their new addition. Figuring I was going to do architecture pictures, I show up only to find a bunch of them waiting around for me to take family portraits. This is something I am just not good at doing so I gave it my best. Quick tip: slug down a few Pilsner Urquells for courage.
The light – Still gotta use a flash
The light was bright and nicely overcast. Smooth clouds help diminish shadows and smooths out the light. The bright light allows me to shoot at a low ISO for good quality but you still need to use a flash. Why? Because there still is high contrast and ever so slight shadowing on faces. This results in bright areas in the picture such as white clothing and black spots and dark eyes on faces. Firing some flash is the way to go. Check out my other post on fill flash here. Plus I get to use a new gizmo, a Rogue FlashBender.
My Settings & Tips – Flying Manual
Using Manual mode really scares me but I like using it when I am shooting outdoors and need a bit of fill flash. To figure it all out, just shoot some test shots and get your picture to be as bright as you can without overexposing areas. I have my camera set to show “blinkies” in a photo where it is overexposed so I can set exposure to be just under too much.
Here is a summary and my rational:
- Use a long lens like my 70-200 – Wide angle lenses can make faces puffy with big noses. Using a longer lens will flatten faces and make them look more natural.
- Use a wide open aperture – My 70-200 will go way open to f/2.8 and that will allow for nice blurry backgrounds that won’t distract from the faces.
- Adjust shutter speed for exposure – I shot some tests without a flash and found 1/200 gave a good exposure.
- Adjust manual flash power – I shot these at about 1/16 power to give just a bit of fill. Recheck exposure and if you are getting “blinkies”, areas of overexposure, drop your power down.
- Use a reflector on your flash – I aimed the flash straight up but used the FlashBender to reflect the light back toward the subject. This FlashBender is great for channeling and dispersing light so you don’t have harsh spots.
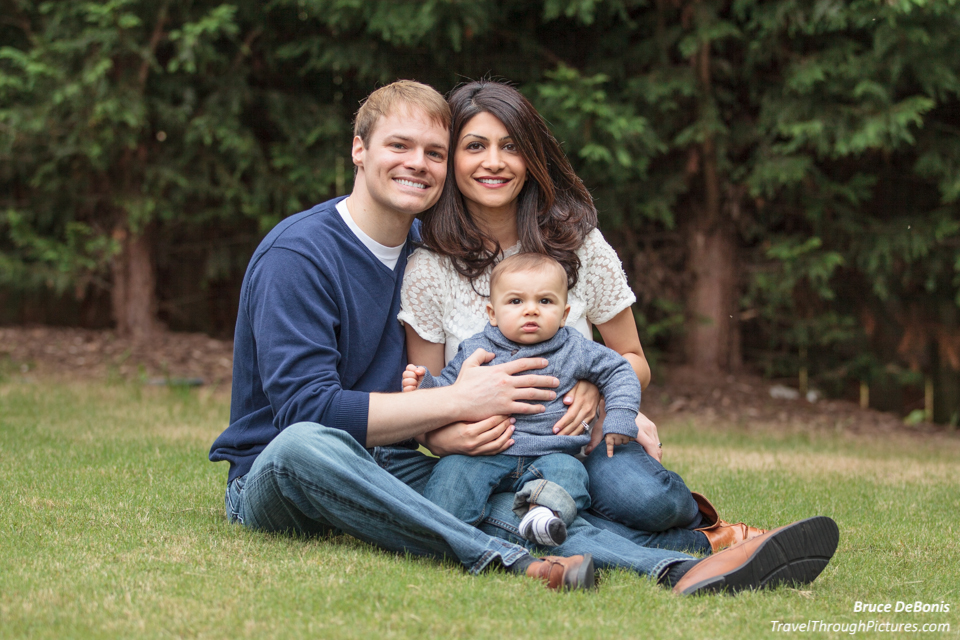
- Choose a nice, smooth background – I liked the shrubs as they left a nice background that didn’t intrude into the picture and being green, left a nice darker frame around the folks.
- Move your subjects away from their background – Getting them far away from the background helps to keep it blurry and removes distracting details.
- Shoot a ton – People like to blink, pick their noses, look away, try to pose like a fashion model, stick their tongue on their lip, and do anything they can to ruin your photo. By shooting a bunch, you not only improve your chances of a good photo but the subjects get bored posing like Kate Moss and become more natural.
- Set profile to “Faithful” – A camera’s default setting may sound innocuous like “Standard” but it is not; camera companies juice their pictures in their default set ups and this is bad for portraits.
Tweaking in Software
For portraits of people, I set my software profile to “Faithful” and not “Standard”. When you shoot RAW like I do, you can change this in software later. If you shoot JPGs, then you must set this in your camera before you shoot as the photos will be processed this way in camera. Most cameras juice up their pictures just a bit to make them pop and this just does not work well with portraits. With “Standard” profile, I get too much contrast and faces get shiny and dark areas get black. Colors are another thing that gets juiced in “Standard” mode and faces look too red or orange or green or whatever unnatural cast this profile foists on them. Going to “Faithful” makes faces and skin tones look nice and natural.
I used LightRoom’s local brush and zit remover quite a bit. I brushed the teeth and took out saturation which turned them white. The brush was great for removing shiny areas and lightening eye sockets.
Pose the dopes – This ain’t a fashion shoot
I only have a few tips here as I just don’t know what I am doing.
Holding babies safely does not make for good shots and I did not realize this until I saw these pics in software. Notice that some of the shots have a big hand across the baby’s chest. While this is nice and secure, it makes for bad photos. Live and learn.
Watch the crotch! Most folks seem to want to show off their special stuff when they have their pics taken but no one wants to see it. Have them move their knee across that great divide. Tilting heads make for nice flowing hair but bad composition. Some of the shots look like folks are falling over from heavy hair. C’mon, head up straight!
Slumping or leaning back equals fat. Slumping crumples up clothing and makes people look fat. Sit up straight!
Find a drunk relative with no pride and dignity and have them stand behind you and make stupid noises and flapping motions to make the little kid smile.
Lastly, take your time. The longer you shoot and more they sit, the more comfortable folks get and that is when they start to look natural and not posed.
Check your color
I use this fancy ColorChecker Passport but you can use just a cheap grey card.
Shoot wide, crop, then really crop
The first pic has no processing and is what came out of the camera. The other two are after tweaks and then crops.
The Equipment:
- Canon 5D MkII
- Canon 70-200mm L f/2.8 IS II
- Canon Speedlight 580 EXII
- Expolmaging Rogue FlashBender Large
- LightRoom 5.2

