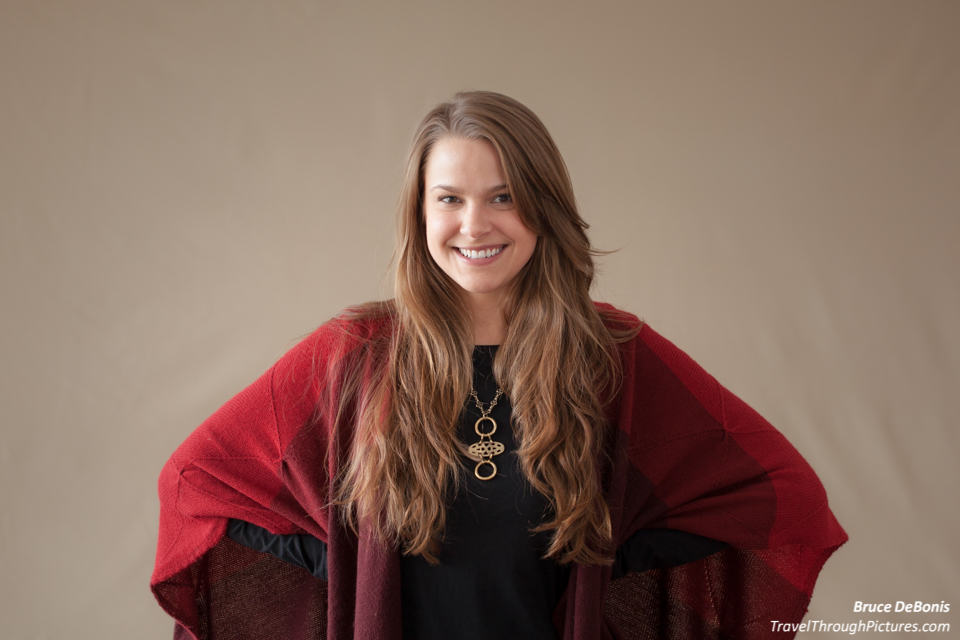
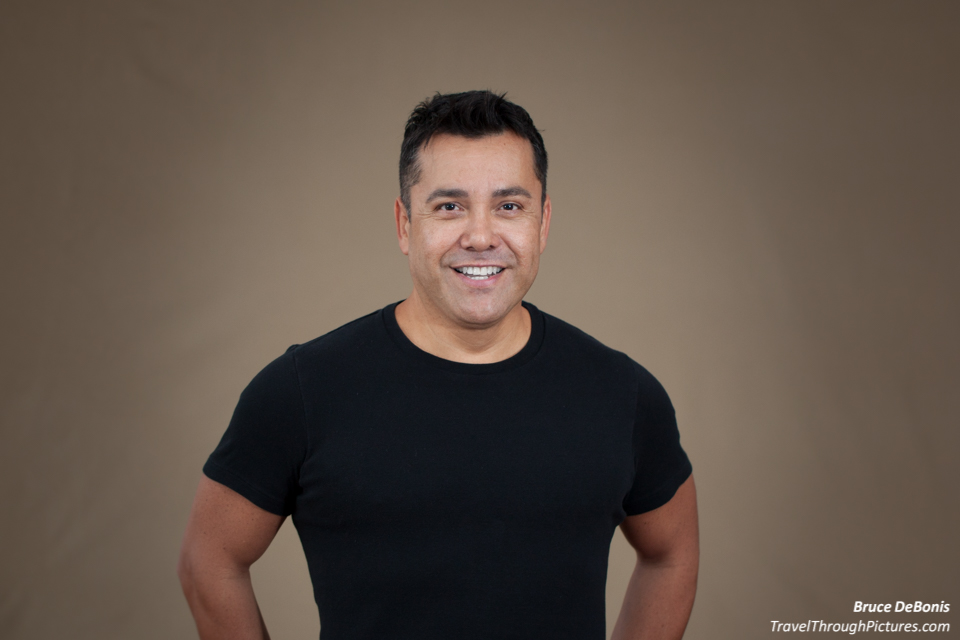
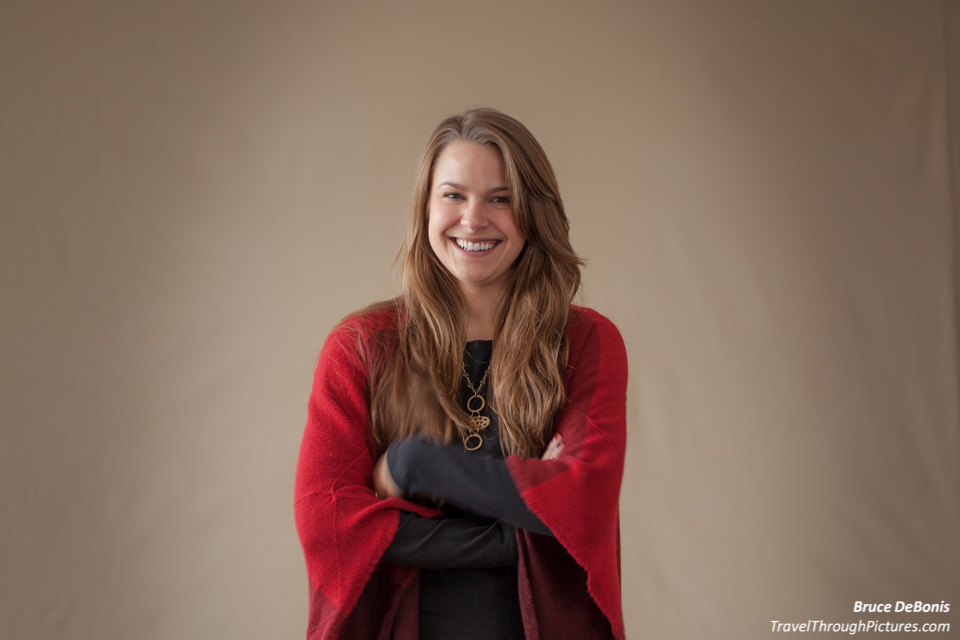
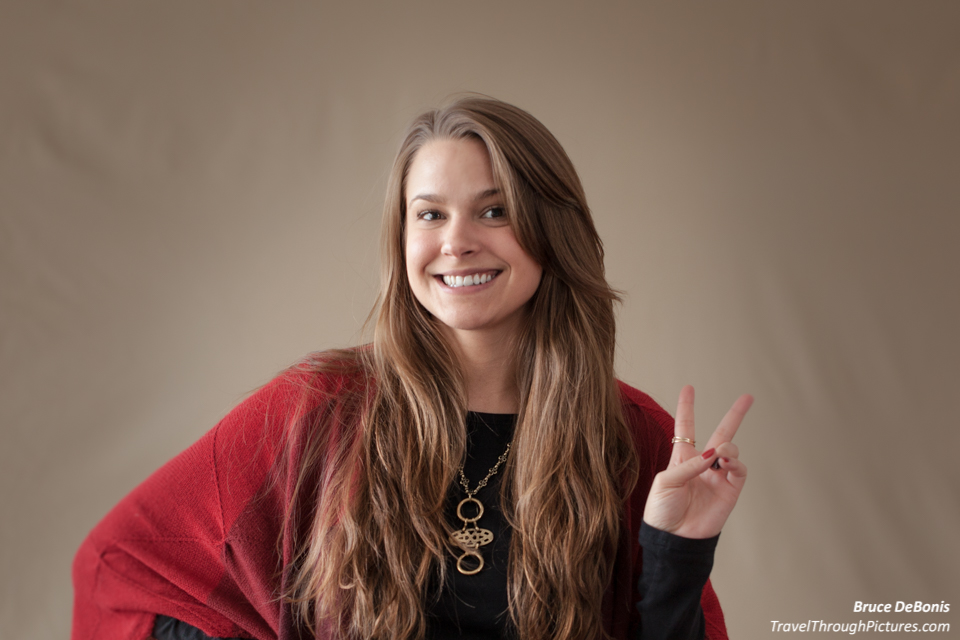
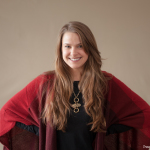
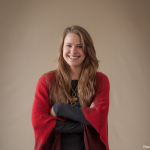
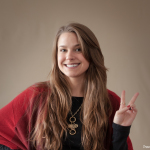
Fred and Jamie
Darn… I had to photograph beautiful people again. I really don’t like taking pictures of people let alone gorgeous ones. People have expectations and that puts tons of pressure on me. I tell them I just don’t know what I am doing but these folks just won’t listen to my reason. They say things like:
- “You must be good, you have such expensive equipment!”
- “If you can make me look half as good as that vulture eating a raccoon, I will be ecstatic.”
- “When I saw your pictures of that mantis eating that bee, I knew you were a master of light.”
- “Your lens is so big, it must produce satisfying results.”
My Home Studio
Ha… home studio my a$$. I taped a bed sheet over my big-screen TV in my living room. My “assistant” (my wife) ironed out most of the wrinkles. I played some awful ‘80s disco for ambiance. There…. that is my studio. Sorry that I didn’t take any photos of the living room but I threw this together on Thanksgiving morning, shot some pics, then ate and drank. I really wasn’t thinking of posting this on my blog.
The Setup
For the most part, I just guessed; but here is pretty much everything I did:
- Canon 5D MkII camera body with 320 ISO – this is as high as I dare go to retain pic quality but be able to use some of the ambient light
- EF 100mm f/2.8L IS Macro lens (My new lens! A review will be coming)
- Two flashes, a Canon 580EX II I purchased used from LensRentals.com and a Canon 430EX
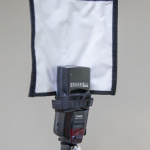
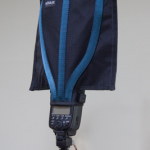
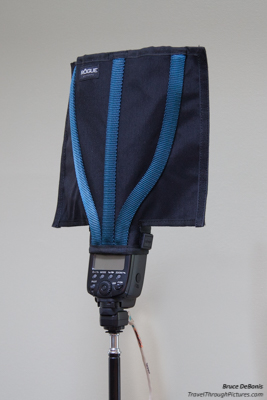
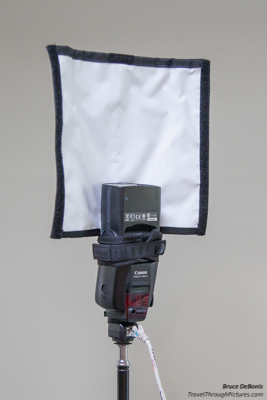
- Two ExpoImaging Rogue FlashBender Large Positionable Reflectors for each flash
- One cheap, no name $20 flash stand and an old tripod to support the other flash
- Tan bed sheet taped to the wall with masking tape
- Big glass windows stage right (to the model’s right side) with nice sunlight
- Always shoot a gray card to adjust color…. gotta be accurate
The Flashes
I aimed the flashes straight up and positioned these Rogue flash reflectors over them. This gives a great diffusion of light and pretty much ensures you won’t have bright spots on faces. The 430EX was in slave mode so it takes instructions from the 580EX via light beams between them. I connected my camera to the 580EX via cheapo, wired connectors that use Ethernet cable (if you really want to do flash photography, spring on some wireless triggers as these work, but are bit fussy to use).
Shooting
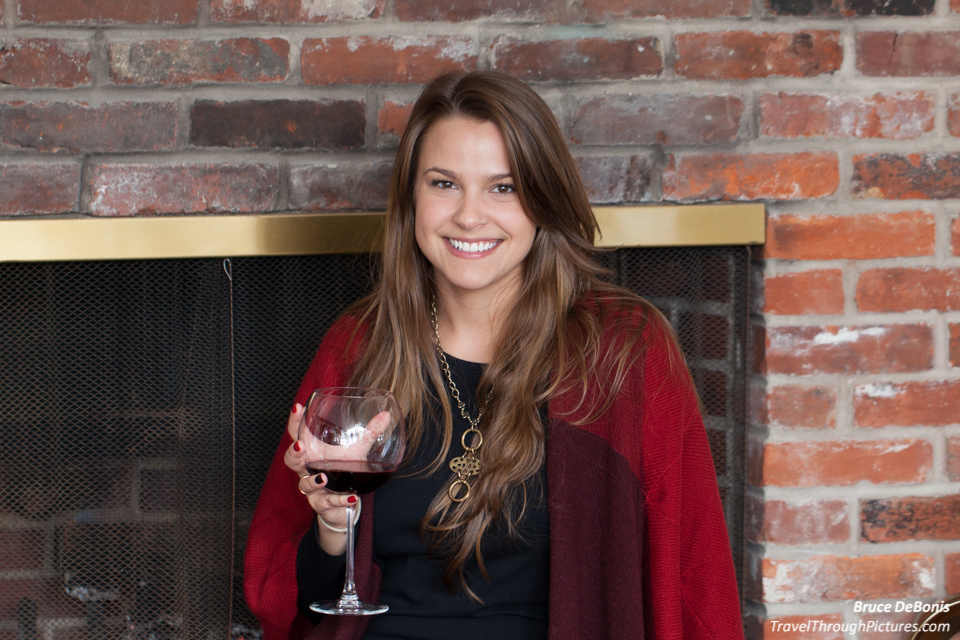
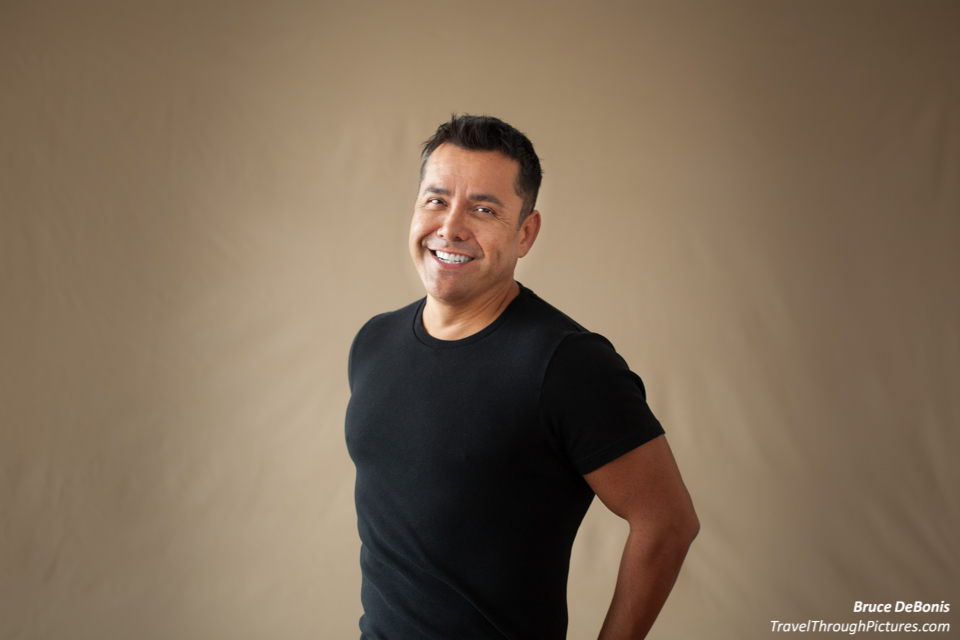
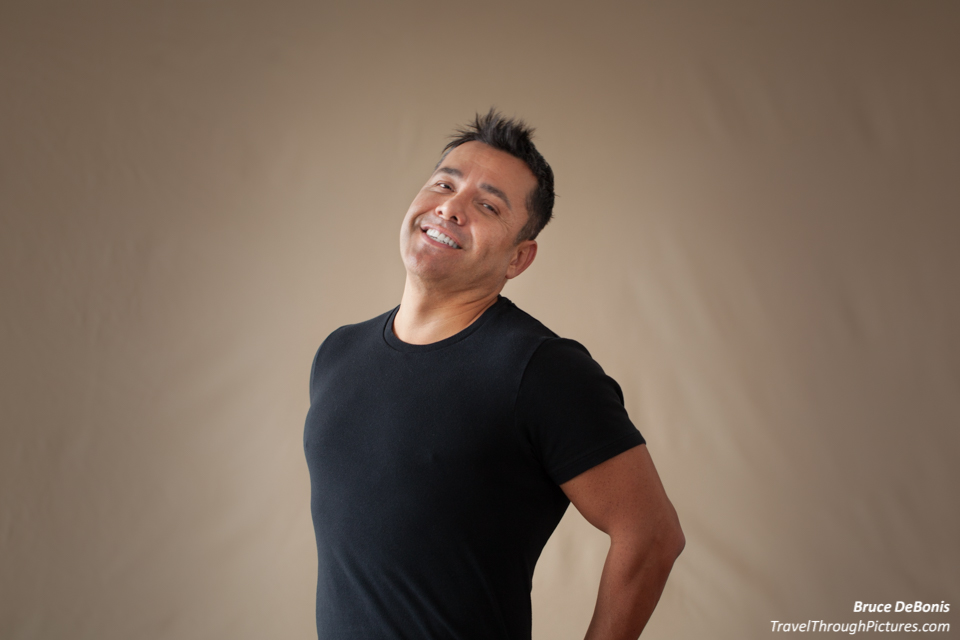
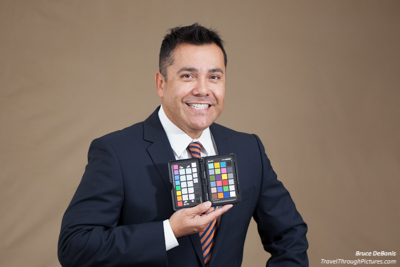
I shot Fred in a suite, then Jamie, then Fred in a T-shirt. I didn’t figure out how to use flashes and the ambient light until I was shooting Jamie so the pics improved as I went along. With Jamie, I realized that it was the shadows that made the shot.
More details:
- Put Fred and Jamie about 6 feet in front of the sheet to try and keep it far back and out of focus to hide the wrinkles (didn’t work too well)
- Shot full open at f/2.8 to blur that sheet
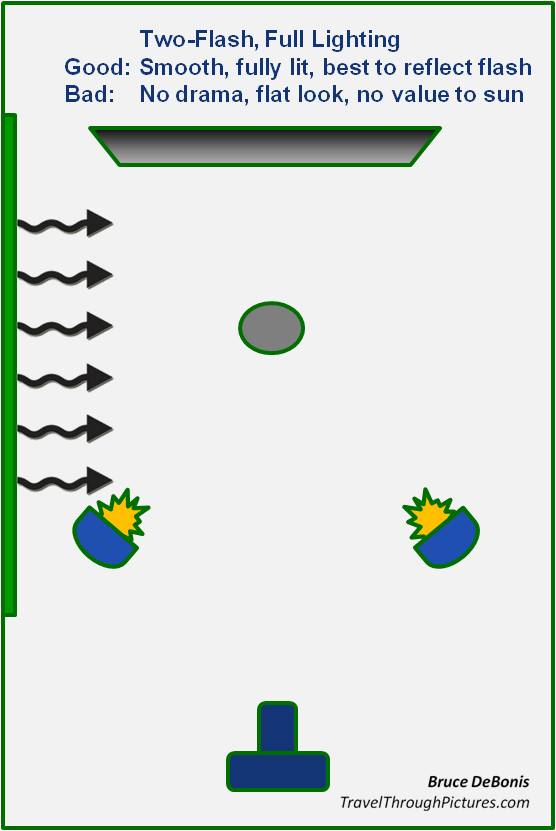
- Positioned the two Canon flashes about 8 feet in front of them and about 3 feet left/right of center; pointed straight up with those cool Rogue reflector thingys
- Shot from about 20-30 feet in front Fred and Jamie; it is best to shoot faces with 50mm or longer lens and from a distance as it flattens out faces and results in a more natural look; too close or with a wide-angle lens, faces can bulge
For Fred with suit in front of bed sheet:
- Shot manual mode ISO 320, 1/125, f/2.8 (seems if I go to 400 ISO, I get a big drop in quality but not so much difference between 200 and 320…odd)
- Had big glass windows stage right with sun, but these settings were still too dark without a flash
- I fired both flashes in full automatic, ETTL mode – I didn’t do this with Jamie and notice his face is a bit hard compared to Jamie’s face
For Jamie & T Shirt-Fred in front of bed sheet:
- Shot manual mode ISO 320, 1/20, f/2.8 – took some big risk with such a slow shutter
- Same big glass stage right; 1/20 gave me a nice exposure on the right side (to glass) of her face
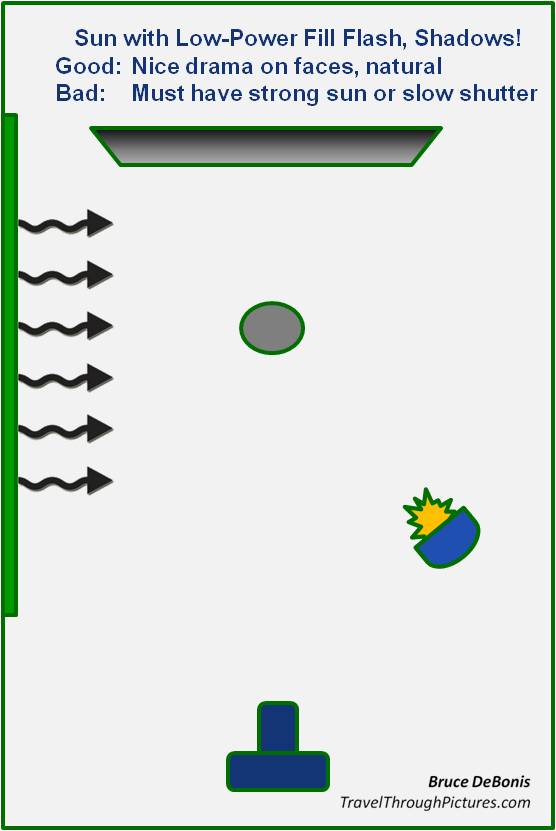
- Fired only the stage left flash at some way reduced power to fill (1/125?) to leave some shadow; I tried without any flash and her left side was way too dark
For Fred outside & Jamie in front fireplace:
- Shot aperture priority mode ISO 320, f/2.8 – took some big risk with such a slow shutter in doors
Post Processing:
- Did some work in LightRoom smoothing out zits, whitening teeth etc. To whiten teeth and eyes, I paint with the brush, desaturate all the way to remove any color, then bump exposure.
- Used the radial filter to try and smooth the wrinkles in the bed sheet by reducing contrast, and adding sharpening blur. Fred is Mexican American and his skin is dark with a ton of stubble as he was up early… he should have shaved for this… so I lightened and tried to soften his face a bit by reducing contrast and adding sharpening blur…. I need to learn more here as it seems whenever I tweak a face, it never looks correct.
Its the Shadows, not the Light!
I didn’t figure it out until it was almost too late! I was worried about getting even lighting when I should have been concerned about getting good, uneven lighting. I figured two flashes, one on each side will give me full coverage… and it did! The faces are clear but flat with no interesting drama. What you want is good, full light from one side, and fill on the other. This will give you shadow across a face and give the face drama and depth. And for this, I used the sun on one side, and only one flash at low power on the other. If you don’t have a sun source, then I could have fired the other flash at full power for the same effect, but would have moved the flashes far more to the sides to get the shadow drama.
 Some Observations…..
- I don’t know what I am doing…. I did a ton of guessing. Fred sprung his request on me at the last moment and I didn’t have time to do my research. Using two flashes like I did at the beginning of this shoot worked well as the lighting was smooth with no shine, but didn’t put any drama or interest in the faces. For drama, best was natural lighting on one side and just one flash will fill on the other but had to use a real slow shutter and many shots were just blurred.
- The Canon 100 macro lens at f/2.8 is stupidly sharp – just outstanding – but has a ton of vignetting (dark circle around the edges)…. you can’t really tell here as I cropped and then used LightRoom’s radial filter to add fake vignetting
- The image stabilization on this lens, Canon’s latest new and improved system, must be really really good as I have shaky hands and shot this without a tripod…. although many were ruined at 1/20, I still got some keepers
- I worked hard in LightRoom to eliminate the wrinkles in the back sheet…. I think I am just going to buy a professional back drop – looks like you can get a nice, neutral color one for about $80 online.
The Equipment:
- Canon 5D MkII
- Canon EF 100mm f/2.8L Macro IS
- Canon Speedlight 580 EXII
- Canon Speedlight 430 EX
- Pixel Ethernet Flash Triggers
- ExpoImaging Rogue FlashBender Large Positionable Reflectors

