How to Convert 35mm Slides to Digital
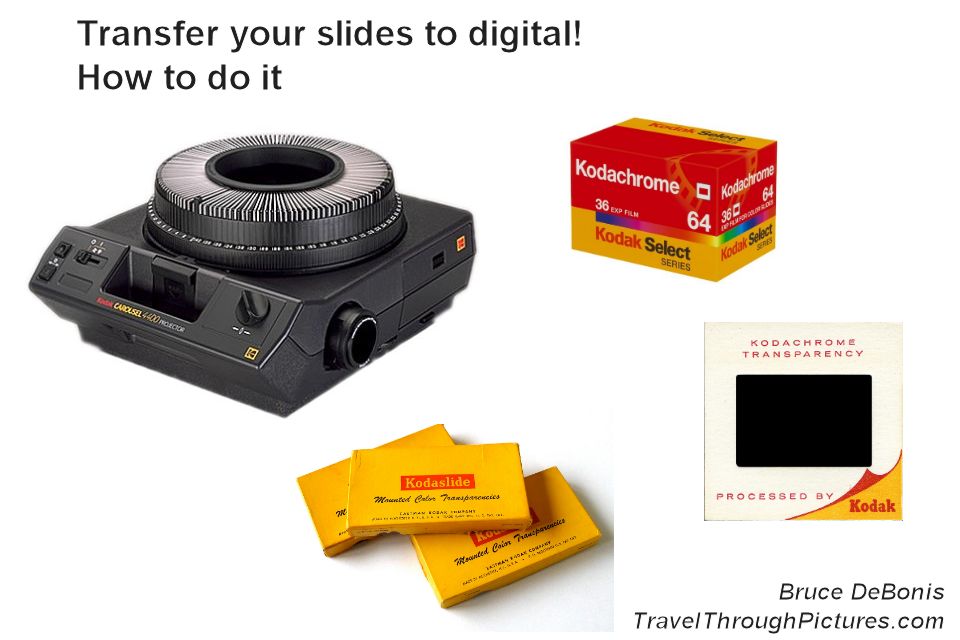
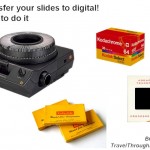
What to do with my entire library of 35mm slides? I have roughly 3,000 slides in boxes, and loaded into Kodak carousels. I gotta get them into digital. In short, I used my Kodak carousel projector to back-light the slides and shot with them with my DSLR. Only small modifications and tinkering are required.
I had to face facts. I just don’t look at my old slide collection anymore. Pulling out the Kodak projector, setting up a table and wall… it is just too much of a hassle. Besides my friends have an attention span of about five pictures in length. Show the sixth and they sneak off to the kitchen.
Send them out for scanning
I looked into various services out there but thought they were just too expensive. I understand why, the work is a bit labor intensive. I also could not find good data on the quality of the results. This made me a bit nervous.
Buy, use, and then sell a scanner
This actually made sense to me. I figured I can buy one of those great Nikon scanners used on eBay for around $1,200, blast through my slide collection, and then turn around eBay it to the next guy doing a conversion. With a bit of luck, this approach would be cost neutral. Of course, I would have to put up the $1,200 and take a small gamble that I could recover the money.
An advantage to scanners is the processing software that is highly touted as important. They claim to remove dust particles and such. While this sounds important, I really did not have problems with dust showing on my slides… just didn’t…. I did blow the slides in their trays with compressed air first so maybe this helped a bit.
I just did it myself with my Kodak Projector and my DSLR
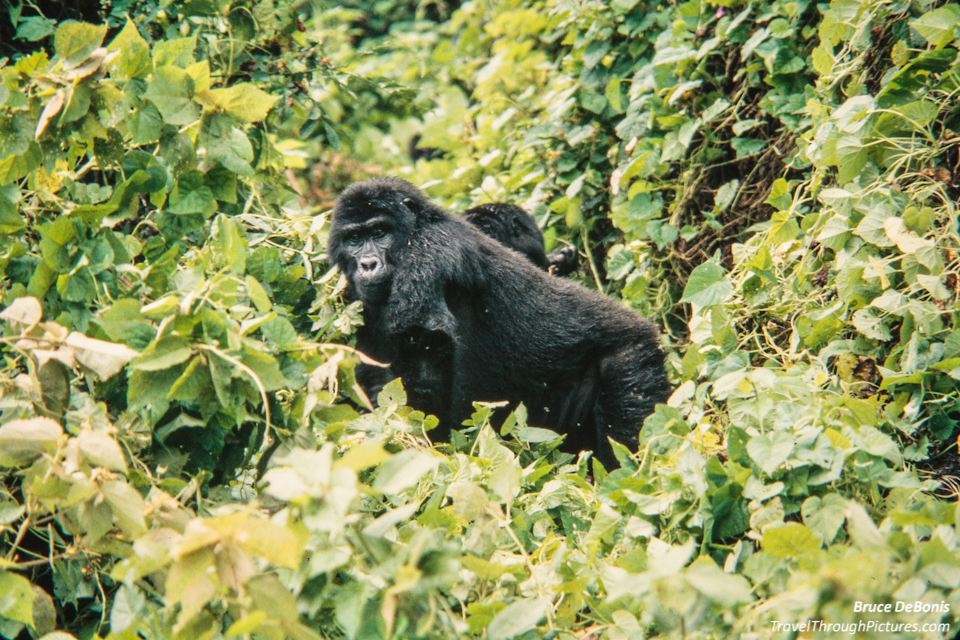
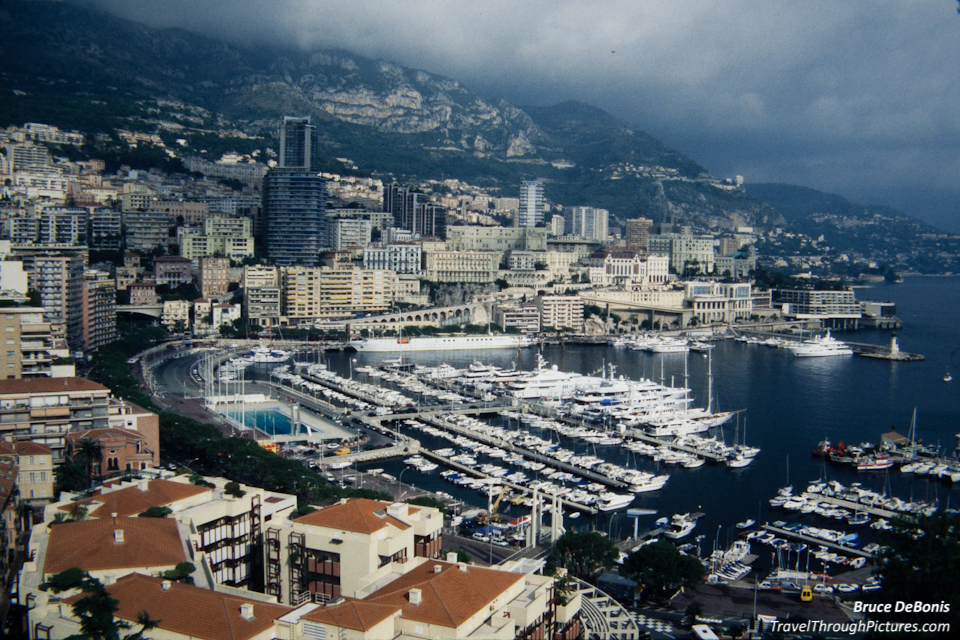
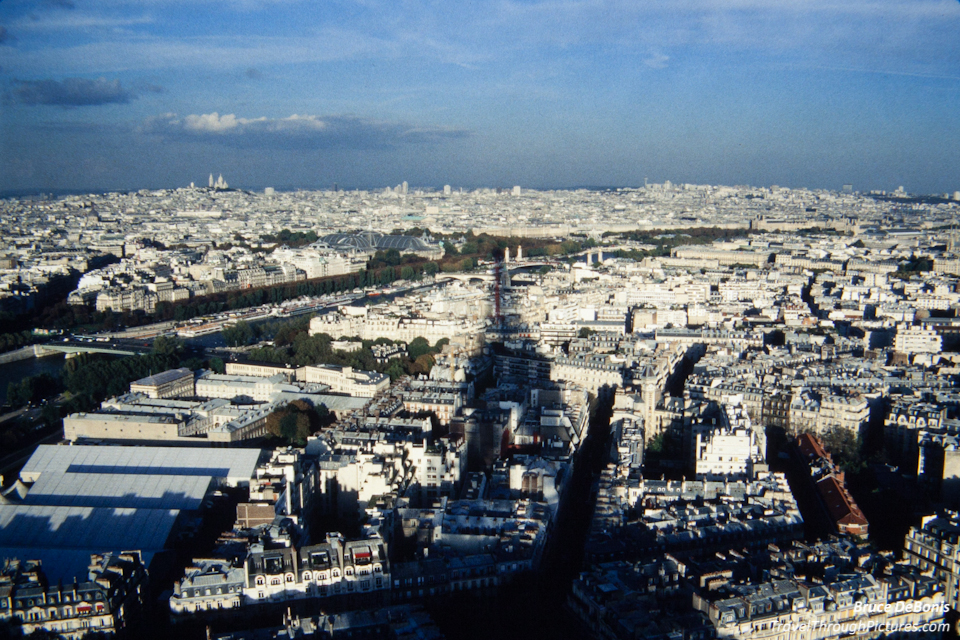
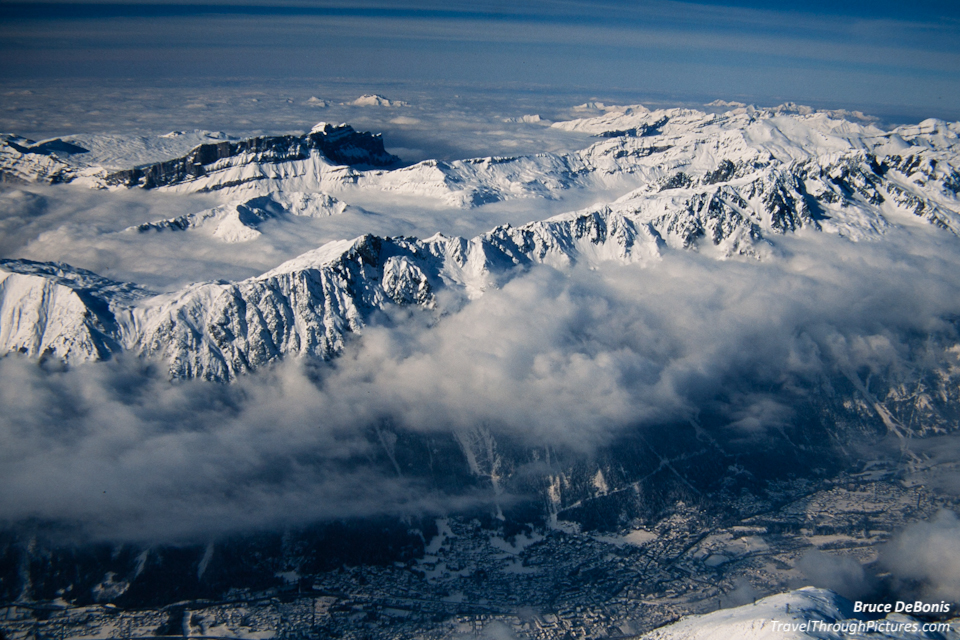
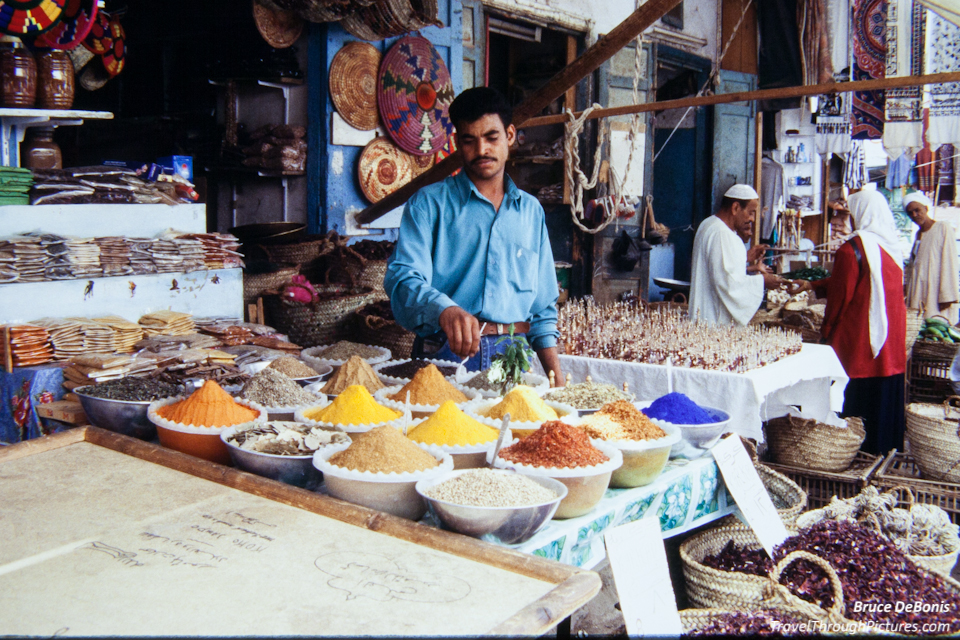
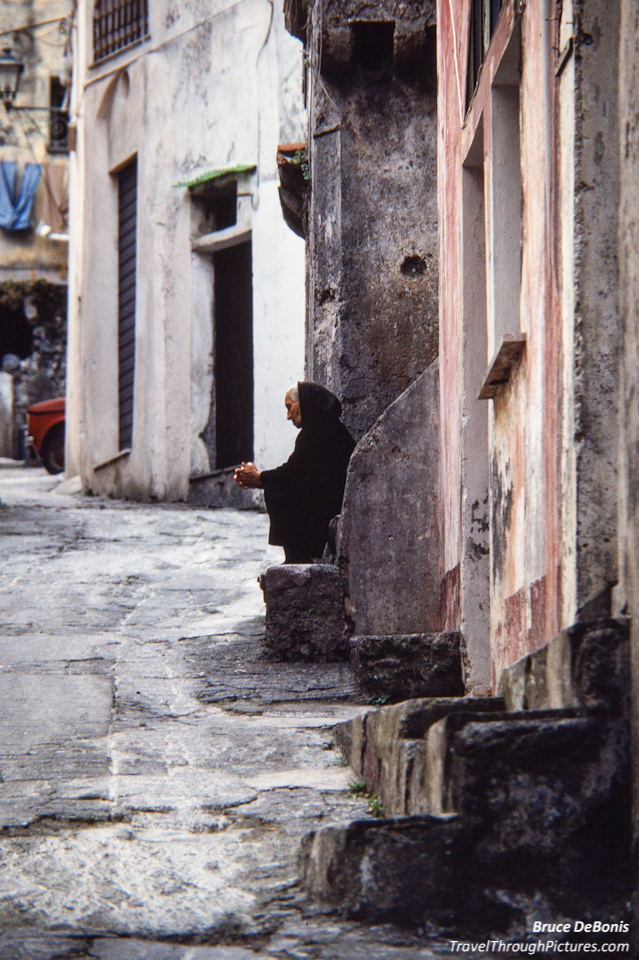
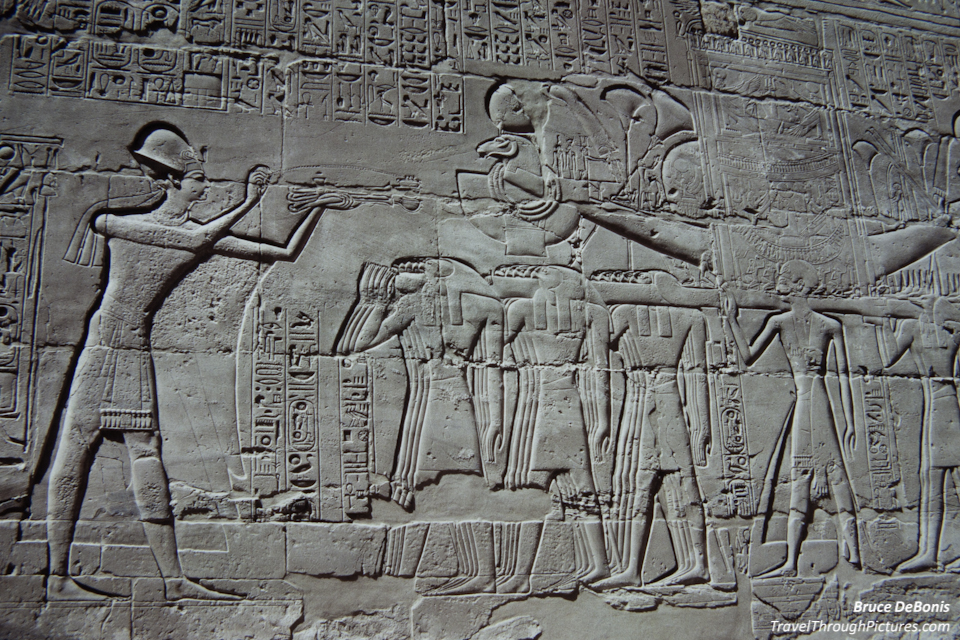
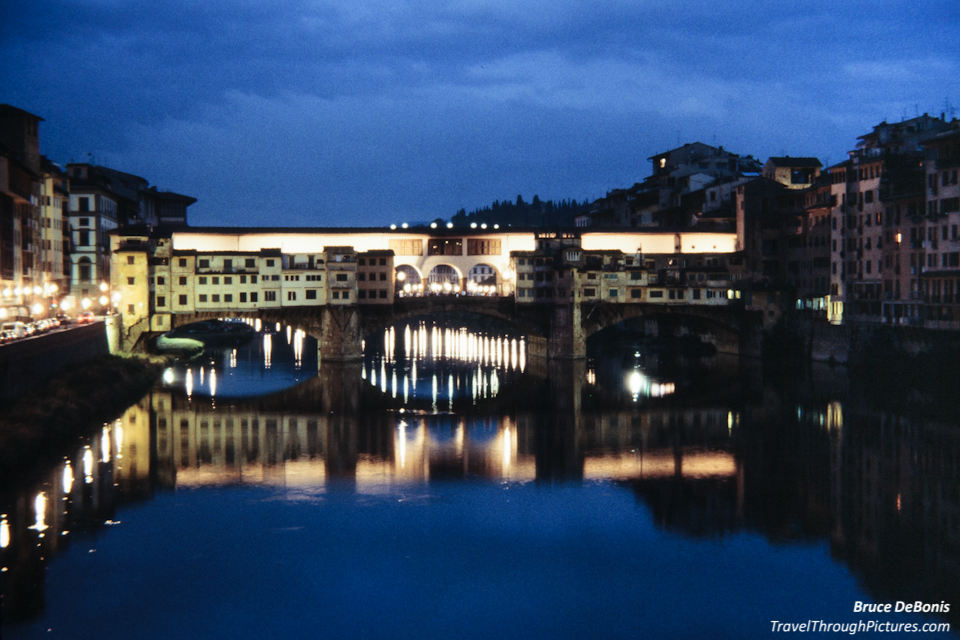
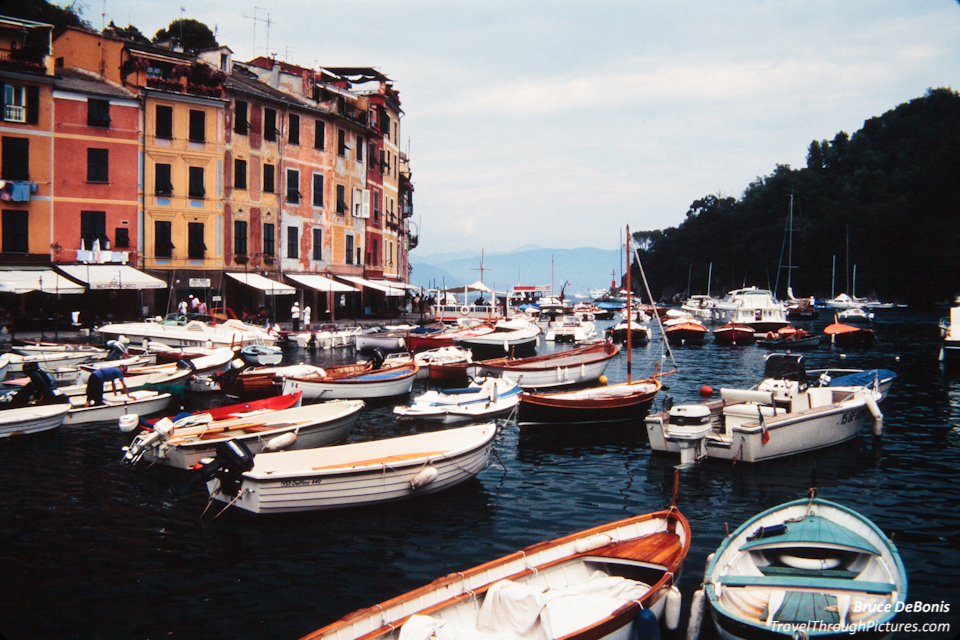
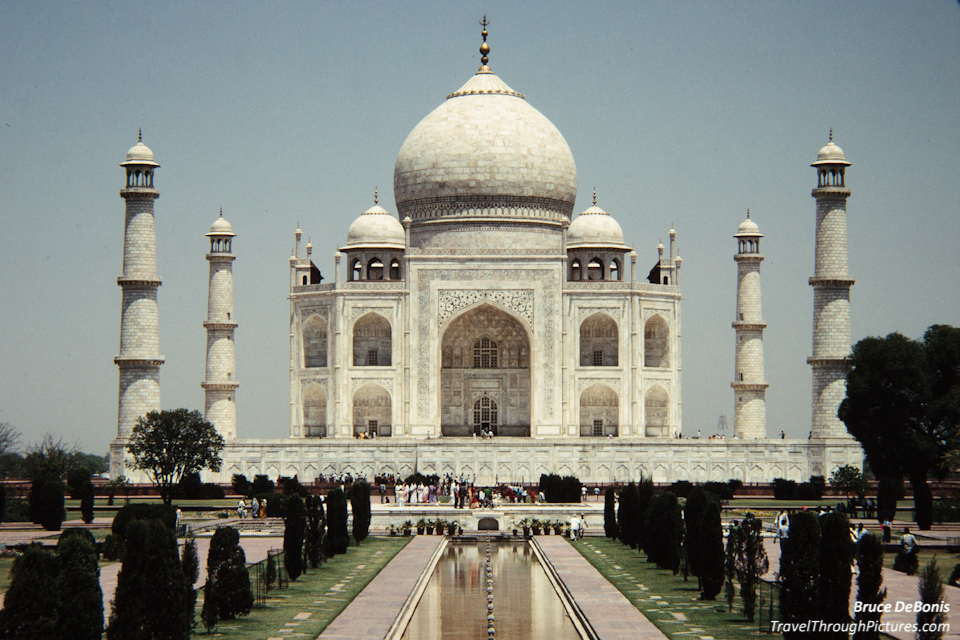
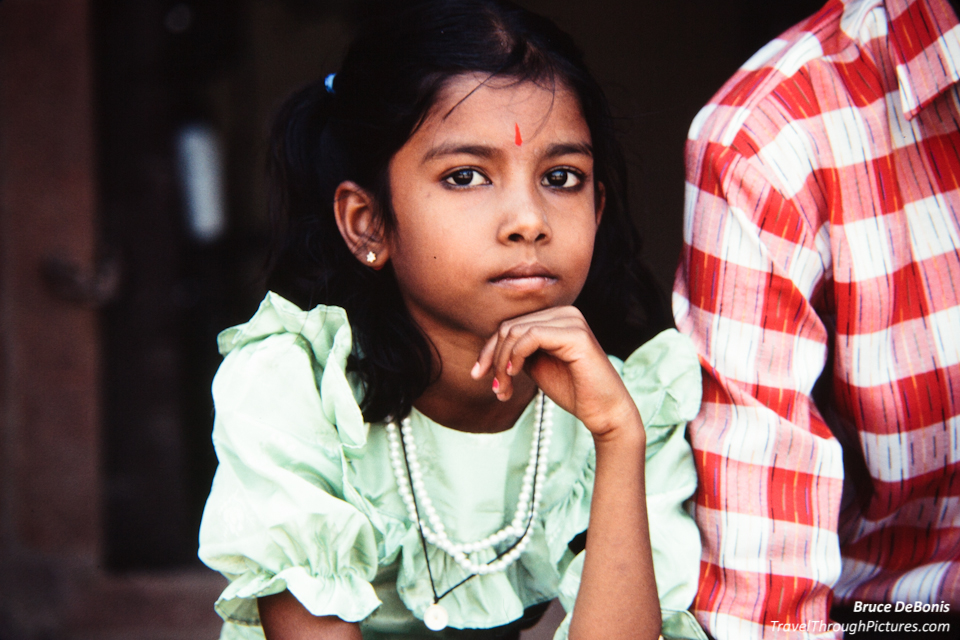
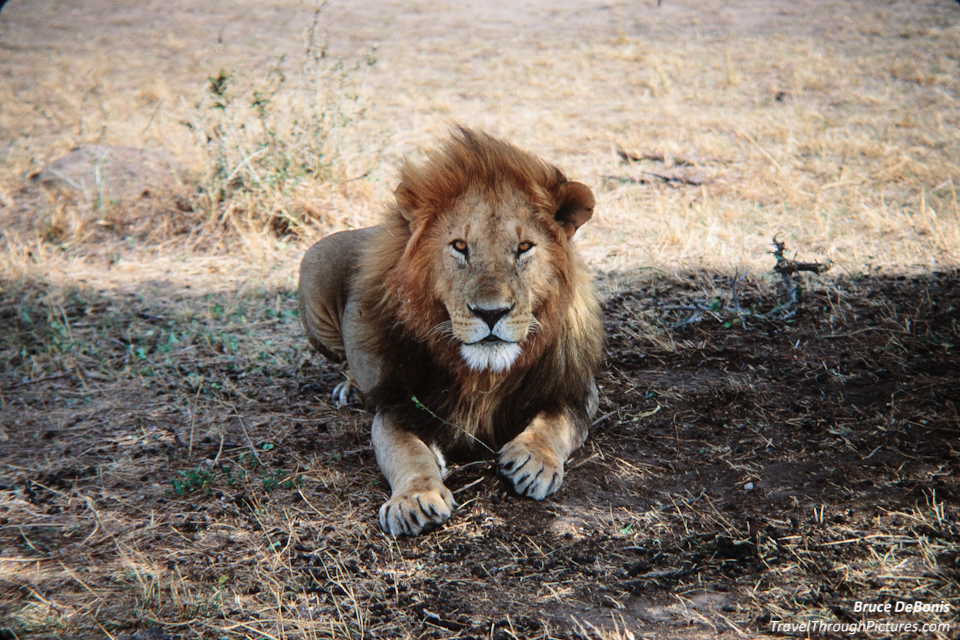
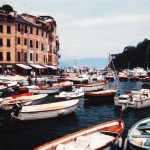
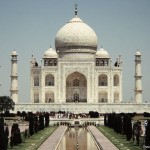
I can’t tell you that this is best way to do conversions, but I do enjoy a good challenge and overall, I am happy with the results. I really could not find a definitive opinion on where or how to obtain the best scanning and conversion results so I just gave it a try myself. If I didn’t like the results, then I would look into spending some real money. Just look for yourself in the portfolio above where I show what came out of the camera and the final results. Total cost for me to do this was only my time as I already owned all of the equipment required for this transfer. Looking back on it, I may have tried to borrow a true macro lens as it may have produced better results, but overall, I think the pics came out looking great.
I noticed that my slides varied greatly in color casts and or white balance. I figured the only way to ensure they are corrected properly, is to address this with RAW files in post processing. Leaving things up to others never really worked for me no matter what it was (except dentistry… maybe).
The first tray of conversions took the longest and requires some practice to get just right. Then, I spent way too much time in post processing but after you figure out a good workflow, you can bang out a tray of slides and process them in about one hour each. Actually, I was doing about two per hour but if you want to estimate your project before you start, one hour each will yield a conservative estimate.
Most of my slides were already loaded in carousels so I figured I would give this a try. Here is how it goes:
- Modify the projector
- Remove the glass zoom/focusing lens tube; you won’t use this
- Remove the glass lens in the lamp module; you won’t use this
- Cut and shape a plastic, white balance diffuser card to fit where the glass was in the lamp module; this will smooth and dim-down the intense light while protecting the slides from lamp heat; a good source of this plastic are those cheap white balancing lens caps available at any decent camera store
- Insert a black tube, such as rolled construction paper, into the tube where the zoom/focusing lens tube was to exclude lamp light from bleeding into the conversion process
- Using a black ink marker pen, darken all shiny parts that handle the slide and may be seen by your camera sensor and metering system
- For better color accuracy, you can try to find a lamp that projects 5000K as Kodak requires, but good luck on finding one; I found the color to vary so much from box-to-box, that you will need to address color balance in post processing no matter what lamp temperature you use
- Ready your camera
- Choose a solid table or work surface
- Select a lens that will project the slide image as large a possible onto the camera sensor; for me, it was my 70-200 L f/2.8 IS with stacked Canon extension tubes; extension tubes allow for your zoom to focus up real close
- Align your camera square and perpendicular to the slide; this is really tough to get just right and avoid key-stoning or a tilted slide that will be out of focus; don’t bother trying to use the projector’s case lines for reference as there is nothing square in its design or manufacture
- Allow for a tiny gap between the camera and projector to not allow for vibrations to transfer across
- Fiddle with your zoom and focus to get the best combination that projects the largest, in-focus image onto your camera sensor; do not use autofocus and make sure it is turned off to avoid re-focusing
- Use a remote or cable shutter release to reduce vibrations
- Use spot or expanded spot metering or whatever metering system your camera has available that will cover most of your image, but not the mounting card or interior of the tube
- Don’t use Live View; my 5D Mk II will only use evaluative metering in Live View so check your manual for limitations of Live View
- Use Aperture priority and 100 ISO for best image quality
- Select an aperture that will have enough depth of field to ensure the entire slide will be in focus given the bulging and possible key-stoning from an off alignment; I chose f/11 but I maybe I should have selected say f/8 for a bit more sharpness; this aperture yielded an average shutter speed of about 1/250 sec.
- Shoot only RAW for best results as you will be processing in software later
- Prepare the carousel
- All slides should be oriented the same regardless of camera orientation when the picture was taken (i.e., landscape and portrait framing); this will speed your cropping and post processing as later, in post processing, you will apply a landscape crop and 180 degree flip to the entire batch; the crop is required since you image will not fill your sensor 100% as mine, and since you have removed the projector’s lens, the pictures will be upside down; lastly, you will have to select and flip 90 degrees only the slides taken in portrait orientation one by one; trust me on this one as this is the fastest workflow after many experiments
- Use compressed air to blow out as much dust as you can between the slides while shaking the tray vigorously to ensure the slides are loose and free
- Remove the slide lock-ring as you will need to remove a slide or two during transfer; occasionally my slides would jam in the projector with messy results possibly because I had the projector angled upward
- Run a few test shots
- You will find you get into a rhythm of slide advance / shutter / slide advance / shutter / etc. and can go fairly quickly
- Check your test shots on your computer to ensure they are in focus, square without key stoning, and acceptable exposure
- Adjust exposure compensation if required
- I ran a few trays with exposure bracketing but found I did not need to do this as long as you sample about five slides and adjust compensation from there; occasionally you will get a dark or light slide so you may have to reshoot just those;
- Always process each tray on your computer before you shoot the next tray; this will allow you to improve exposure compensation, re-shoot the few bad ones, and limit the risk of screwing up too many trays
- Post processing – this is the toughest part
- Cropping – you will need to crop out the slide mount and require software that allows you to save your crop settings, and then apply them repeatedly; My Kodak projector has quite a bit of play in the slide holder and the slides never dropped into the exact same place so you need to decide: do you want to batch crop the tray and then adjust each slide one-by-one to ensure a perfect crop, or create a crop that is smaller than the slide image to ensure that all slides do not need fine adjustment thus speeding up your post processing (this is up to you)
- If you use Canon’s DPP software, you cannot save crops nor batch apply them but I recommend you can buy DPP++, an inexpensive add on, that will allow you to save a crop and quickly apply it to each slide with one click
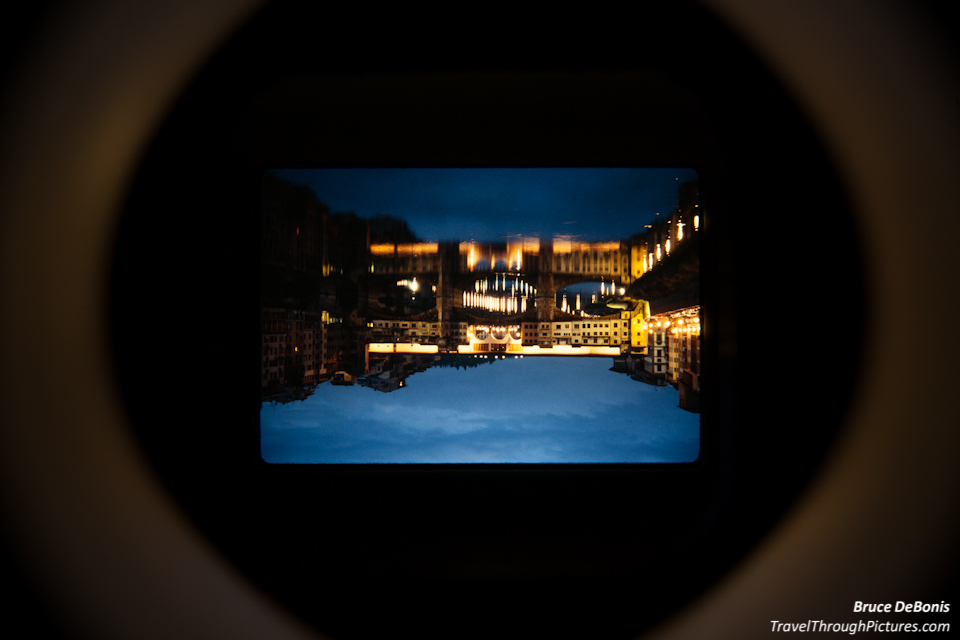
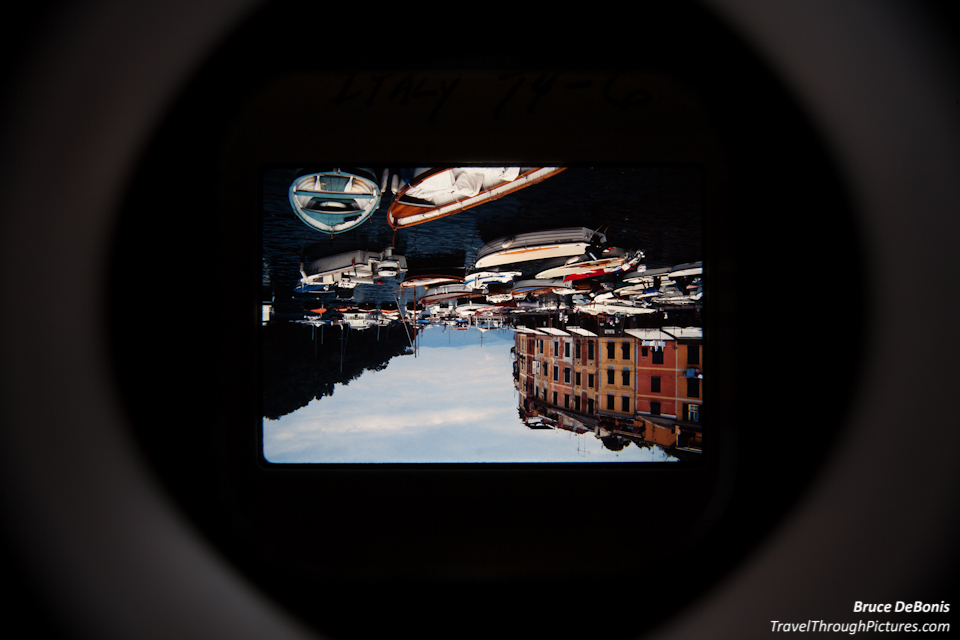
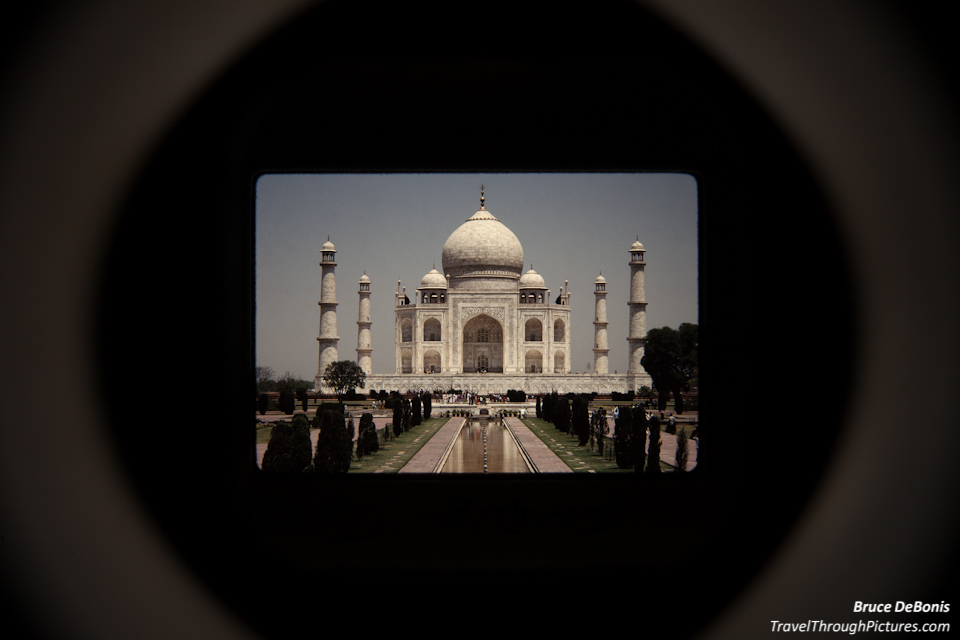
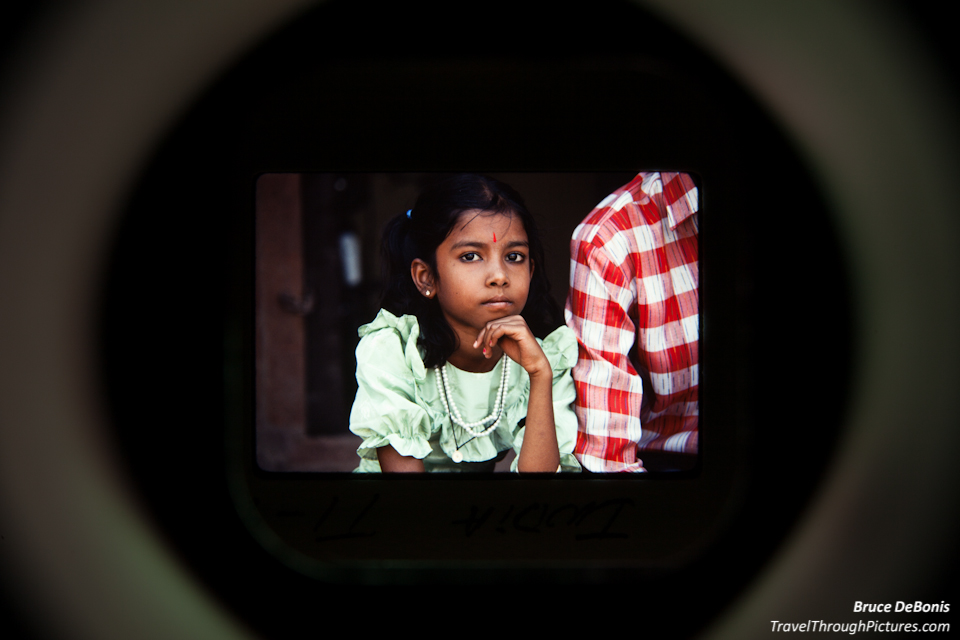
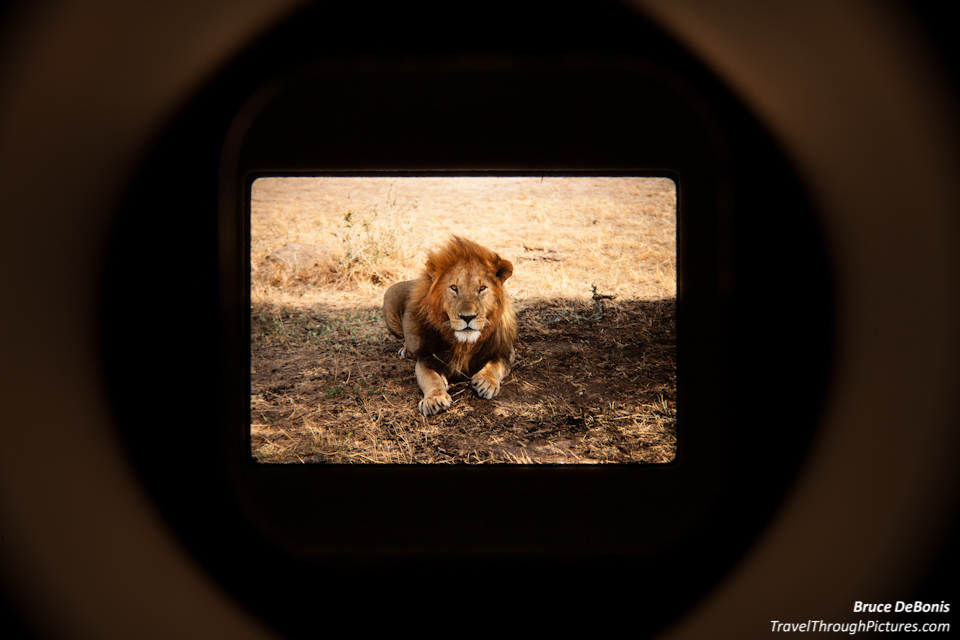
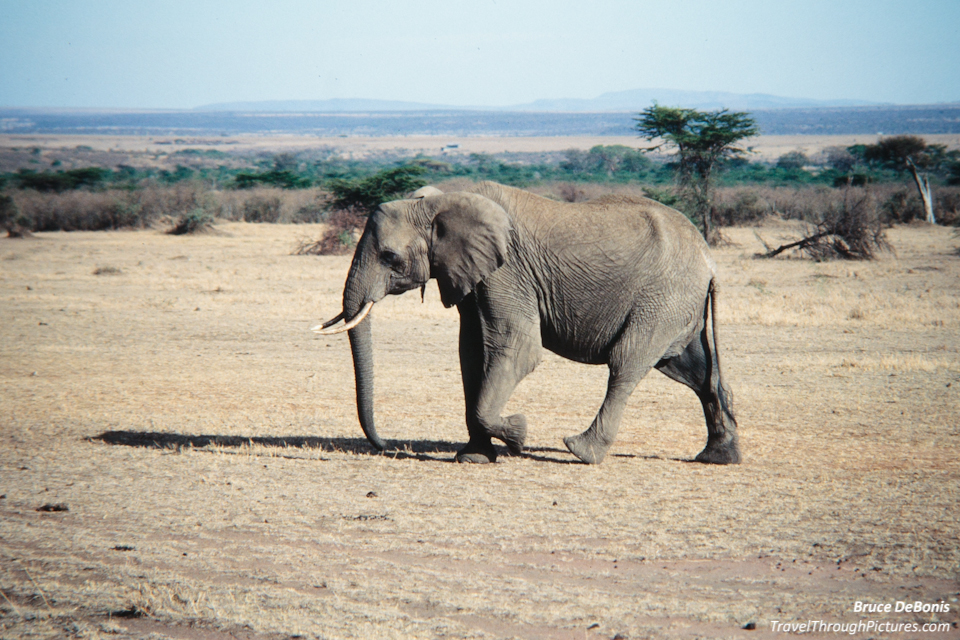
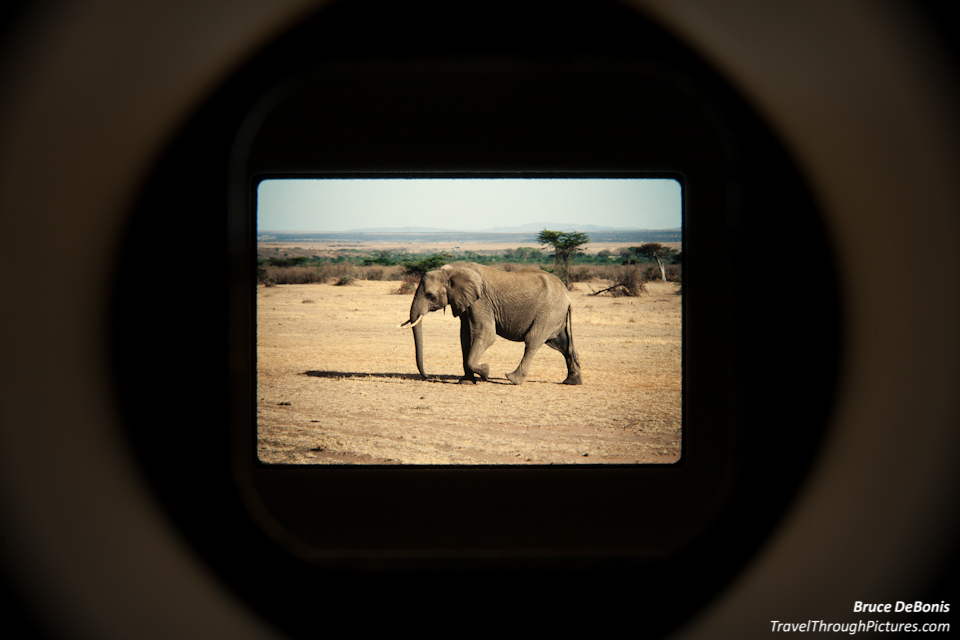
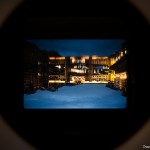
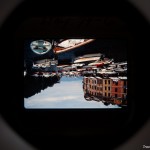
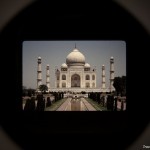
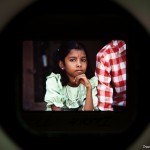
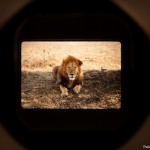
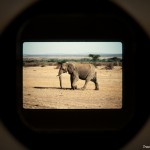
- All of the slides will need to be flipped 180 degrees as they will be upside down due to the lack of the projection lens and then flip the portrait shots 90 degrees one-by-one – I flipped most of the “tube shot” photos in the portfolio above so they are more comfortable to look at, but I left the last two upside down to show you what actually comes out of the camera
- Set picture style to Faithful as slide film is vibrant and needs no “juicing up”
- Try setting white balance to “Daylight” but experiment with this as this is dependent on how well or how poor your camera calculates white balance
- I found color balance and color casts to be quite pronounced from slide roll to slide roll and you will have multiple rolls in each tray; this is a pain and when this is over, your eye for white balance will be quite improved; save your white balance setting to re-apply until the cast changes in the next roll
- Try clicking your white balance eye dropper onto some of the leaked light outside of your image; the glow in the projector tube actually yielded a white balance that was fairly close to what I required for that roll of slides
- The “tube shots” above have no processing on them and the color casts you see are a combination of the original slide’s cast and the additive shift added by the camera’s poor attempt to calculate correct white balance
- For the most part, I didn’t need adjustments to say sharpness or anything else as the transfers were really very good
- Cropping – you will need to crop out the slide mount and require software that allows you to save your crop settings, and then apply them repeatedly; My Kodak projector has quite a bit of play in the slide holder and the slides never dropped into the exact same place so you need to decide: do you want to batch crop the tray and then adjust each slide one-by-one to ensure a perfect crop, or create a crop that is smaller than the slide image to ensure that all slides do not need fine adjustment thus speeding up your post processing (this is up to you)
Comments on Slide Film vs Digital
I can’t say which medium I like more. The 35mm slides have a feel to them that is superior to digital and the dynamic range (difference between brights to darks) is greater than digital. The dynamic range was so great that the darks of the slides were rendered as blacks and the brights were blown out when transferred to digital. This is one reason you have to be careful to set exposure compensation on your camera properly to get a good balance of brights to darks. However, digital does some things better and having the wonderful controls of post processing software, such as LightRoom or even Canon’s free DPP make digital a much more fun medium for me.
My photography is just way better since the advent of digital for many reasons such as instant results where I can compare what I was trying to do with what actually was in the resulting JPG. You have to wait for film processing and I can’t remember what I was thinking at the time I took the shot. Having your camera settings available in metadata when viewing is just wonderful for learning and figuring out what you did right or wrong. Learning is way slower in film.
Anyway, there is passion on both sides of this debate of which medium is “better”, but for me, digital photography is way more fun than film.
The Equipment:
- Canon 5D Mk II
- Canon 70-200mm L f/2.8 IS II
- Canon EF 12 II and 25 II extension tubes
- Manfrotto 190 CXPRO4 tripod
- Manfrotto 222 pistola head
- Plastic diffuser cut to fit lamp module
- Black construction paper
- RAW processing software that allows copy/paste of crop (LightRoom, DPP++, others)

