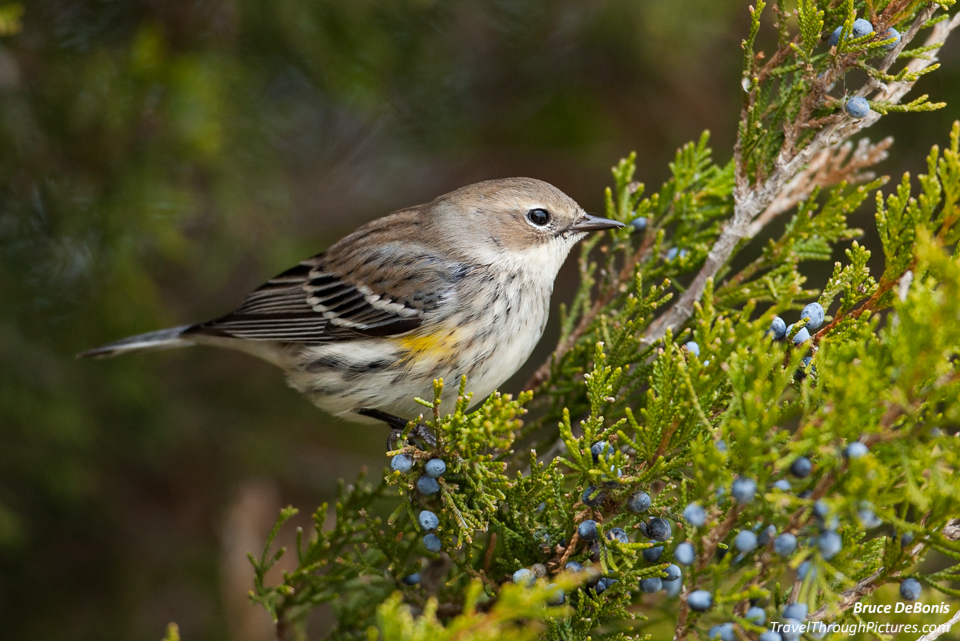


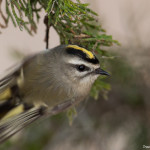


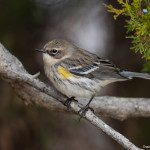
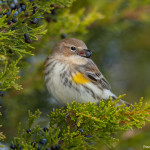
Yellow-Rumped Warblers
Ok, instead of me running away with yellow rump jokes, you do it…. go ahead… take a few minutes… visualize…. OK, done. Now let’s talk about photography.
Luck Again! Get out there at take your time!
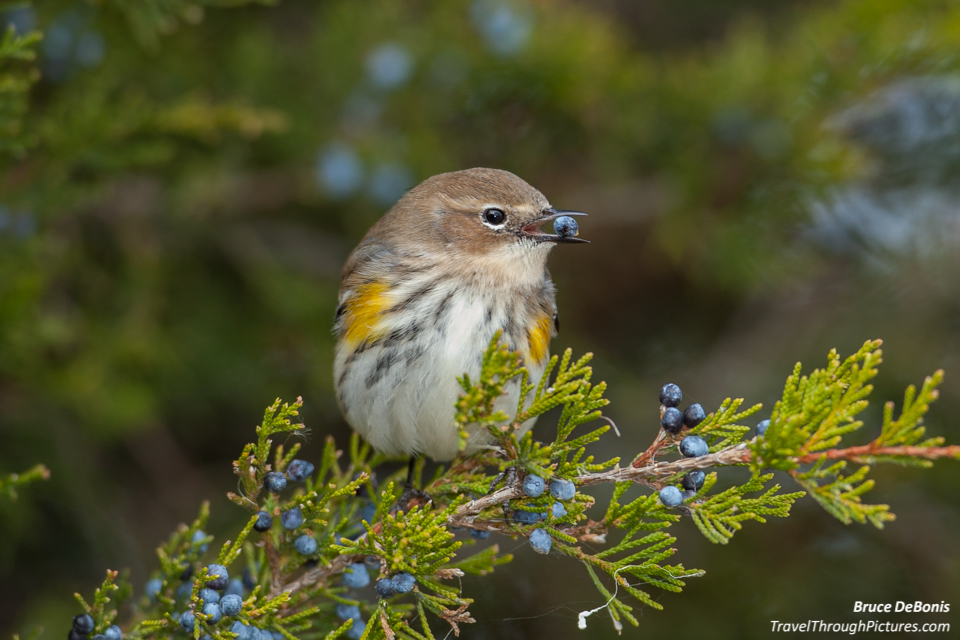
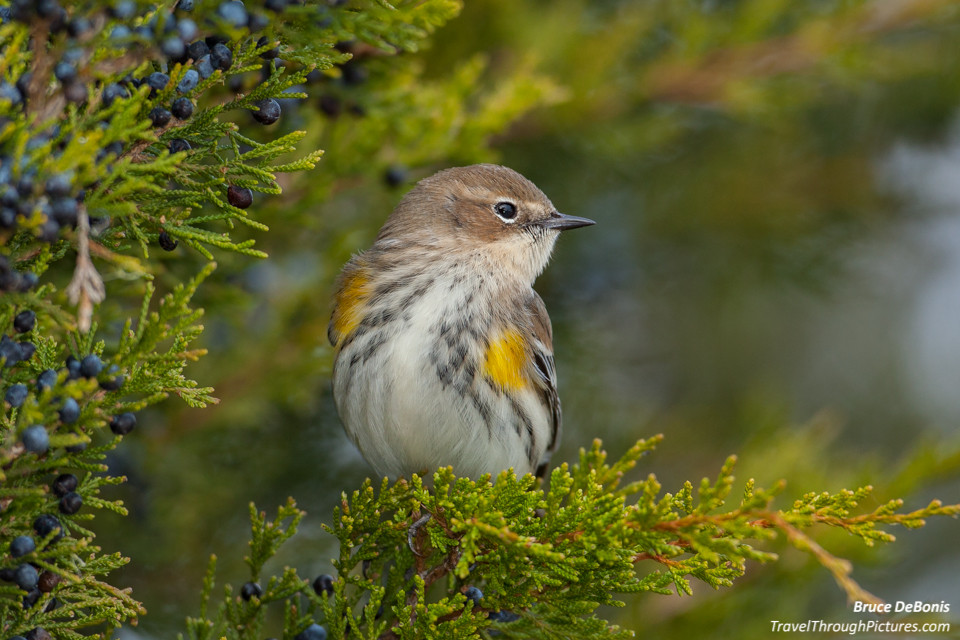
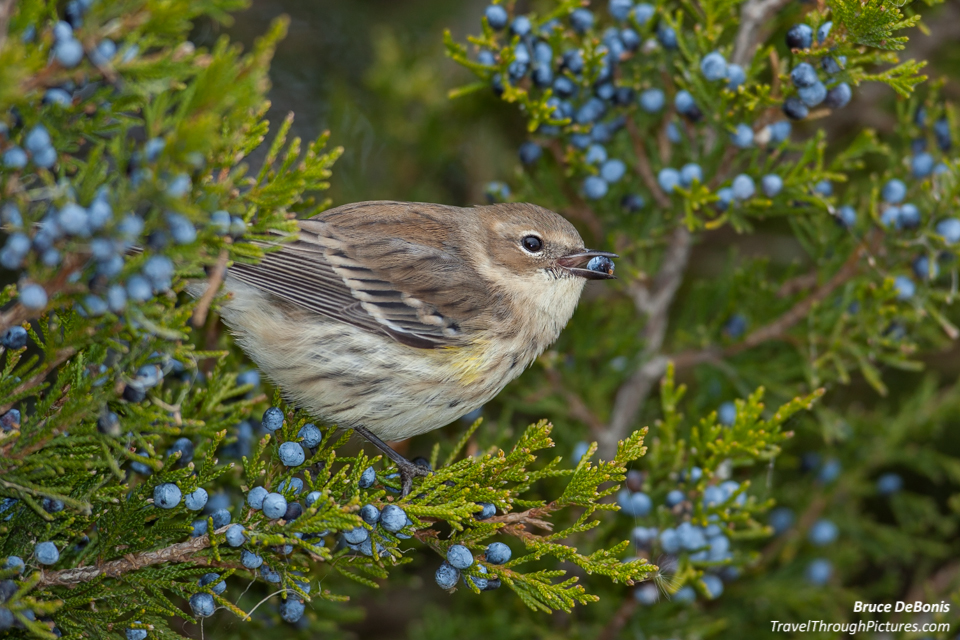
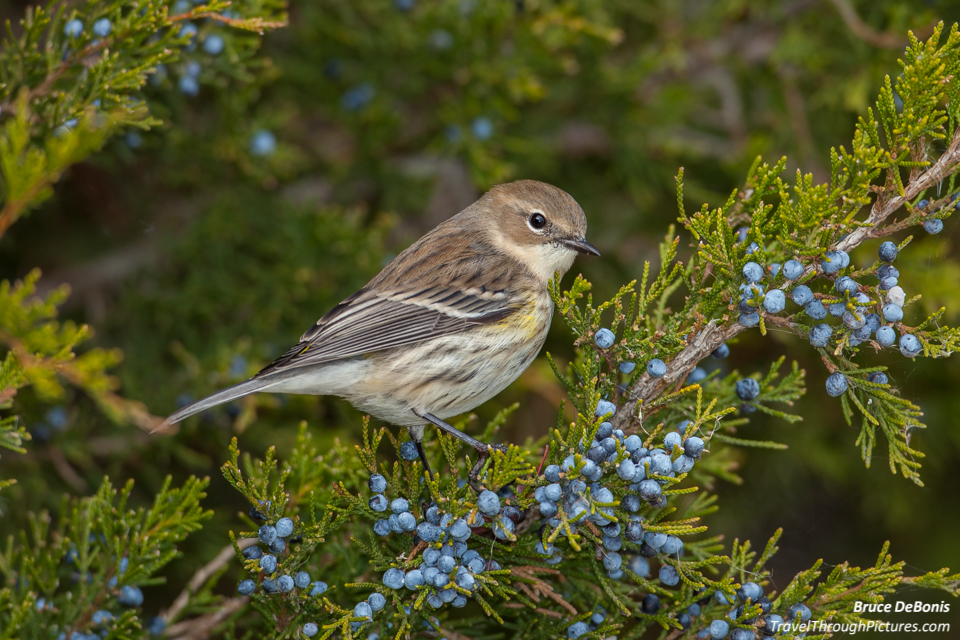
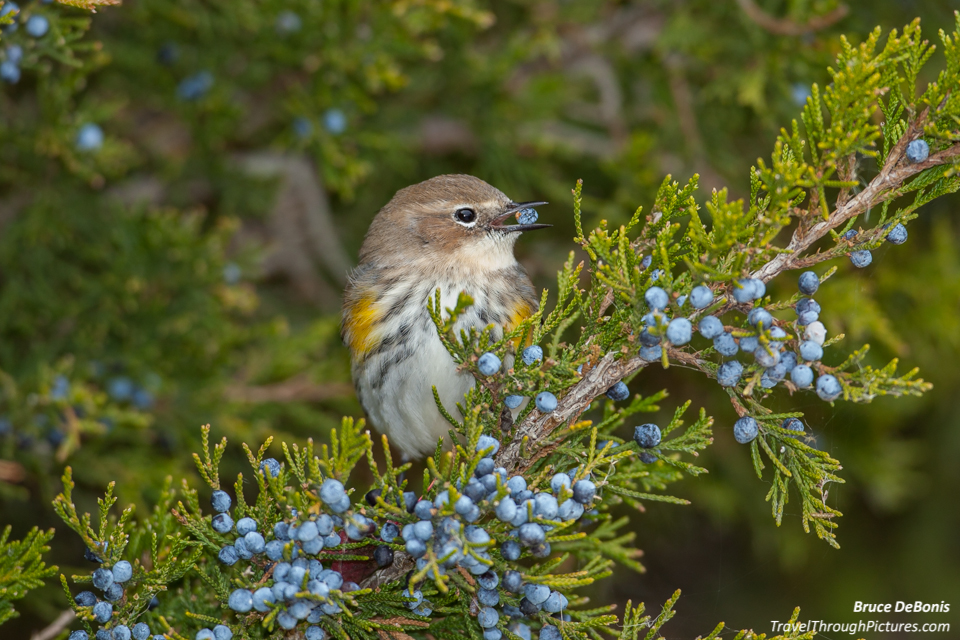
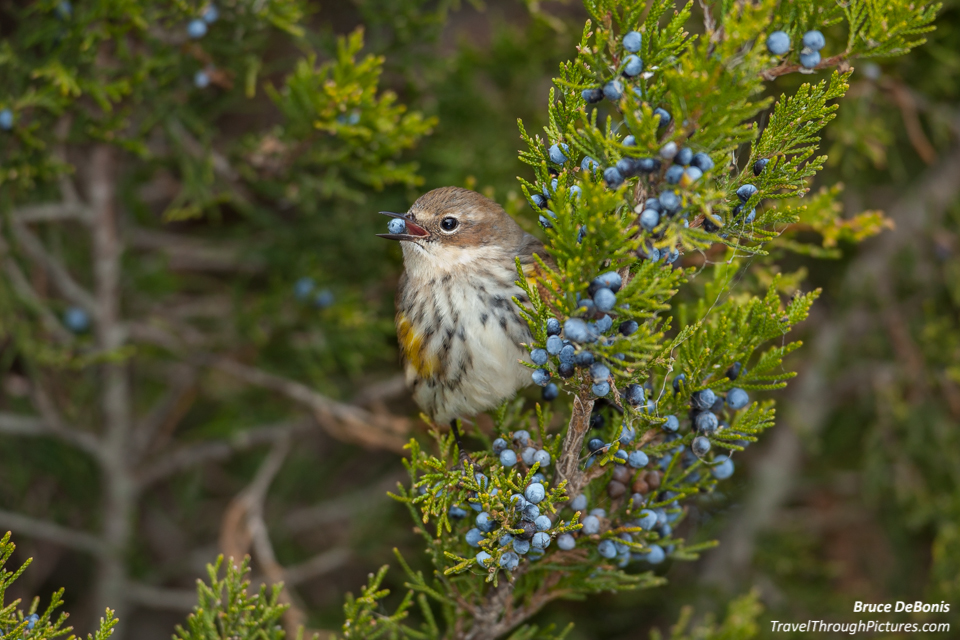
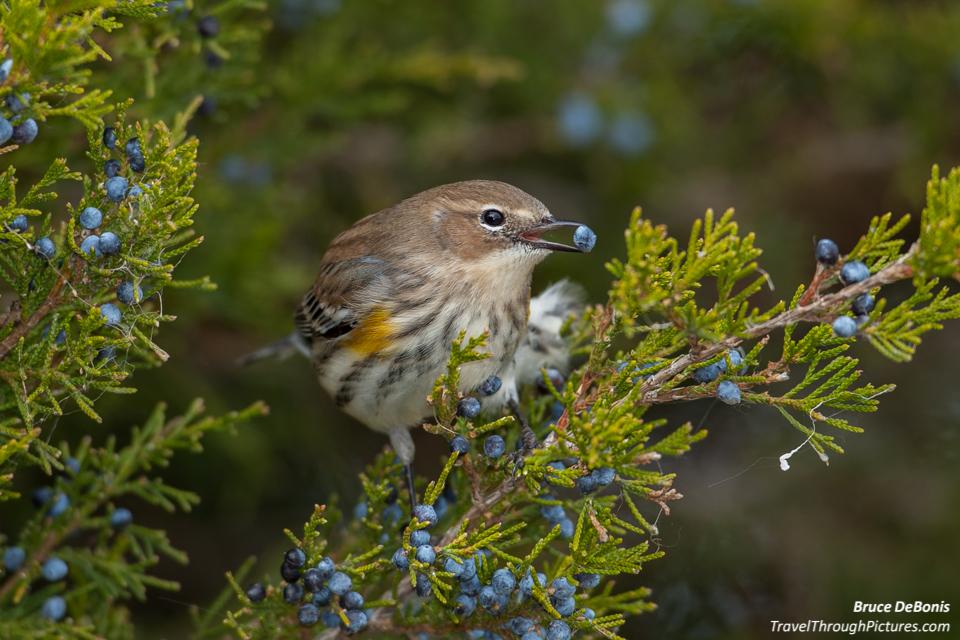
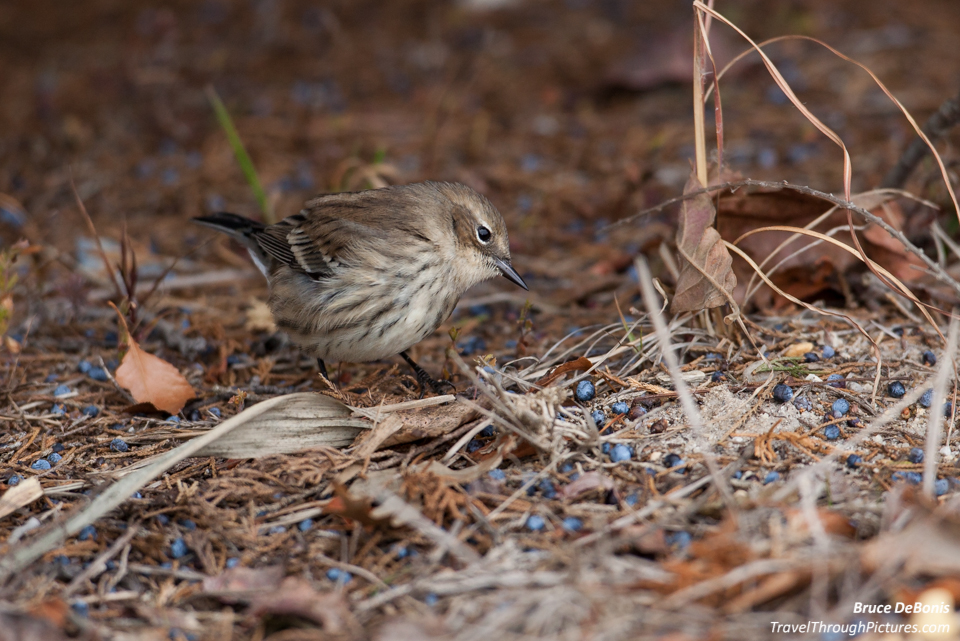
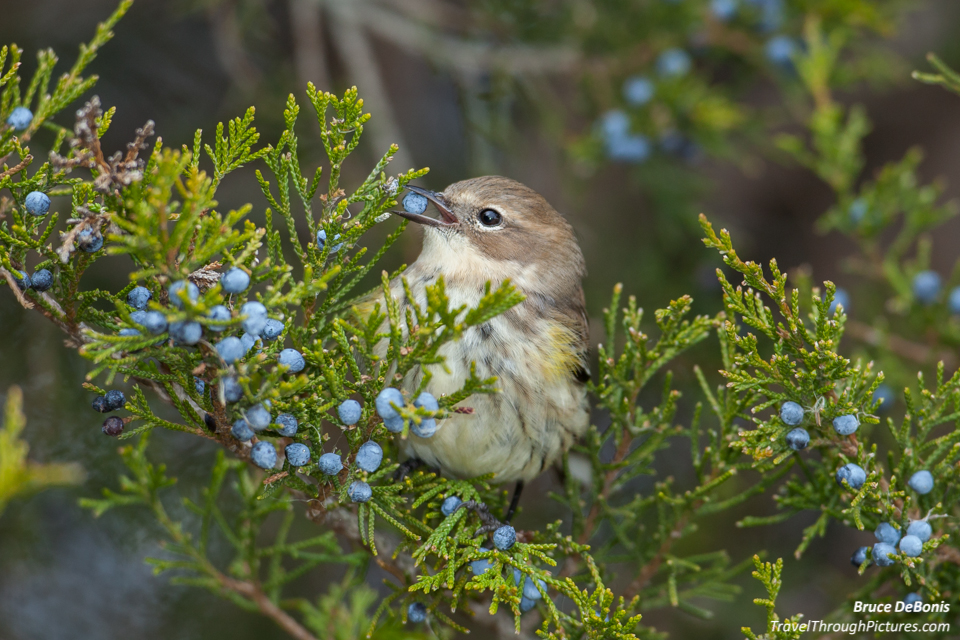
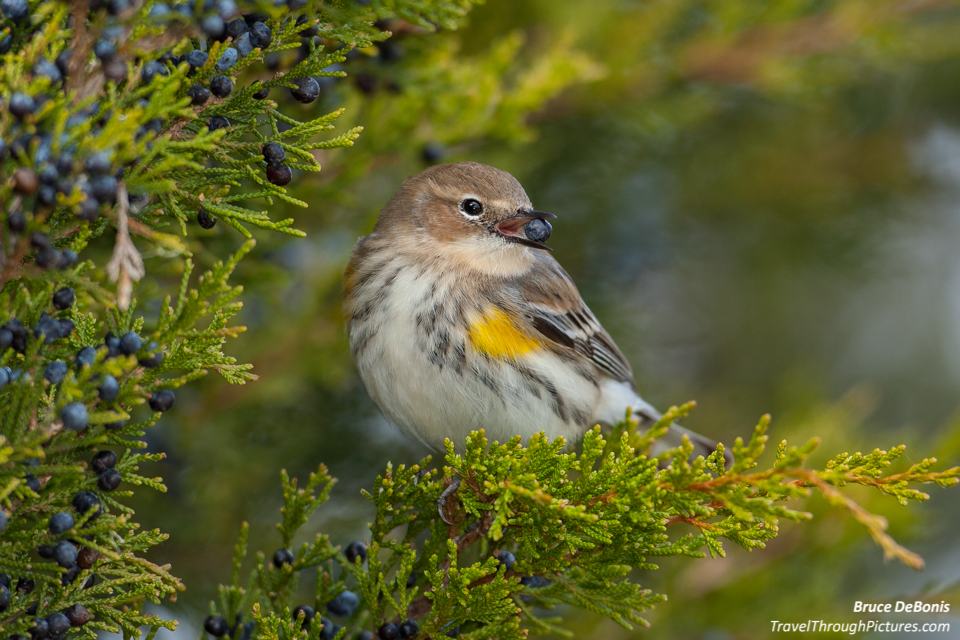
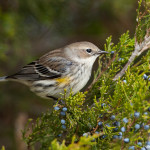
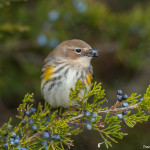
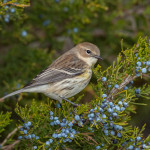
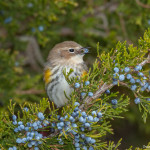
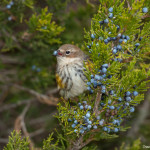
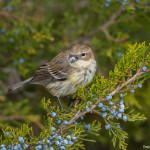
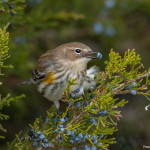
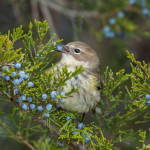
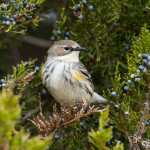
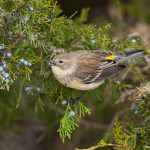
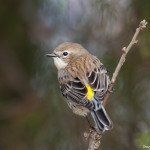
Once again, dumb luck played me a nice hand. I pulled into one of my favorite nature reserves and immediately I see a cypress tree covered in ripe berries and Yellow-Rumped Warblers. I only had a few hours of sunlight so I just shot these birds in this one tree. That was it. I have learned that when nature hands you an opportunity, you need to squeeze out all the juice. Take full advantage of the luck and stay on it.
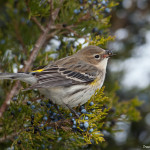
Why shoot a ton of a single good subject? Simply because I have made so many stupid mistakes that I can’t count on a few shots being good. Blast a bunch of shots and you increase your odds of an absolutely beautiful picture. I shot exactly 440 frames and deleted 308 crappy ones in my first, quick review on computer. After editing and more deletions, I ended up with about 40 keepers. Yes, 40 are too many pictures of a stupid bird, but a few are great and I learned quite a bit. Another important reason to spend time with one subject is you will calm down and start thinking clearly.
Once the excitement of witnessing a rare site dies down, I start thinking about the shot and realize that I can improve the picture. Sometimes it is as simple as moving over a bit to improve the background or realizing that I had my camera completely in the wrong settings. Spending time with one subject calms you down, clears your mind, gets you creative, and you will simply shoot better photographs.
Another good tip is to use the situation for learning. Try different camera settings. I usually try the following in no particular order:
- Take time and learn the animal’s behavior patterns. How sensitive are they to my movement, camera noise, and my distance to them will have profound impacts on shooting opportunities. I noticed that birds will fly away at the slightest stimulant, but will almost always return. I shot these about twenty feet away from the tree but had to stay extremely still. Pay attention to what you and your equipment are doing to the animals.
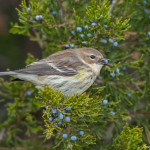
- Open and close the camera aperture. I found that little birds are fidgety and even if their bodies are still, their beaks and heads flinch. Therefore, you really need a quick shutter speed. For perched birds, I try and get the shutter up to or over 1/500 sec. Since I always shoot in aperture mode, you can affect shutter by opening and closing the aperture. Open apertures give you faster shutter speeds but can make your depth of field so narrow that part of the bird is out of focus. Experiment and learn.
- Increase and decrease ISO. ISO has a big impact on picture quality with lower numbers, say below 800, yielding the best, noise free shots. Unfortunately, low ISO numbers require more light, something you don’t always have. If I have the time, I try moving my ISO higher and learn where my camera starts producing noisy, ugly shots. Every camera model is different in this aspect and you just have to learn your camera’s limitations by experimenting.
- Try a flash. That is the biggest experiment I did for this shoot. Read on…..
I Tried a Flash
The light was not good. There was way too much cloud cover so I bumped ISO to 320 and then to 640 to get more shutter speed. Even then I was getting only around 1/250 sec which is way too slow for these twitchy birds. Good thing I had time and shot 440 frames as some are bound to come out. I set the aperture at f/5 when I could have gone to f/4 with this lens but wide open always results in some of the bird being out of focus. f/5 gives me just a bit more focus depth while preserving some shutter speed.
At first, I shot without a flash. Then, after I felt I nailed a few and began to calm down, it popped into my thick head to try a flash. So I walked back to my car and grabbed my Canon 430 EX. I packed the wrong flash when I left home as I now own the professional 580 EX II model but no worries, all Canon flashes are good.
I had not planned for this, so I didn’t know how to set up my flash and camera. I had read that many bird photographers get good results just using the flash’s fully automated ETTL II features. OK, I will do that. I just left my camera in aperture priority mode, f/5, and popped the flash atop my camera. Now remember, the light was getting poor and having a wider aperture will keep the background lit with natural light. Check out my blog piece on fill flash for more on this subject. The camera will recognize your flash and limit your shutter to its highest sync speed (1/200 for my camera). As I lost the light even more, the shutter began to dip to 1/100.
So I shot a few. Wow! The flash did not scare the birds at all. Then I quickly checked the pics in the camera viewer, and saw “blinkies” on the bird’s chest. This meant that these areas were overexposed. So, I went to the flash’s menu system and adjusted flash exposure compensation to -1/3 which will lessen the flash pop time. After a few more shots and checking the “blinkies” I ended up at about -1 flash compensation. I don’t know why the camera’s sensors didn’t get this correct, but I suspect that the scene overall is dark and the only white component is the bird’s chest. It selected on some sort of average; and average was not good enough. Even these amazing technologies can’t do it properly so you need to step in once in a while and adjust.
By “darkening” this overly bright picture just a bit to get the blinkies to go away, I was still exposing the picture a bit too brightly. That is actually OK because as long as you don’t go too bright and overexpose, you can darken in software later and get fantastic results. Pros have told me that in general, you want to expose on the bright side (aka “expose to the right”) and darken later because the limitations of digital equipment will capture more data in brighter exposures than darker exposures. It is always better to darken a bright photo than lighten a dark one.
Below are “before and afters” with the left being the shot out of the camera with no processing and the right one after darkening and tweaking. By the way, these and all my shots here are cropped at around 50%.


The Equipment:
- Canon 5D MkII
- Canon 500mm L f/4.0 IS
- Canon Speedlight 430 EX
- Gitzo 3530LS carbon fiber tripod
- Wimberley II gimbal head
- LightRoom 5.2

