


Water Lilies 2
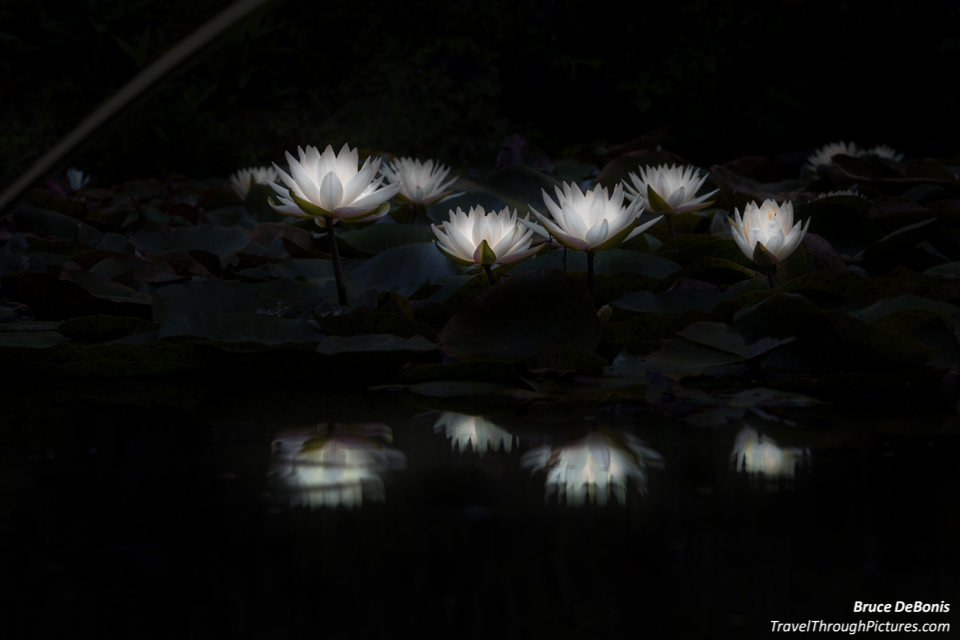
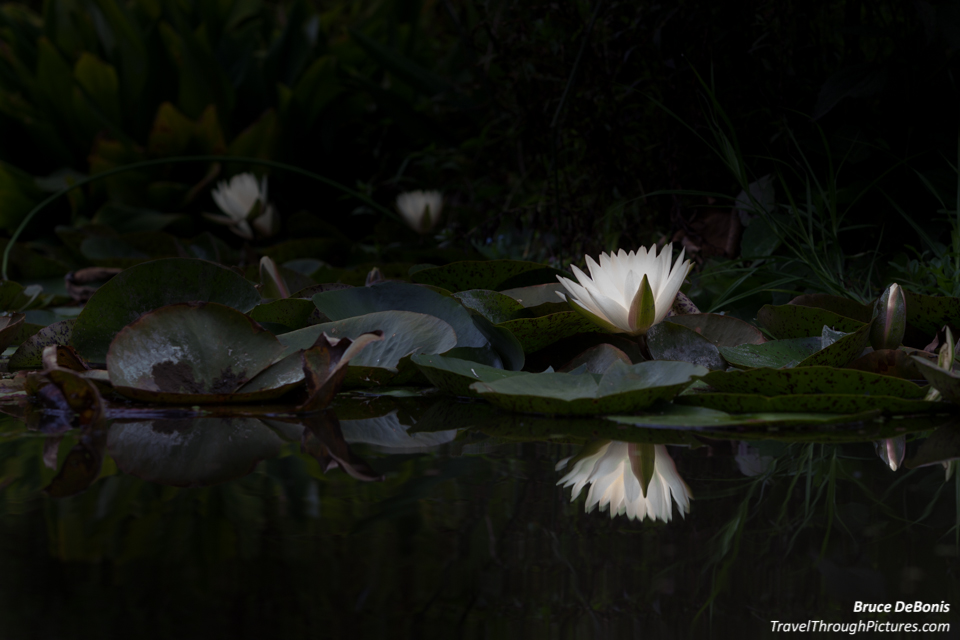
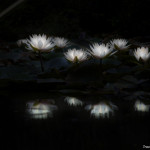
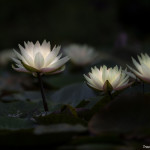
Back at my favorite pond in mid-August, the water lilies are sprouting. So, down on my knees, spine disc bulging and inflamed, I took more of these darned flowers. Click here for my first set of water lilies and a funny story.
To get these shots, I did the same as the first set, I rested the camera on a rock, used a polarizer to knock out water glare, and tweaked these up in software using Light Room 5.
This year, there were quite a few more annoying pedestrians around than last year. When they see a geek with a camera “buns up kneelin’” looking like a dopey dog lapping up pond water, well…. they start gathering around. I just pay them no mind and keep on doing what I am doing; after all, I was “in the zone” and having fun.
Aperture Setting
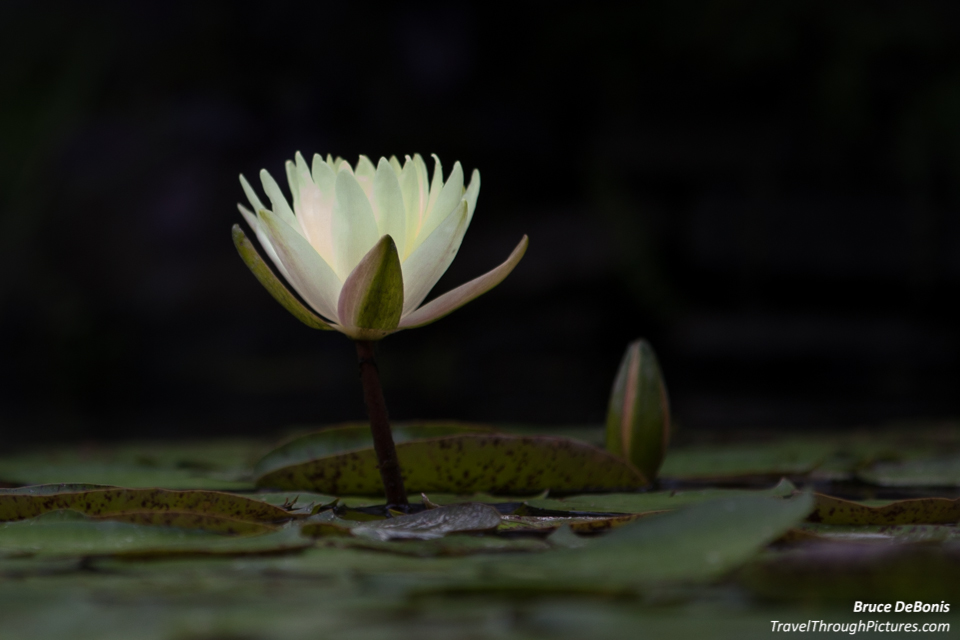
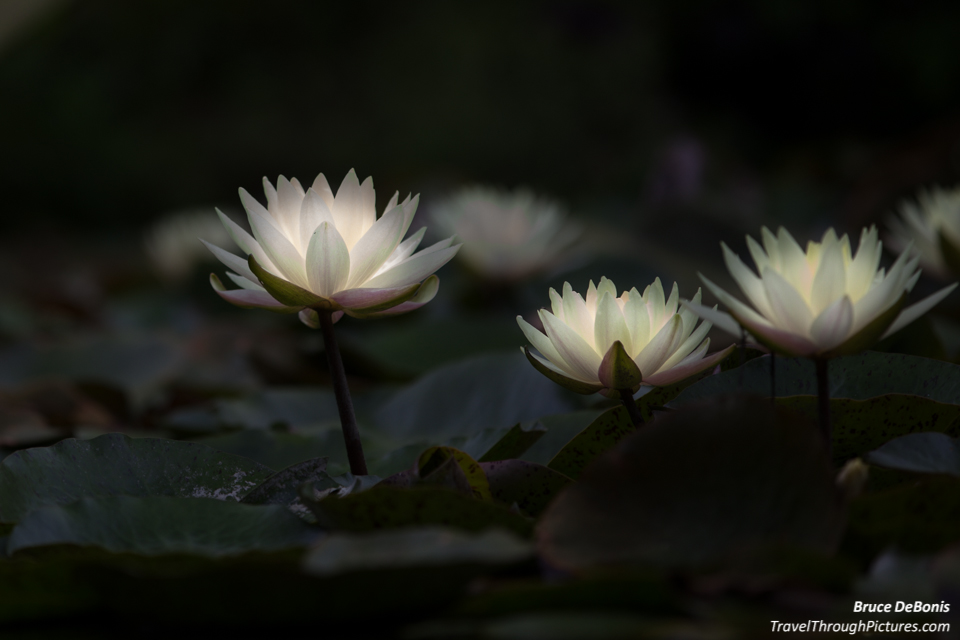
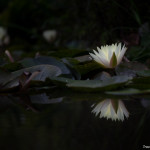
First, I start out in aperture priority mode using my standard settings. Then I tweak the aperture. Since I set my camera on a rock and therefore it was steady, I didn’t care about what shutter speed the camera selected. To get a dreamy, out of focus look, I used the widest aperture setting my camera and lens would allow for (smallest f/number). Just make sure you focus your camera on the flower you want to be your subject so it is the sharpest thing in the frame. If there were a few more flowers I wanted in focus, I stopped the aperture down a few clicks to increase the depth of field (what is in focus) to grab them.
Stopping the aperture down (higher f/number) has the nasty consequence of sharpening the background and you start to lose that dreamy quality so I always take about four shots at different settings. Then, in software, I choose the best one that balances focus sharpness and dreamy out of focus backgrounds.
Use Back Button Focus Only
To get your camera to focus only on a single flower can be tricky with all of the automation the maker’s marketing department demanded. To get the camera to do what I want, I turn off all the auto-focus points and select center point only. Then, I always have my camera’s focus initiation set to Back Button Focus Only (this goes by different names depending on the camera so it may be tough to find in your camera’s menus). This setting turns off focusing that normally happens when you press the shutter, and turns on focusing from a button on the rear of your camera. Now you aim your camera’s center focus point on the flower you want to be sharp, press the rear focus button and grab focus, release the button, and now recompose the shot. When you finally press the shutter, the camera will not refocus and no matter where the flower is in the frame, it will always be quickly identified as your subject, sharp, and in focus.
Before and After
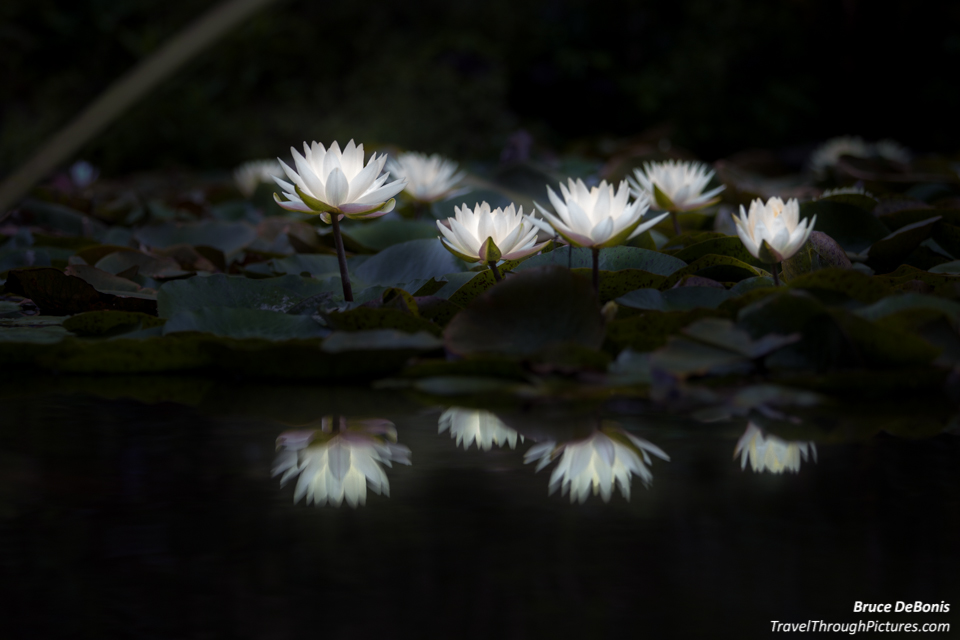
To give you an understanding of what the shots looked like out of the camera, and then how I manipulated them in software I show you the before and after pictures below. My general tweaks in software consisted of straitening, cropping, overall darkening, and then lightening select blossoms using the brush. Occasionally, I would use the brush to darken or blur some of the background that was intruding into the dreamy scene I was trying to create. I am definitely getting more proficient using Light Room and developing a better eye for tweaking as I don’t think I spent more than five minutes working on each photo.


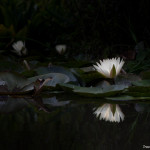
The light
My favorite light for shooting flowers is on an overcast, near rainy day at midday when the sun is brightest. Sunny days are awful for shooting flowers… click here for why.
The Equipment:
- Canon 5D MkII
- Canon 70-200mm L f/2.8 IS II
- LightRoom 5

