


Home Studio: Orchid
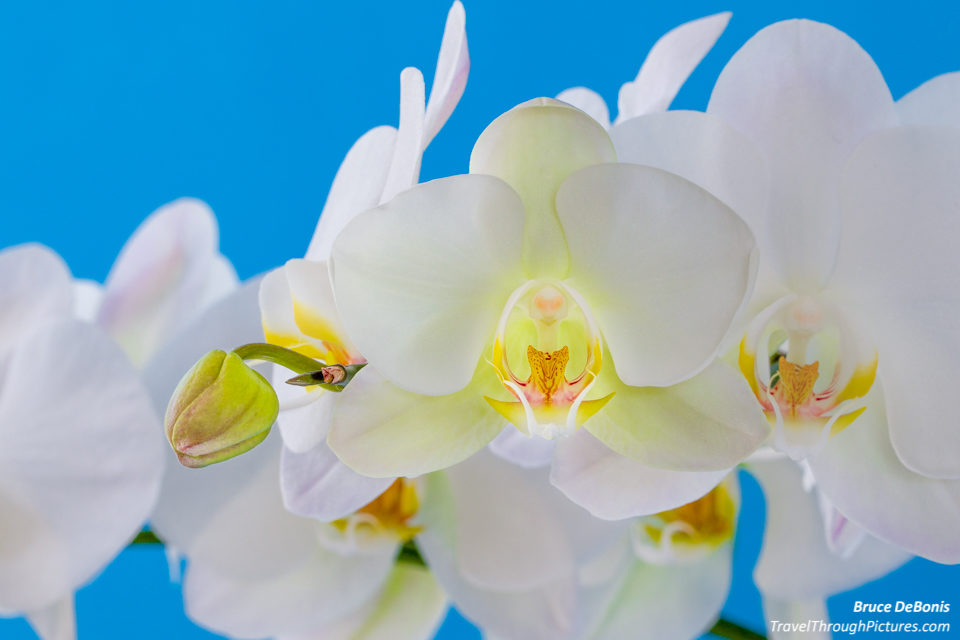
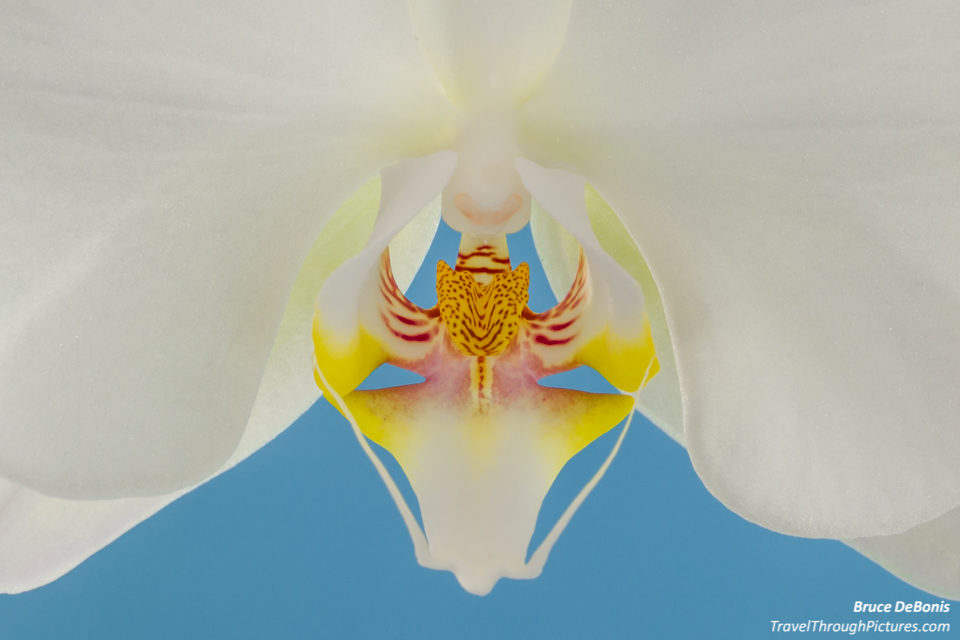
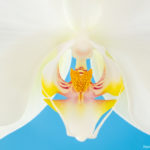
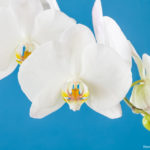
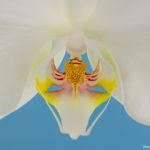
These photos look goofy. Real cartoonish. This was not my intent and I almost trashed them. But, someone said they were cool…. and given I am so shallow and weak, I now have to share them with the world.
I purchase some cool studio equipment and took it for a spin one afternoon. Hmmmm…. too late to get my money back. Read here about my buzzed adventures in the B&H photo megastore in New York City after belting down a few…. very dangerous indeed.
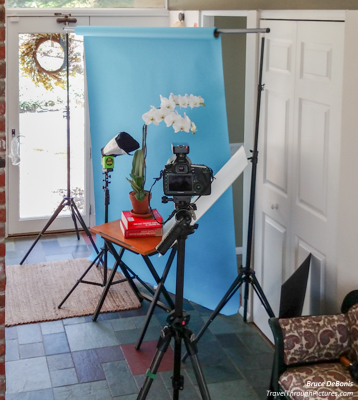
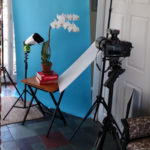
 The Setup
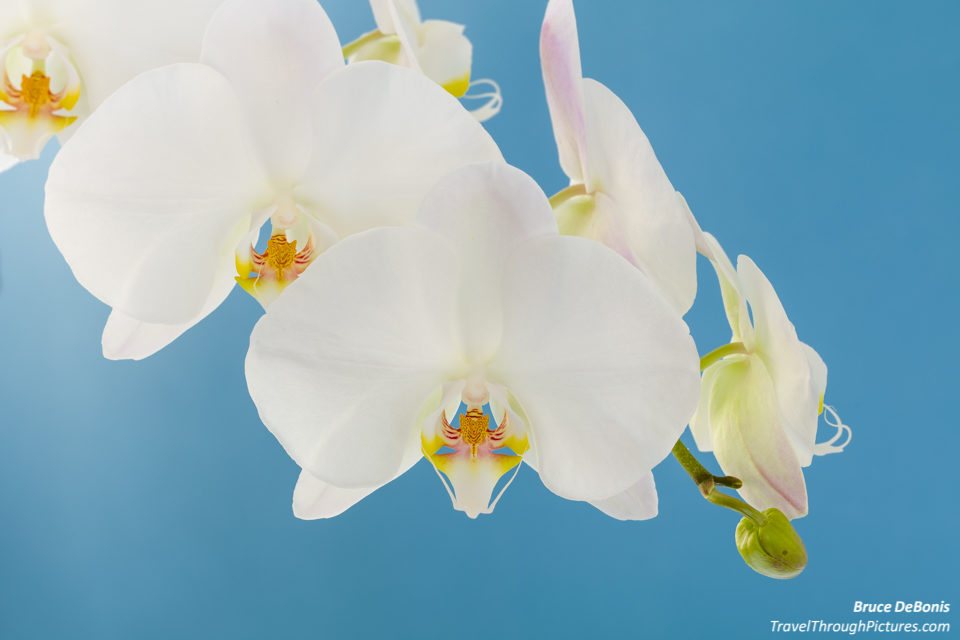
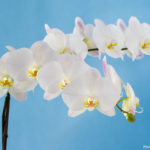
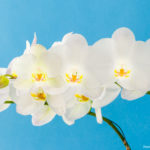
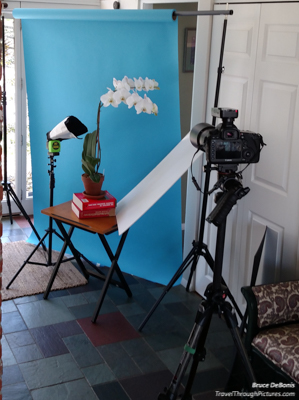
I just love backlighting flowers so I tried a mix of natural and fake flash light. I set up my paper-roll blue background near a large window where bright natural light was streaming in and lighted the flower from behind. Now I get creative … actually I had a few beers …. and set up flashes to provide fill. That white foam board I used here to provide reflective light for shadow fill is one of the most valuable and cheapest pieces of gear I own – highly recommended.
I am not going to tell you my logic as to what I put where because I had no idea what I was doing. This was all experimental. I worked hard on this setup and just could not make it work. I suspect the pure white flower had something to do with raising the difficulty level way above my reach. So, chalk this up to the “I learned me something” category of time spent. Despite the results, I did have some fun.
Camera Settings
You gotta go manual… don’t be scared, just experiment. The settings:
- ISO 200 – very good quality at ISO 200, no need to go 100
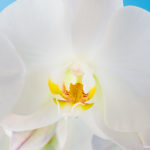
- f/13 – close it down to get deeper depth of field so the near and far parts of the flower stay in focus
- .3 sec – vary the shutter to get the correct exposure
- Flash settings – heck, I didn’t know what I was doing and set them all over the place
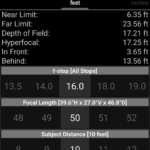
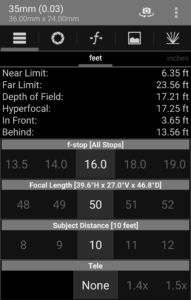 To determine the aperture of f/13, I use “DOF Calculator” app on my Android by Cunning Dog Software. This is a fantastic app where you enter your camera model (5DSr), the focal length of your lens (100mm), and the distance from your subject (varied). Now you need to take a measurement of the distance between the farthest and nearest points on the flower you want in sharp focus. It is thin, usually less than one inch. Enter this number into the app and it will tell you the f/stop you will need to achieve sharp focus within this distance.
Enter this information into your camera, then fire a test shot. Too dark? Then slow down the shutter.
The Equipment:
- Canon 5DSr
- Canon EF 100mm f/2.8L Macro IS
- (2) Canon Speedlight 580 EXII
- ExpoImaging Rogue FlashBender Large Positionable Reflector
- Manfrotto 190 CXPRO4 tripod
- Vanguard GH-300T Pistol Grip Ball Head
- LightRoom 6.latest
- Raya EFS-24 Easy Fold Softbox Set
- Savage Widetone Seamless Background Paper (#31 Blue Jay, 53″ x 36′)
- Yongnuo YN-622C II E-TTL Wireless Flash Transceiver for Canon
- Impact Background Support System – 12′ Wide
- A white foam board from Michaels Crafts
- DOF Calculator by CunningDogSoft

