


Well for a screaming amateur like me, talking about art is a bit of a stretch. Heck talking about photography is a stretch for me too but after a few beers, I’ll talk about anything. Ok, now that I have a few Pilsner Urquells in me, let’s talk about taking pictures and making art.
Update 1: Click here for another blog entry for making art using backlighting.
Update 2: Click here for more on DOF with examples.
How To Make Art: Beer and Rock N’ Roll Music
Yep, that’s how to make Art, Beth, or Bobbie. Just drink too much beer and crank up the tunes. Pretty soon you’ll throw caution to the wind and will be making all kinds of mistakes. C’mon, do you think any of us would be here if it weren’t for alcohol and loud music? Now today, you can even take pictures while making Art…. but I must stop there and just get to the picture taking part of it…. the art part of it that is.
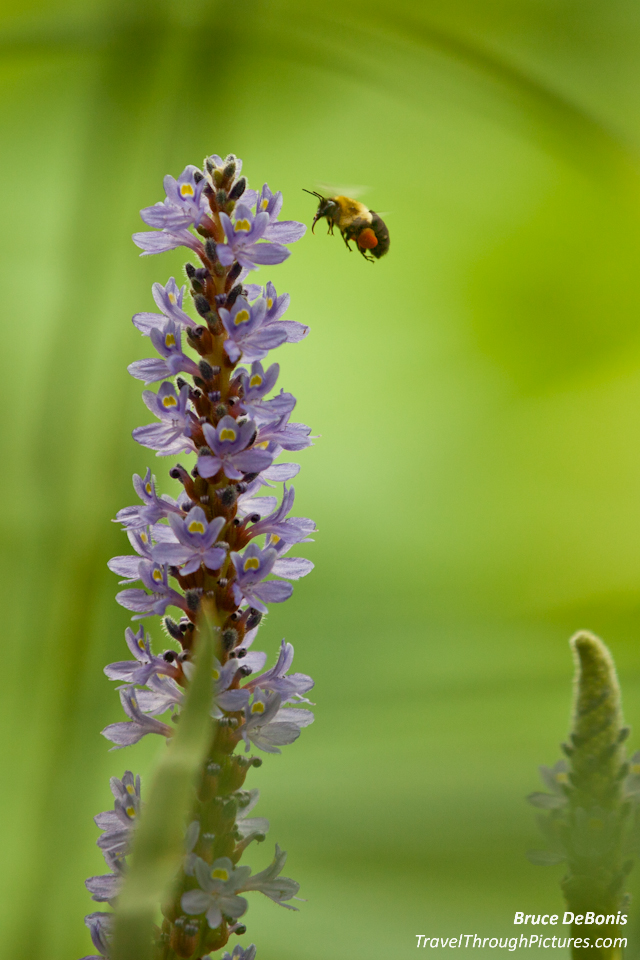
So you’ve seen a great photo that clearly isn’t a picture but is art. How do they do that? Well I am still trying to figure that one out but I can share a trick with you. Try shooting with a very shallow depth of field or DOF for short. DOF is how much of your photo is in focus in front of and behind your focus point. A shallow depth of field means that you are blurring the background and foreground leaving just your subject, or a portion of your subject, in focus. Coooool. Yea, that’s gonna be art. Seriously, this is one trick to elevate your picture taking to being something a bit more special than just a snap shot. All you have to do is take your camera out of that green automatic mode and exert some control over that piece of expensive technology. “Ooooooo scary….. but I like auto mode” you say. Don’t worry pal, it can be done and be done safely. Beer helps.
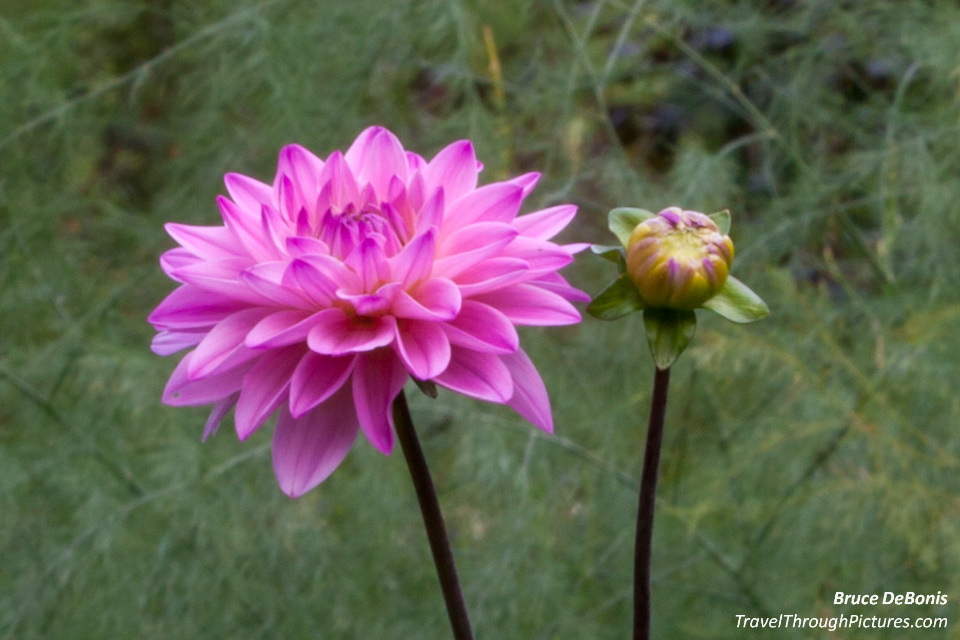
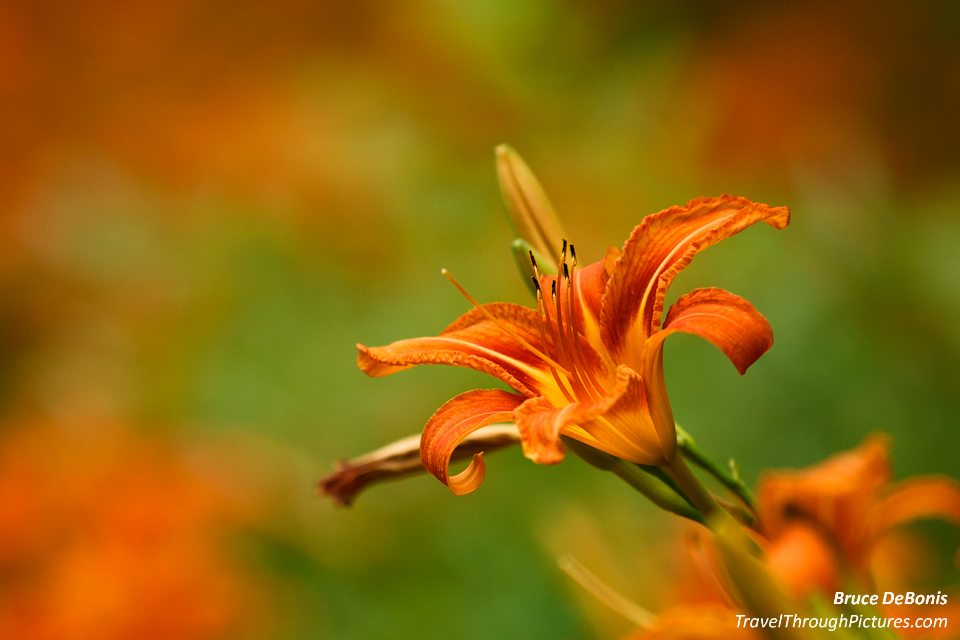
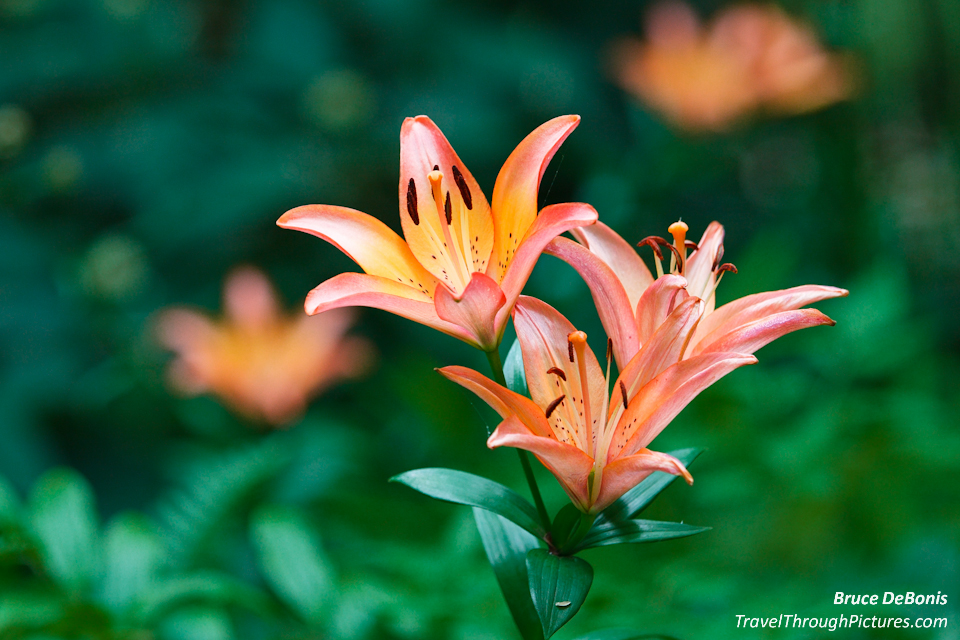
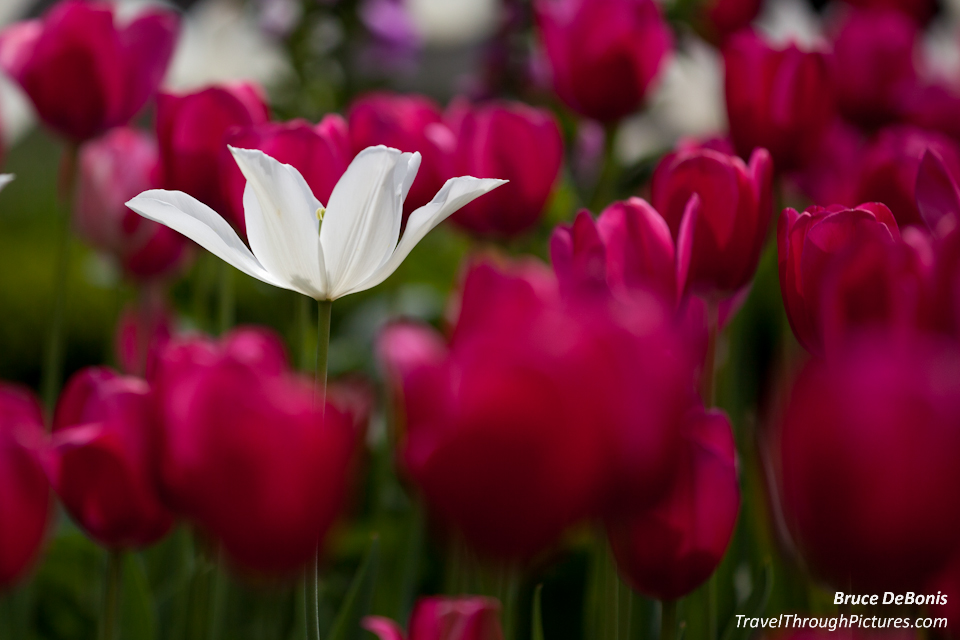
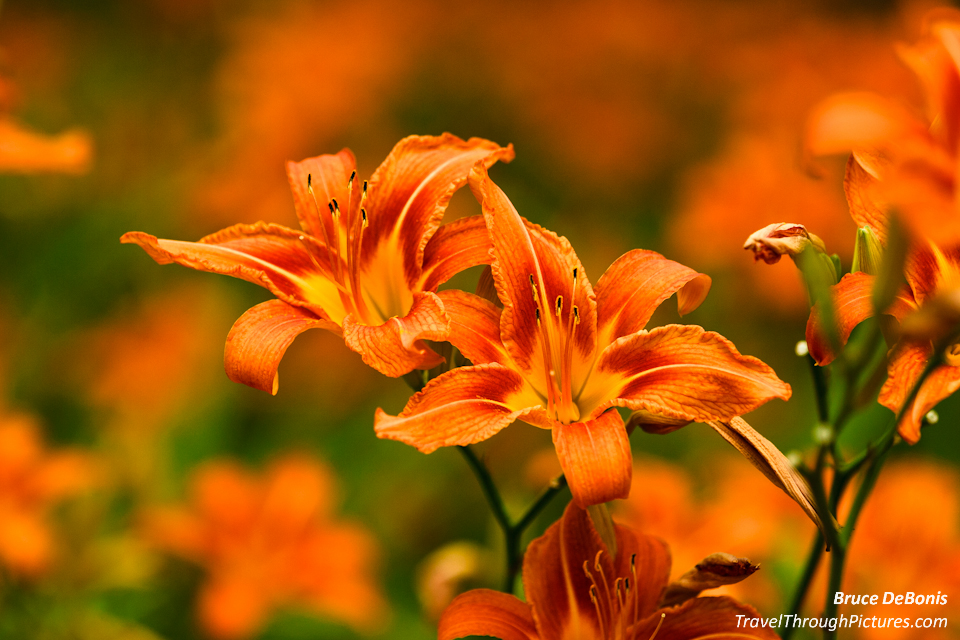
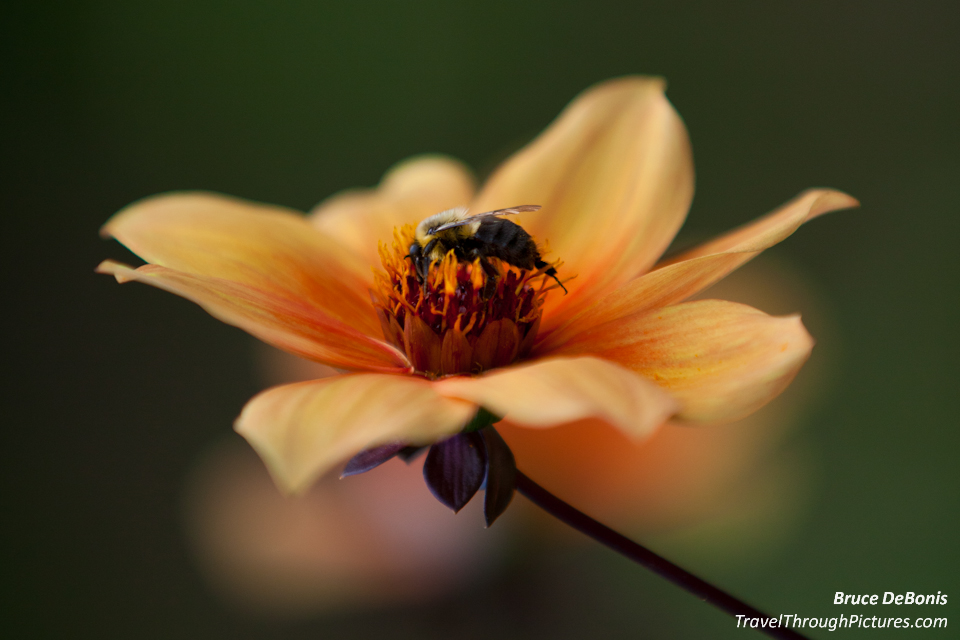
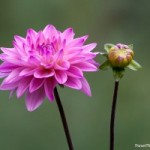
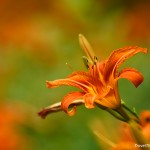
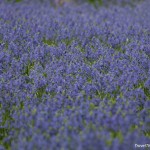
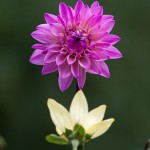
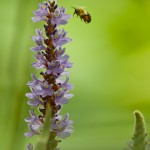
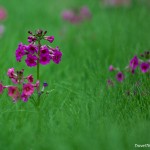
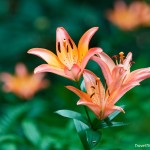
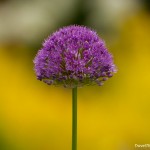
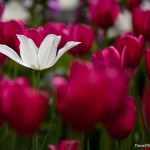
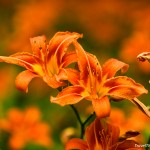
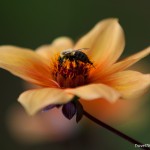
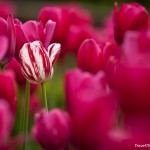
I really like some of my pics above but do I dare say they are art? You decide if they are or not but I like them. My mom likes them too so there, they are art. Another obvious trick to taking arty pictures is to shoot flowers. You almost can’t go wrong as their colors are amazing and you can shoot a bunch of shots from different camera and lighting angles and then select the best from the lot. Using compositional approaches such as the rule of thirds and paying attention to the light source are critical factors in making art as I did in these photos, but for this little article, I am focusing on just a thin slice of the art subject, shallow DOF.
How to Get Shallow DOF: Set for the widest aperture possible.
Ok, here we get technical. Sorry, you gotta learn your camera and some of the technical aspects of photography to get these types of pictures. I will try to keep it simple. Follow these steps and you should have shallow DOF:
- Put your camera in Av or Aperture Priority mode (c’mon, take it out of that automatic sissy mode)
- Set your ISO to 200. This is a good starting point for high picture quality and despite what camera manufactures claim, I don’t think pictures look good above 800. Why not 100? To be honest, I can’t tell the difference in picture quality between 100 and 200 on my Canon cameras and 200 doubles your shutter speed over 100, so 200 it is for me.
- Set to the widest aperture. Spin your wheel, usually the one next to the shutter and set the camera to the widest aperture. This will be denoted as the lowest (or smallest) f/stop number possible for your camera and lens combination. Now I admit it, this gets confusing here because lens apertures are denoted as f/stop numbers, and smaller numbers mean wider apertures. Just accept it. Memorize it. I’m sorry about it. Smaller F/stop = wider aperture = shallow depth of field.
- Zoom to just under maximum zoom. If you have a zoom lens, I like to put the lens just under maximum zoom, then move my body to compose the picture. I do this because I think the pics look better this way and you get a shallower DOF. I don’t go all the way to max zoom because most lenses are at their worst performance at their extremes so I pull back just a midge. Getting super sharp images at lens extremes is what you pay for with those super expensive lenses but you can improve your inexpensive lens performance by just pulling back a bit.
- Compose your photo, press the shutter half way and see what shutter your camera calculated for a good exposure. I found that anything under 125/sec when shooting flowers for me is risky because I have really shaky hands. Even though my lenses have image stabilization (aka vibration reduction) I still try to shoot faster than 125/sec. Not enough light to get a faster shutter speed? Then bump up your ISO to higher number. Remember, doubling your ISO will double your shutter speed but you may lose picture quality. As I noted above, 800 is as far as I will go.
- Snap the picture. Then snap another one. Then another one. Then spin your wheel and close down your aperture a few stops and take a few more. This is so you can compare the various aperture settings. I bet you will love the widest aperture settings.
- Ooooo…. Did I take that picture? I think I just made art! And I don’t have to make conversation afterwards.
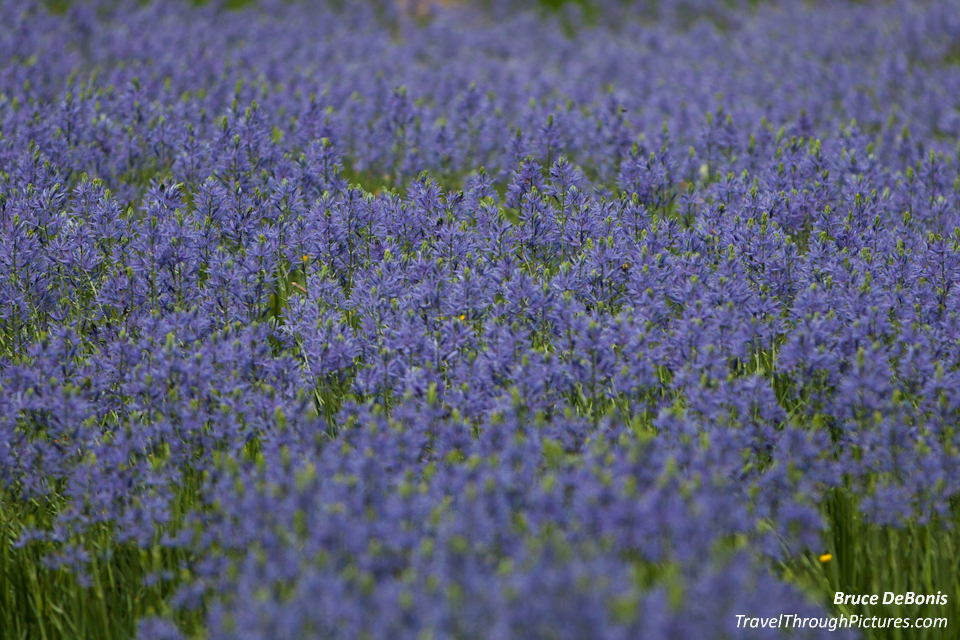
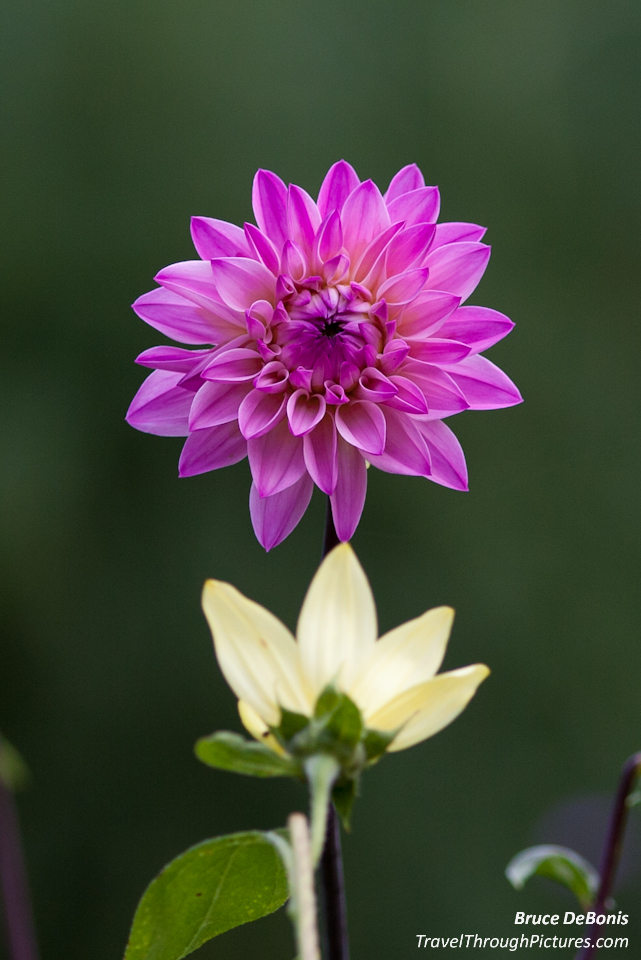
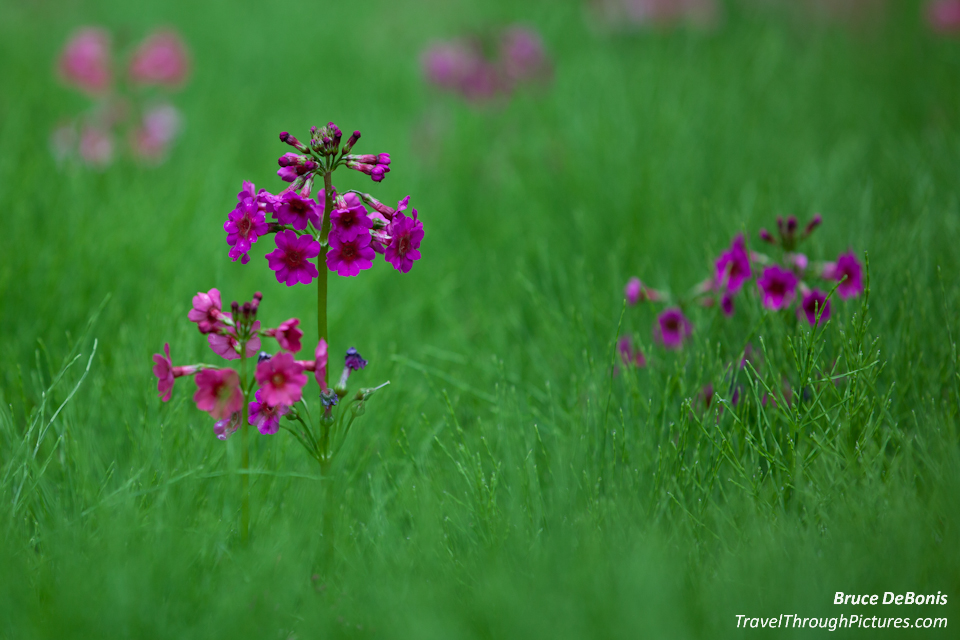
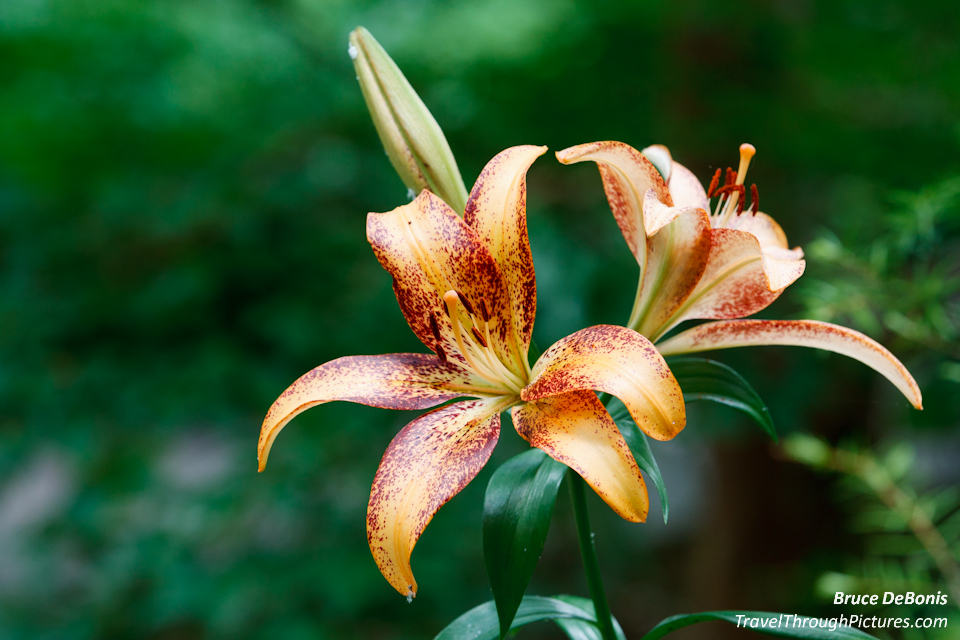
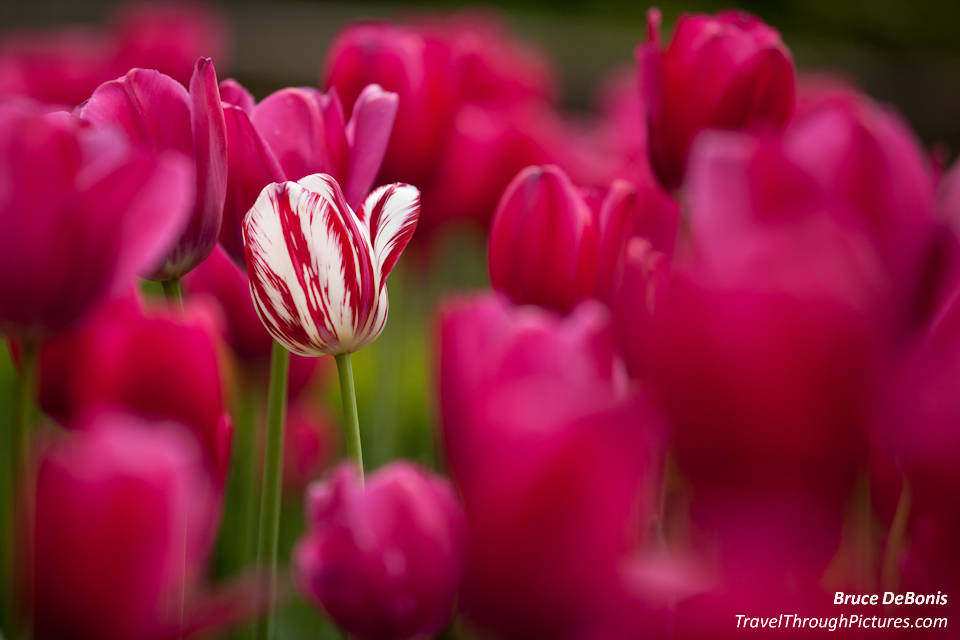
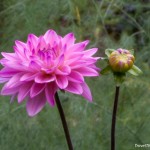
Shallow vs Deep DOF
In the two photos here, you can see the difference DOF can make. A shallow DOF just makes the photo look better. I set the first picture to a wide open aperture of f2.8 and the camera set the shutter at a fast 1/800 sec. I set the second picture to f/32 to get the background more in focus and the camera compensated by setting the shutter at a very slow 1/6 sec. Remember, when you close down the aperture (a higher f/number), you allow less light into the camera. The camera then compensates for this loss of light by slowing down the shutter.


There Is An App for That!
Read more about DOF and an app I use on my Android phone in my article titled “Terns in Love”. Yes, there is an app for calculating DOF.
For a bit more on DOF, click here for some pretty tulips.
The Equipment:
- Canon 5D MkII
- Canon 70-200 IS f/2.8 II lens set at full 200mm zoom
- Canon EF 12 II extension tubes (to enable close up focus)
- Manfrotto 190CXPRO4 tripod with a 222 pistol ball head
Homework Assignment: Shoot water glasses
Learning about DOF and your equipment is actually pretty easy. Just set up five water glasses on your kitchen table and shoot some experiments. Turn on all your lights or use streaming sunlight but don’t use a flash. Set the glasses up one in front of another about 12 inches apart. Shoot them at an angle focusing on the center glass. Spin your adjustment wheel and shoot three pictures with one at widest, middle, and narrowest aperture settings. Pull them up on your computer and check them out. Then try different zoom settings and move your body away then near always shooting sets of three and always focusing on the center glass. Pretty cool eh?
Notes on apertures
Most lenses usually open up to around f/4 at their max. You will notice that to get a zoom lens that opens to f2.8 you have to pay way more for it and the lenses tend to be physically larger and heavier. Again, to get the most, you have to spend more. It really is just based in the laws of physics and manufacturing costs. But at f/4, you should get great results. Give it a try.
If your lens is specified to be something like f/4-5.6, this means that your widest aperture varies with zoom. At its widest zoom, and your camera set for the widest aperture, you will be at f/4. Notice that as you zoom this lens, your aperture will decrease to f5.6 at max zoom. For this type of lens, don’t fret, just do some experiments in your kitchen to learn the lens and what it can do at its various zoom settings. But again, the reality is that spending more on a lens usually improves your ability to get shallow DOF.
Depending on your lens, where you set your zoom, and how far you are away from your subject, the in-focus part of your DOF can be very thin and may actually ruin your picture. For example, you may shoot a face, focus on the nose, and the eyes and rest of the face may be out of focus and the picture is ruined. So, a tip is to focus on the eyes of a person or animal, or in the middle (near to far) of your subject thus maximizing what is in focus. Remember, your focus point is but midway of your DOF. But it is best to practice and learn.
 Click here to read about my super secret settings and getting your camera out of Automatic Mode.

