


Luray Caverns and High Dynamic Range Photos
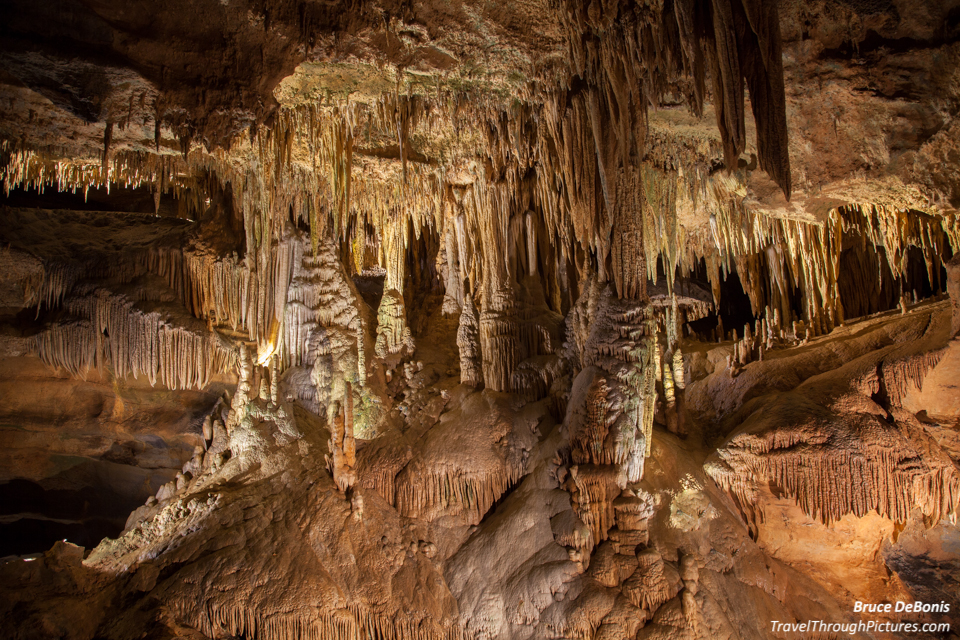
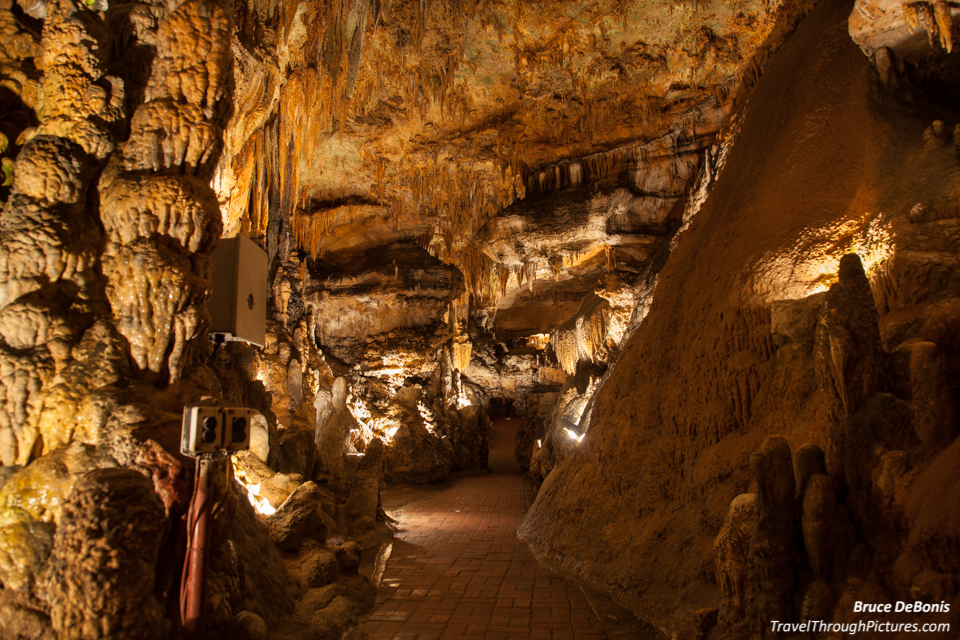
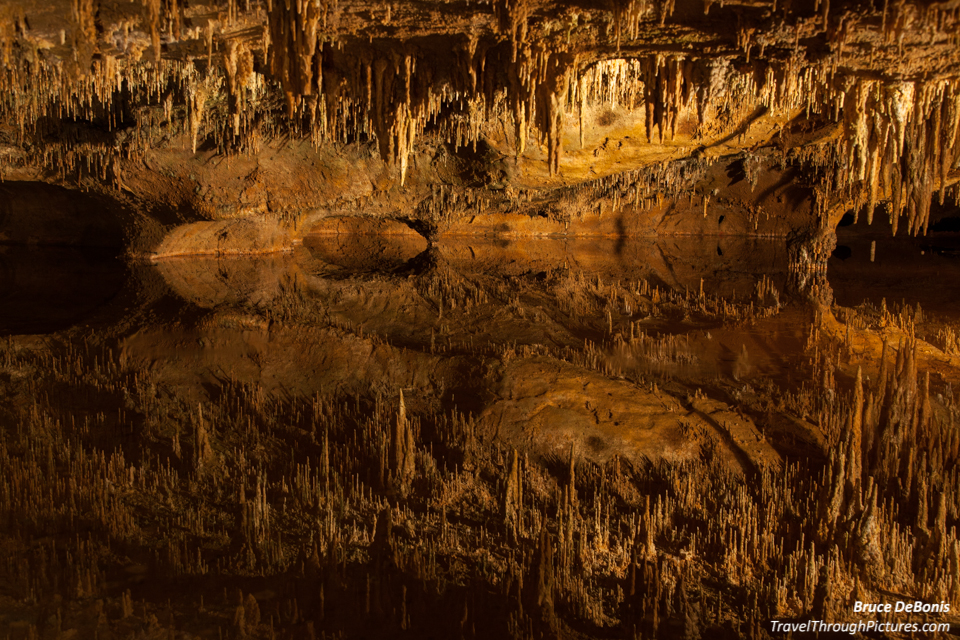
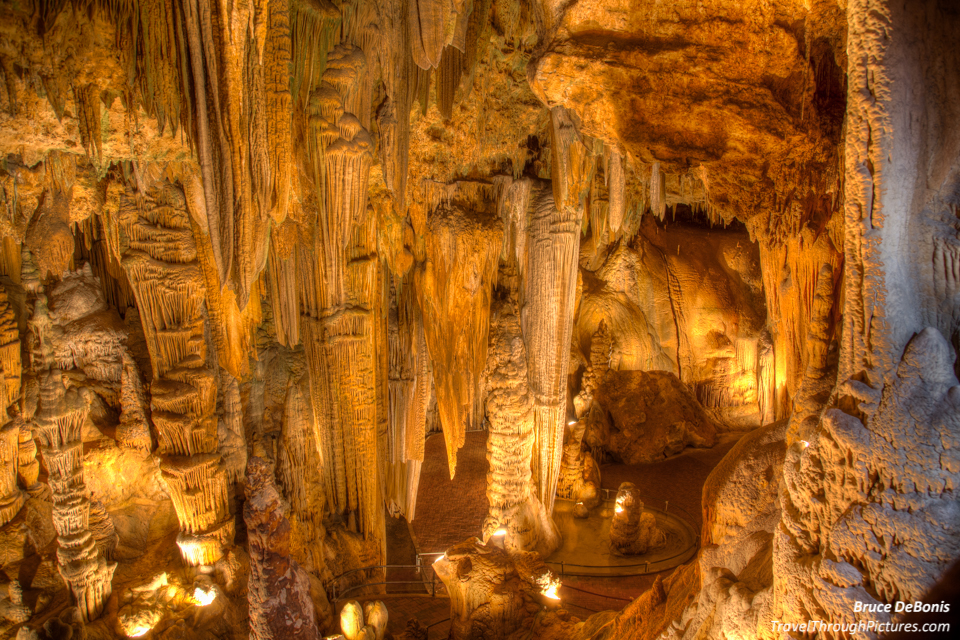
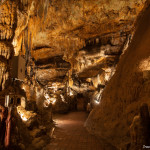
Luray Caverns are really magnificent caves located about a 1.5 hour drive west from Washington DC in Luray VA and just on the west side of Shenandoah National Park. These caves are really cool and quite expansive. They are well worth a visit.
They were discovered in 1878, passed through various owners, and now owned by the Graves family. This family has owned the caves for a few generations now and is currently embroiled in deep deep turmoil and infighting including harsh lawsuits with each other. Great. They’ve been given a gift that we can only dream of and they are screwing it up. Oh well, the caves were there way before them and will be there for a long long time to come.
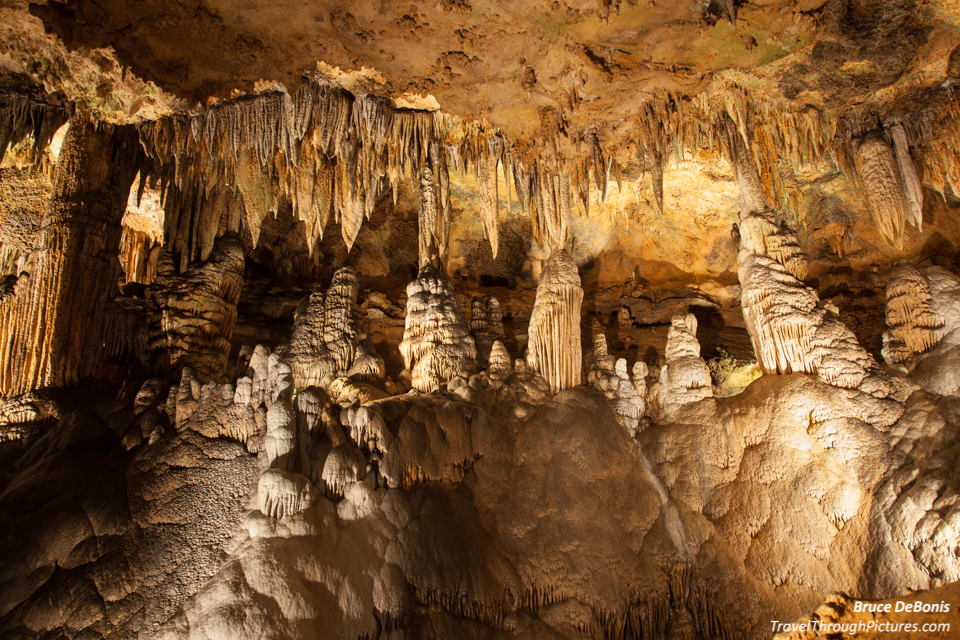
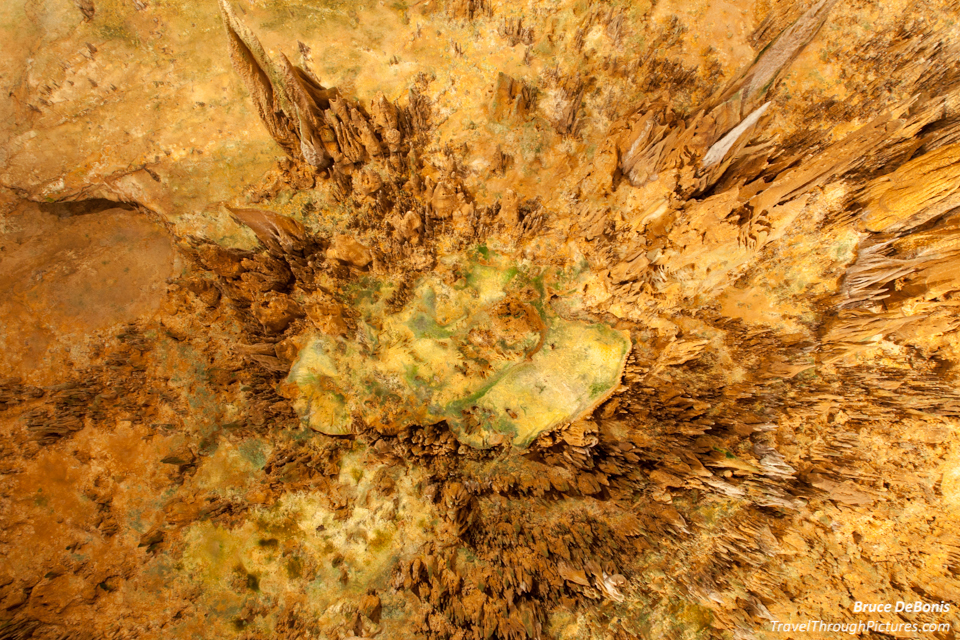
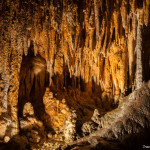
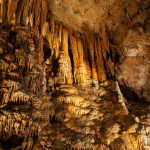
The caves got some cool speleothems. What, never heard of a speleothem? C’mon, sick that day at school? Well alright, I will tell you what a speleothem is: a cave formation. Yeah, that’s all that big word meant. Said another way: rock.
I stopped into see the caves on Memorial Day weekend along with ten thousand smelly, unwashed tourists and their rotten screaming kids. I waited in line for about 45 minutes dreading what I thought would be an awful experience. I almost turned away but glad I didn’t as the crowds thin out down there and you can actually do some cool photography. I even got to try out some High Dynamic Range imaging (HDR); the first time HDR actually worked for me.
Cave Trolls
Nope, no cave trolls.
Buried Aliens
Darn, no buried aliens.
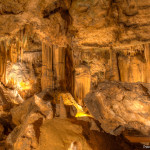
Rock
Yep, plenty of that.
How to shoot in a cave
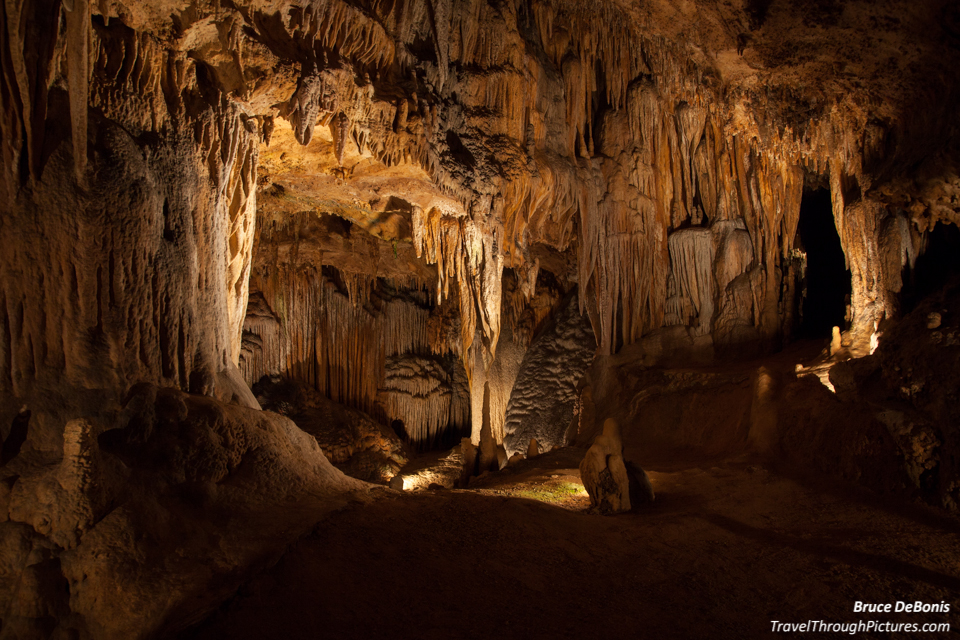
Well, I guess now I am some sort of cave photography expert. I guess you really need to know how to shoot cave photos eh? Gonna shoot some pictures in cave this week? Well your timing could not be better. Cave shooting is actually pretty tricky as the caves were generally dark and lit by bright lights smattered about the cave. So, in every shot, you had parts both way too dark and others overexposed. So, what to do?
I always start with my camera in my standard settings and pretty much didn’t change them other to experiment a bit. See the settings here. Then, using a tripod, you really need one for cave shots, I fire off a test shot and look at the picture on the camera’s LCD screen. If any parts are over-exposed such as where the lights were, I adjusted the exposure compensation negative to darken the shot. On the camera LCD, hot overexposed areas will blink (called “blinkies”) and the usual process is to darken your photo to get rid of them. But I ended up leaving some “blinkies”, or overexposed areas because when I darkened the shot, I was left with way too many underexposed or blacked out areas. I had to accept some of each. What is the correct balance? I just guessed. Click here to read more about “blinkies” and exposure compensation.
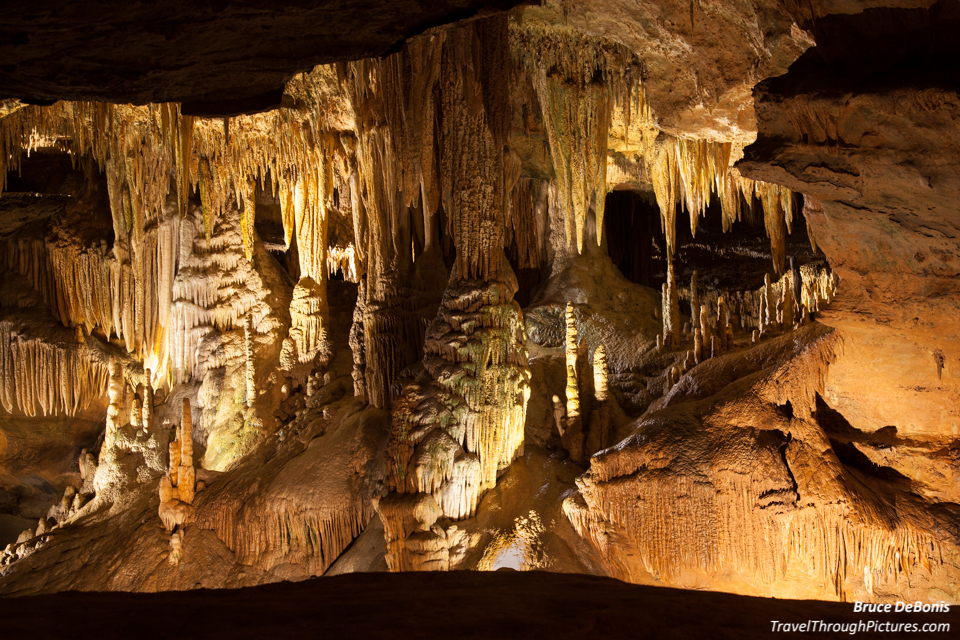
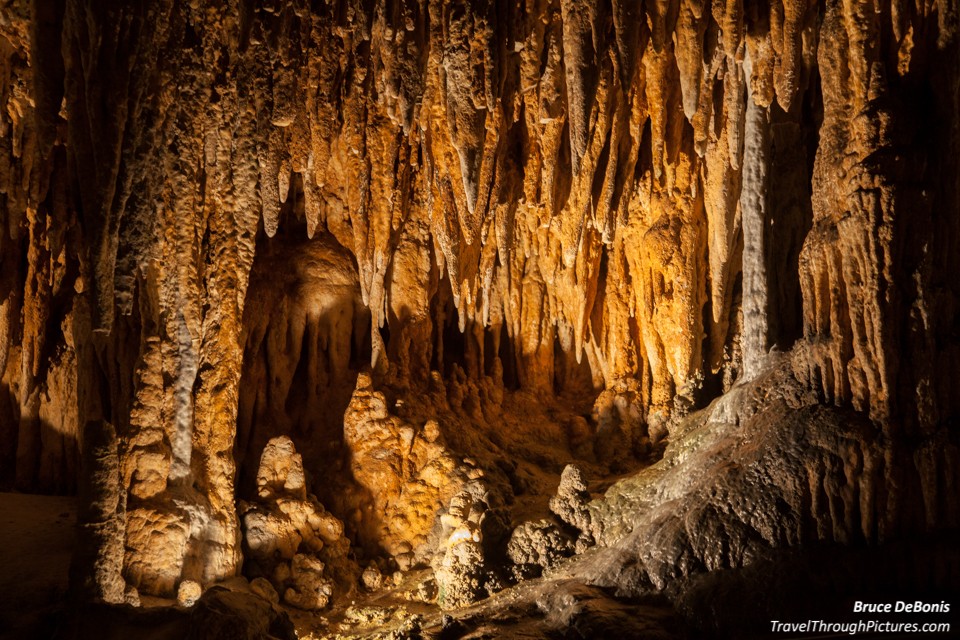
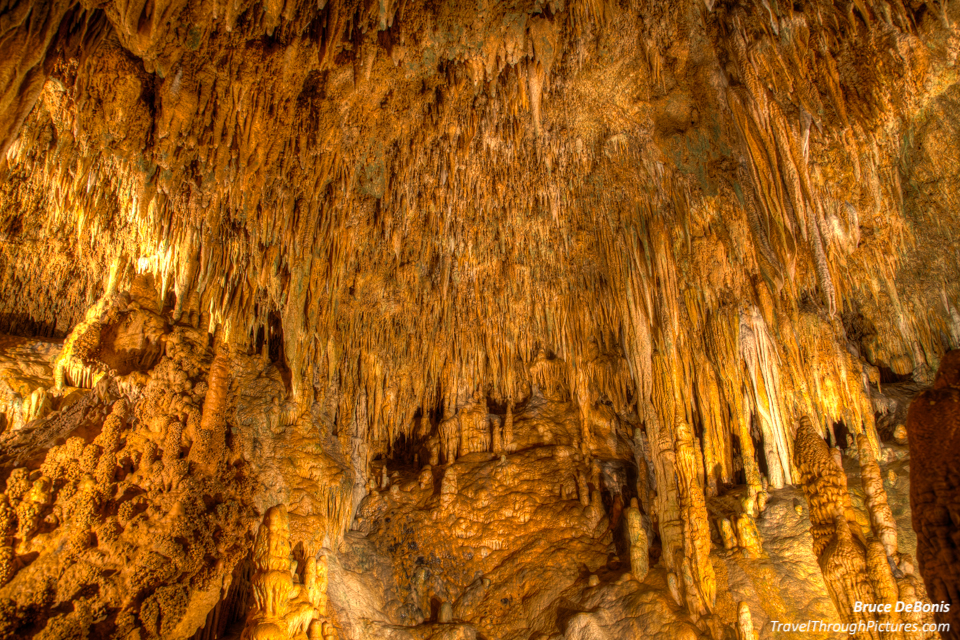
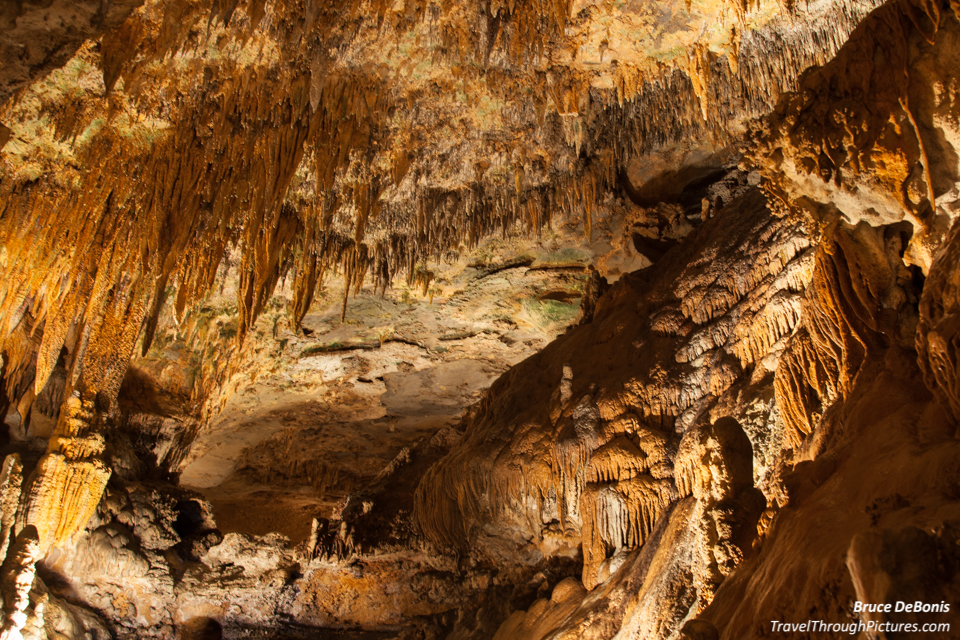
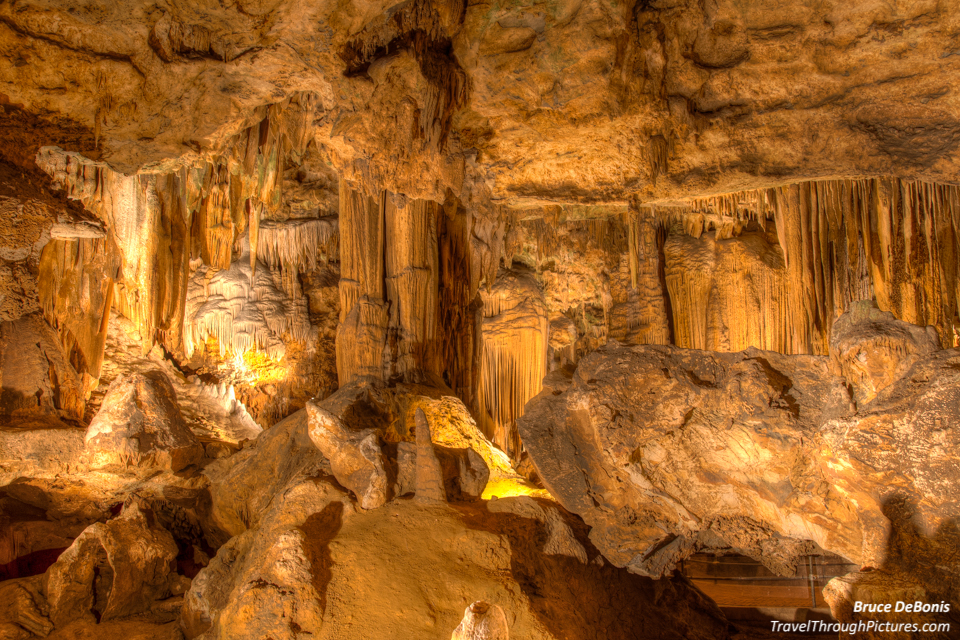
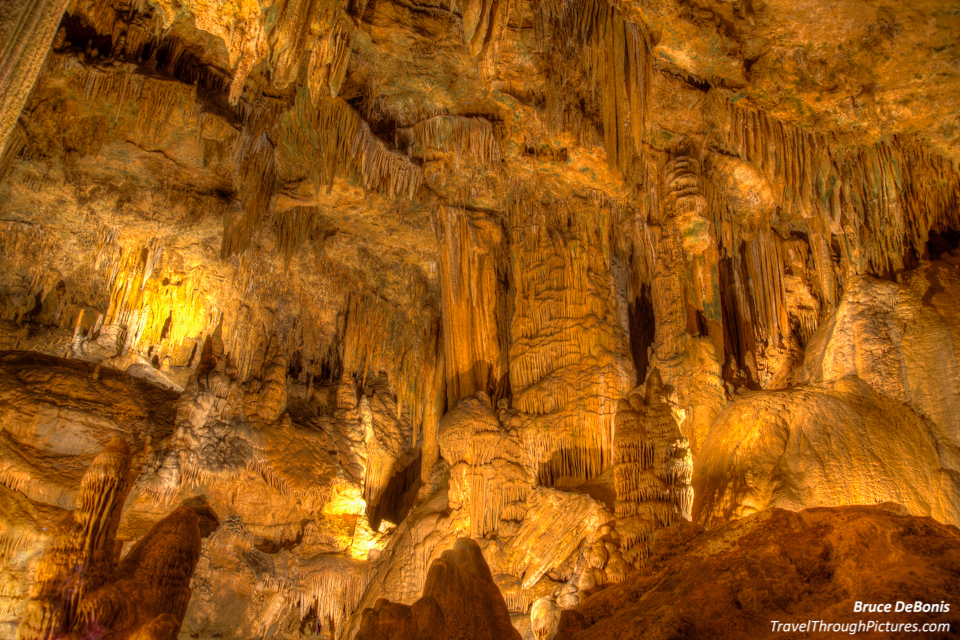
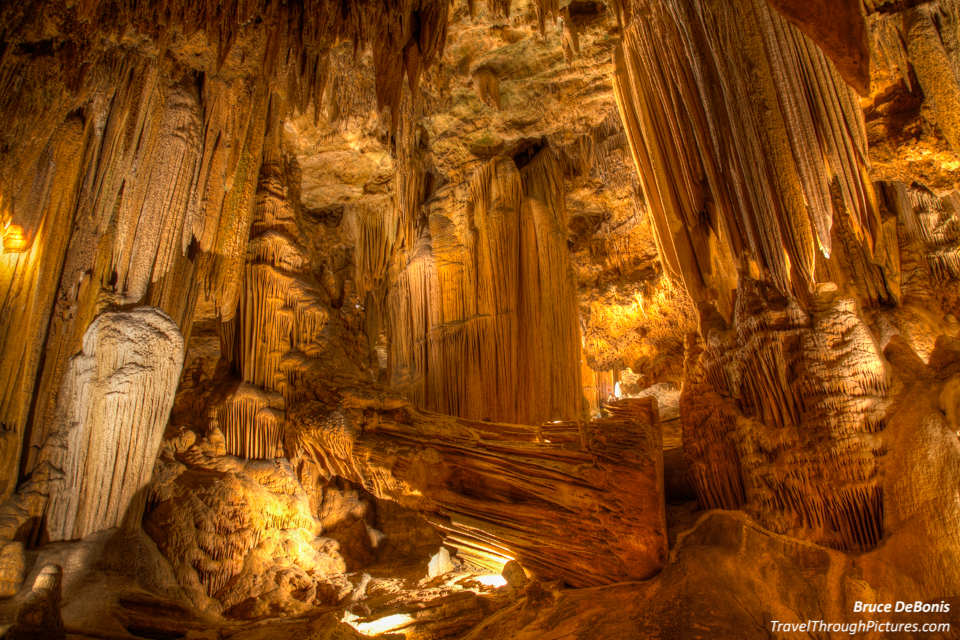
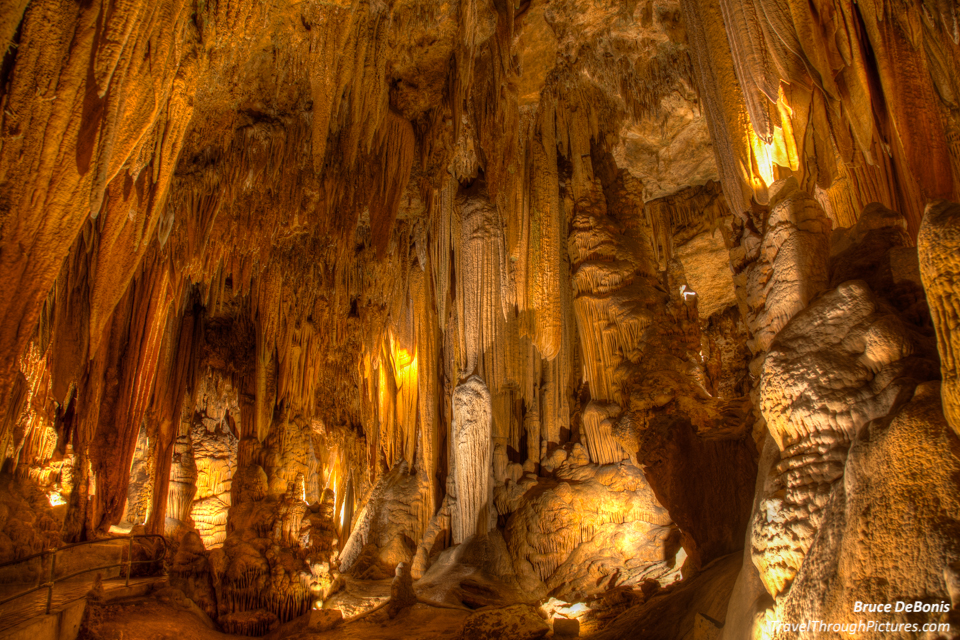
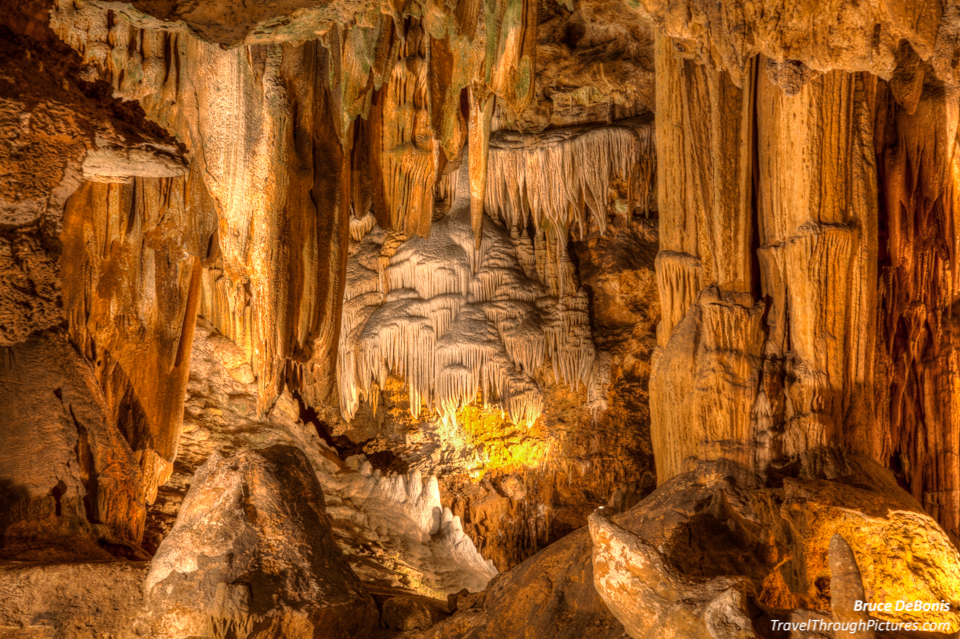
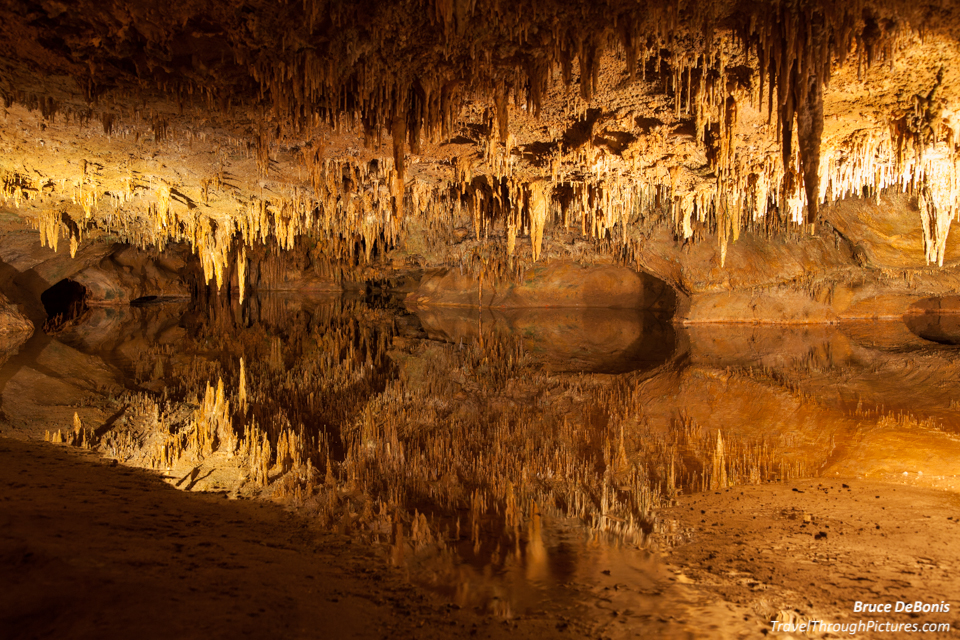
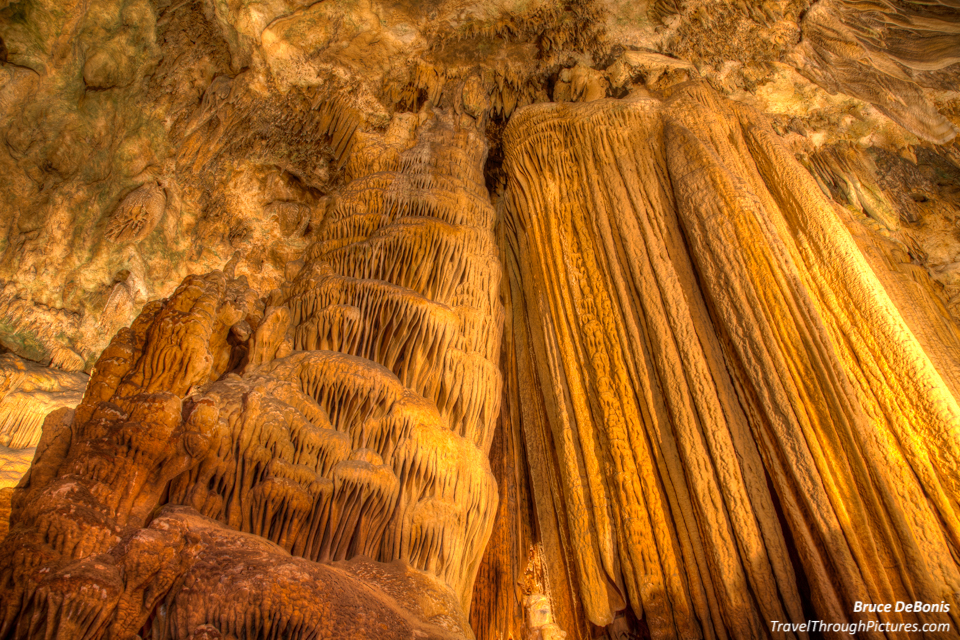
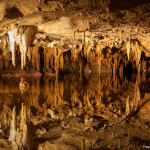
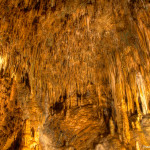
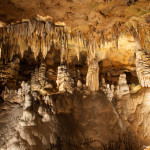
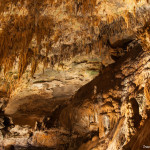
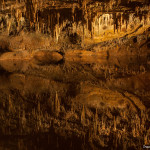
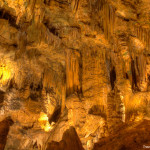
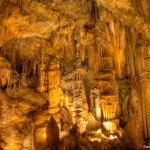
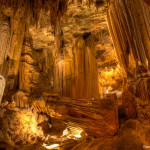
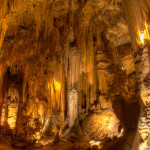
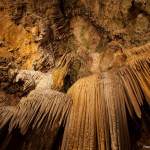
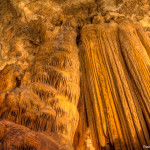
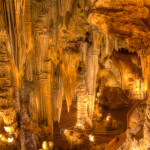
Near the end of the cave tour, it dawned on me that this cave place was the perfect environment to try out HDR photography! Duh! HDR not only produces cool pictures, but can improve scenes than contain these bright and dark problems. So I shot the last ten shots in HDR. These shots are the dramatic, golden ones that start out the slides above. You can easily tell which are HDR and those that are not. The HDR pics jump out at you golden and glowy like while my best attempts with regular, single-shot photos left the pics dull and dark in comparison.
HDR – Take three pictures to get one
High Dynamic Range (HDR) photography is a way to make a good picture when the scene has more dynamic range than your camera can handle. Dynamic range is the distance between light and dark. In camera sensor terms, that is full white (overexposed) to full black (underexposed). As I noted above, the environment had way to much distance between darks and lights.
So, with your camera on a very stationary tripod, you take three pictures. Don’t move the camera! One underexposed at -2, one shot with no compensation the way the camera wants to do it, and the third overexposed at +2. Then later on your computer, you use software to combine these three pictures into one, HDR, masterpiece. The dark areas are not so dark because the software uses one of the shots that has the detail for missing data. The areas that are overexposed are filled in from parts of the other pictures that are underexposed, again filling in missing data. It then does some magic stuff that I don’t understand but makes a new, single picture that looks great. Cool.
Bracketing
Shooting three shots the way I did is a technique called bracketing. Our cameras can do this magically for you. You can set your camera to fire off three shots in a row automatically changing exposure compensation… bang-bang-bang…. all with just one press of the shutter. I didn’t use this auto feature. Why? Cause I couldn’t figure out how to set the friggin’ camera up to do that in the dark of the cave!!!!! I had to take three shots and set the exposure compensation by hand each time. I am a dope.
Photomatix for HDR
Photomatix is a specialized HDR photo processing program that does all this magic for you. I had it for about a year now, played with it, hated it, and forgot about it. I just could not get good pictures out of it until now. What was different this time? I honestly don’t know why, but it worked for these cave shots. I think it worked because I had a tripod that shot the exact picture three times without movement between them. Photomatix will adjust all three photos if you moved the camera a bit, but…. I gotta believe this program has its limits and I think I pushed those limits when I tried it out before.
Photomatix has a plug in link to Lightroom 4 that works wonderfully (Pro version only). I do my processing in Lightroom, and when I get to three shots I took for HDR, I highlight them, and then click “export to Photomatix”. Boom! All of the sudden, I am magically transported to the dreamy, Wonka-world of Photomatix and there, my three pictures appear as a new one with all the great chocolaty goodness ready to eat. All automatically generated and near perfectly sweet. Really, it just worked. (I think I am hungry.)
Photomatix has tons of sliders and adjustments, but I didn’t use them. Unfortunately, there were no Oompa Loompas in Photomatix-ville to help, but they do have a bunch of pre-set processing buttons (Pro version only) and I just clicked through them and selected the result I liked the best. Then, there is a big button that says “Export to Lightroom”, and then Boom! I am back in Lightroom and there sits a new, wonderful HDR picture gleaming at me. Seriously, the process took literally two minutes to complete if that.
The shot on the left is a normal picture as the camera wanted it. The shot on the right is HDR-processed by Photomatix:
White Balance Correction – Truth or fantasy?
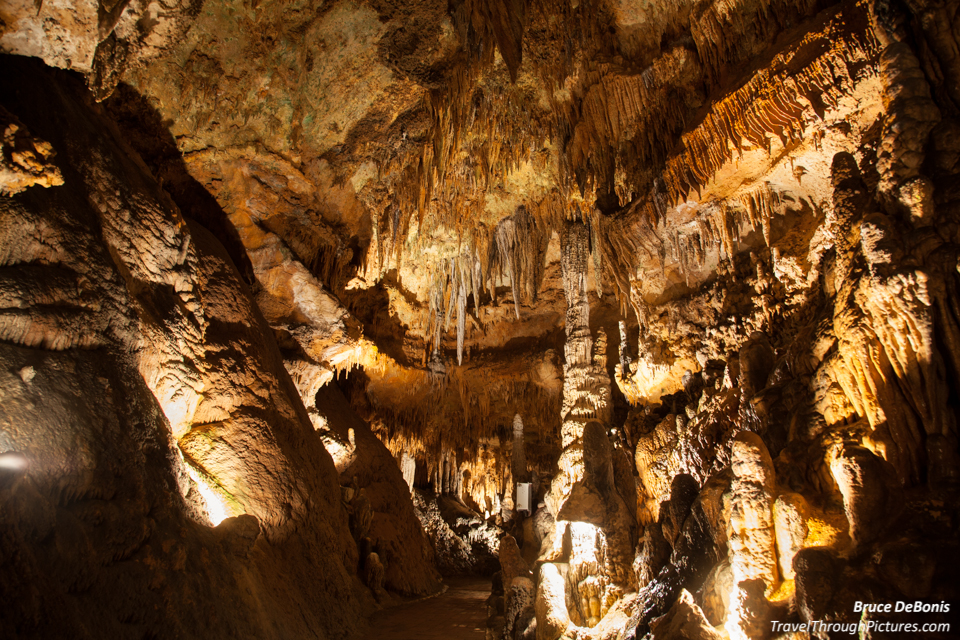
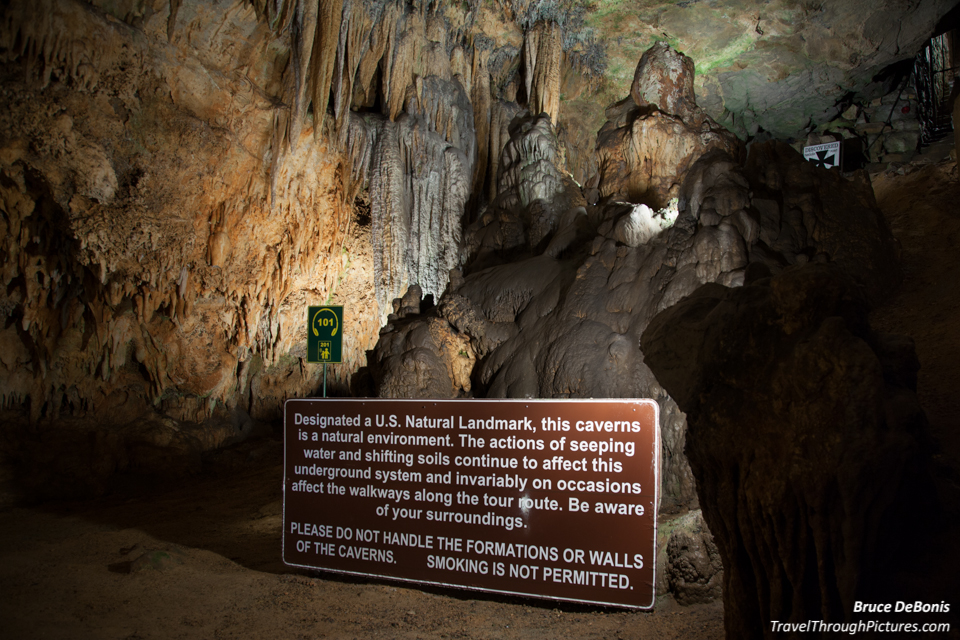
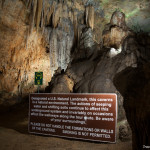
Being underground with the environment artificially lighted, the white balance (also known as color balance) is just no way near natural. I suspect the caves were lit with tungsten lights due to the orange/yellow cast all around. So what is the natural coloring down there? There are two ways to discern natural color: 1) shoot a shot with a grey card in the picture, or 2) find something in one of the pictures that you know has no color such as something grey or white and then adjust in software later. I didn’t shoot a grey card but I did shoot an announcement sign that had white lettering. So, in Lightroom, I used the white balance eye dropper and clicked on a white letter. Viola! ……. Yuck!
When I obtained the true color of the cave environment, it didn’t look so good. The caves actually looked better with the golden glow of those man-made lights. So, do you make a picture look “accurate” or do you make it look “better”? I chose to leave much of the golden glow in the pictures although I did back it off just a bit. I rationalized this approach by thinking it really was the way it looked to my eyes down there and natural coloring was …. well not.
The Equipment:
- Canon 5D MkII
- Canon 24-105 L f/4.0 IS
- Manfrotto 190 CXPRO4 tripod
- Manfrotto 498rc2 ball head
- LightRoom 4
- Photomatix Pro 4
- Sharp stick to keep away Cave Trolls (just in case)

